
Deep Rock Galactic’s Drilling Deeper update introduced a brand new mission called Deep Scan. In this mission, your goal is to locate three resonance crystals, call the drill lift, and make an attack deep in the mines. Here is a step by step guide on how to Deep Scan in Deep Rock Galactic.
Deep Rock Galactic – Deep Scan Walkthrough
Your first objective right after you enter the mine is to do three out of five deep scans (ie locate resonant crystals). For this, use the Gamma Resonance Proximity Sensor on the top left of your screen. The sensor shows a yellow bar when the resonant crystal is within 40 meters. You should also pay attention to the symbols next to the sensor because they indicate the vertical level of the crystal:
- Diamond: Crystal is on the same vertical plane as you.
- Up pointing triangle: Crystal is above your vertical level.
- Down pointing triangle: Crystal is below your vertical level.
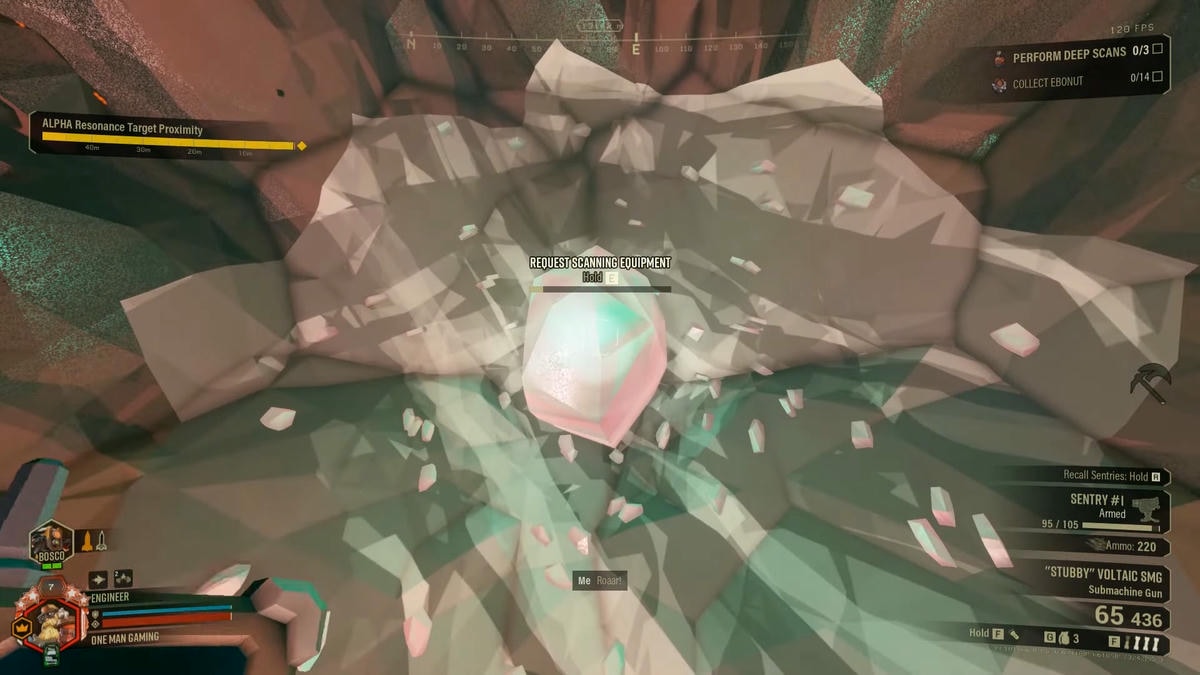
When the beeping sound intensifies and the sensor indicator begins to hit with maximum vigor, the crystal is very close. Start digging and if you white rocks under the dirt, you dig in the right place. Once the resonance crystal is revealed, hold interact next to it to call scanning equipment.


Connect the electrical cable from the equipment to the crystal and set the resonance scanner. Now, scan for the remaining crystals and repeat the process until you have attached them all.


For the following purpose, a drill lift will be sent down near your location and you must escort it to the deep mines. Enter the platform, turn on the consoles and to activate the drill lift so that it begins to tunnel through the rocks. As the machine does its work, hordes of bugs will converge on your position from the top of the tunnel. Defend yourself from the attack and save keeping the drill lift (second picture) when needed.


Soon, the drill lift will reach the Morkite Geode (the deep mines where you have to collect Morkite seeds). Destroy the green crystals using your pickaxe to collect the seeds and then depository them into the MULE—the trusty old companion you must have used in other missions to store minerals. Finally, invoke extraction; and don’t forget to take the jet boots from the drill lift (second picture). Use these for fly up the tunnel and reach the drop to complete the Deep Scan mission.
There is also a top-down shooter version of this game called Deep Rock Galactic: Survivor. check Deep Rock Galactic Survivors Tips and Tricks on Pro Game Guides for more.


