
One of the quests you must complete to get Kril's shell back is a Treasure Hunt. Here's how to find all three cereal treasure map pieces in Another Crab's Treasure.
How to complete the Treasure map in Another Crab's Treasure
To complete the map, you need to find three missing pieces. You get every piece defeating three bosses. When you talk to the Conche, he'll point you to the Grove, and that's your only clue as to where to go. You will get more clues as you return each map.
Where to find the first Treasure map piece in Another Crab's Treasure (Location)

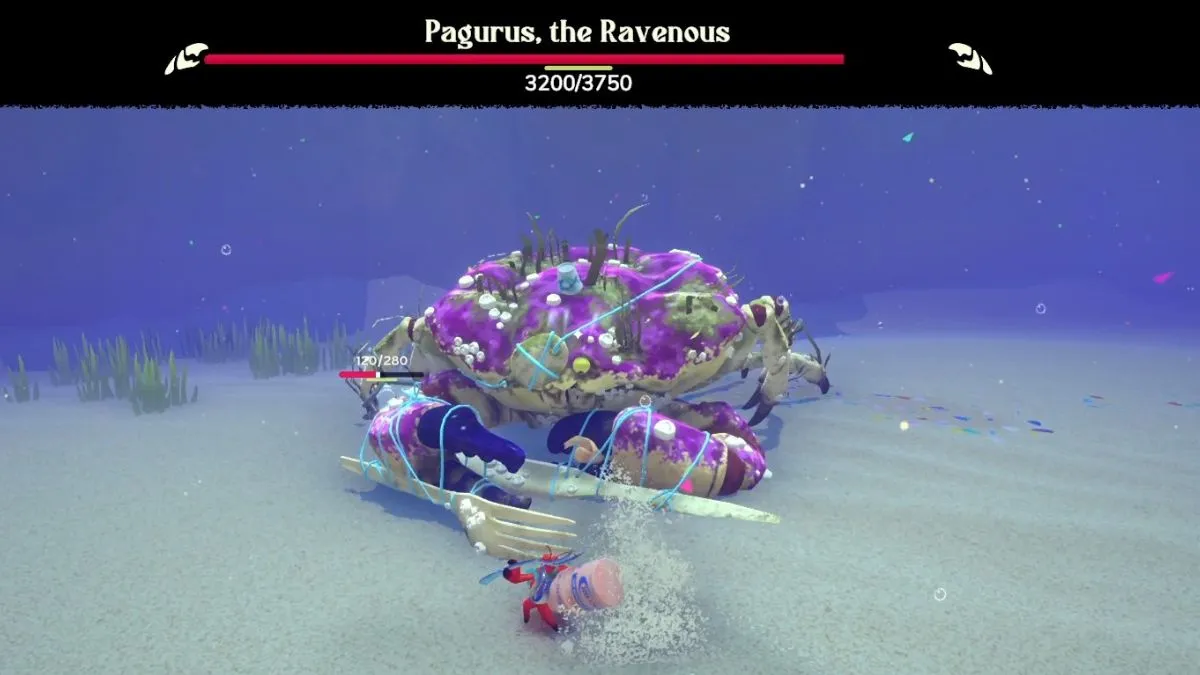
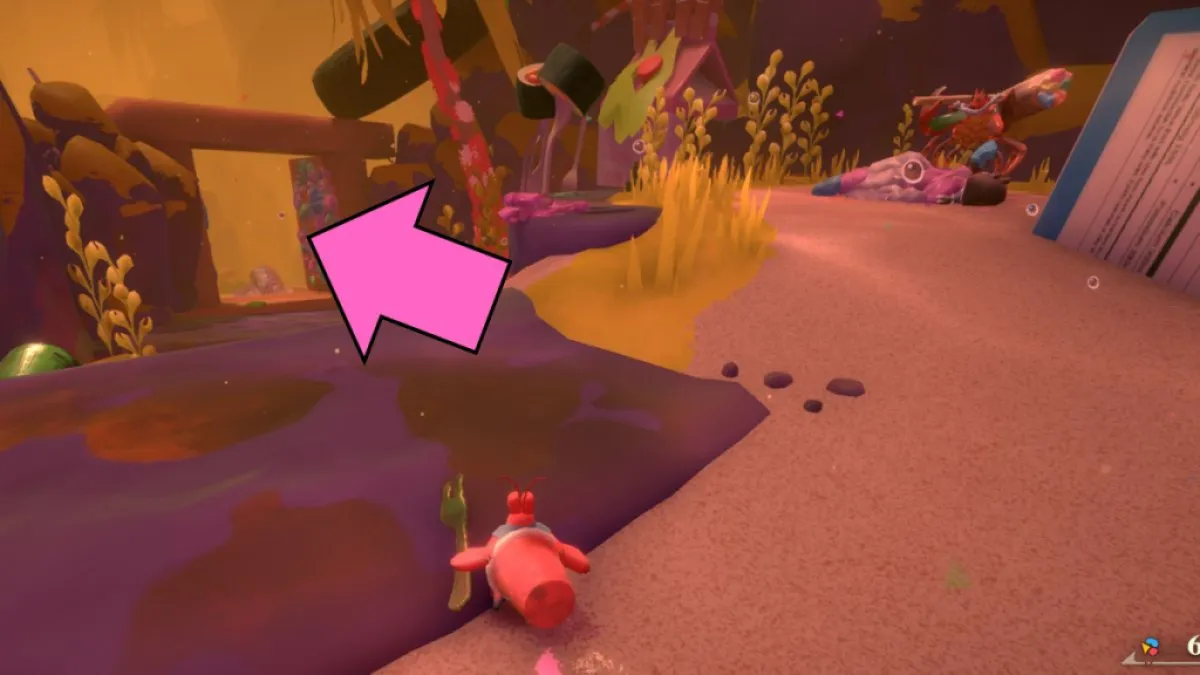
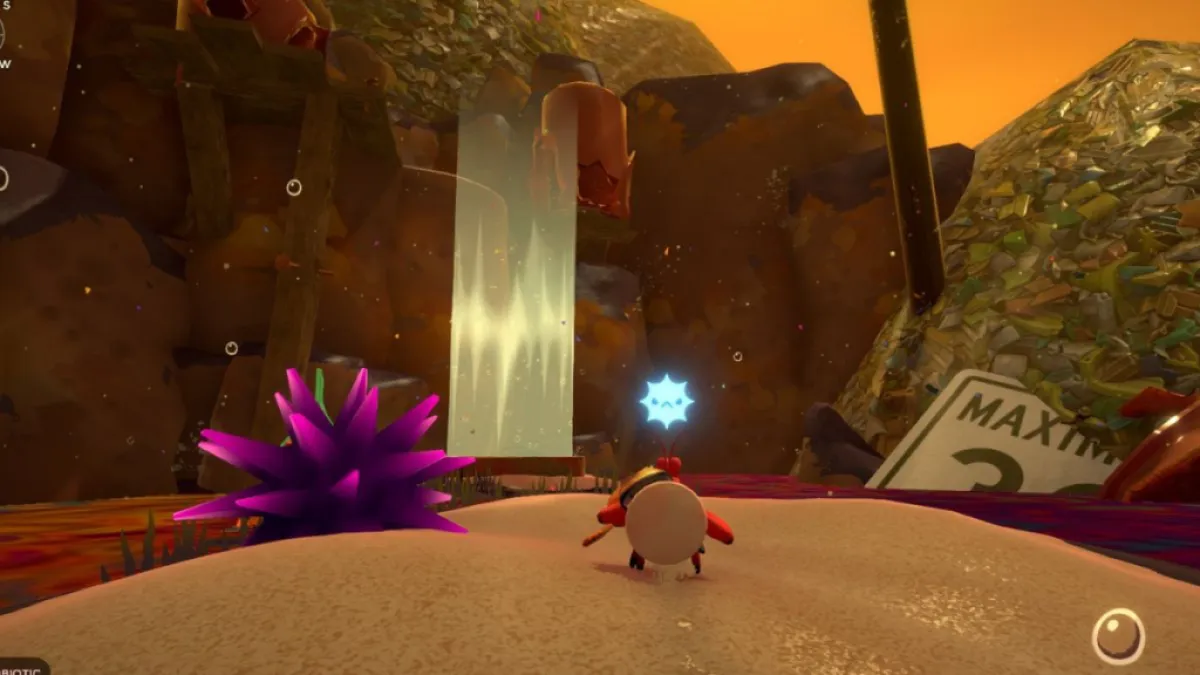
To get to the Expired Grove, you must first go through the Sands Between. You will receive the warning that there is something in the area that wants to eat you, and you must reach the life floats embedded in the sand to protect yourself. That is actually Would pay, a huge boss that will chase you around the sands. He is also the one who has the first map piece.
This crab is pretty hard to beat and you might want to be a higher level first before you tackle him. Instead, you can do like me and run across the sands to explore the Grove for more Crystals and Microplastics for upgrades.
Related: How to unlock Umami Skills on the skill tree in Another Crab's Treasure
However, if you are braver than me, you can beat it and capture the map. A good shell for this run is the Yoccult shell, which provides constant healing while you deal damage. Save avoiding it and watch out for the red signal attack. The Ravenous has an instant kill where he eats you. When you get the map, go back to the Upper Crust of Nova Carcinia to get the next clue.
Where to find the second Treasure map piece in Another Crab's Treasure (Location)
When you first get to Flotsam Vale, you'll have to fight Inkerton. Don't worry, you just have to get his health down to half way before he runs away. Once he does, you can continue moving forward. Go through the Company City area until you unlock the Upper Swamp.
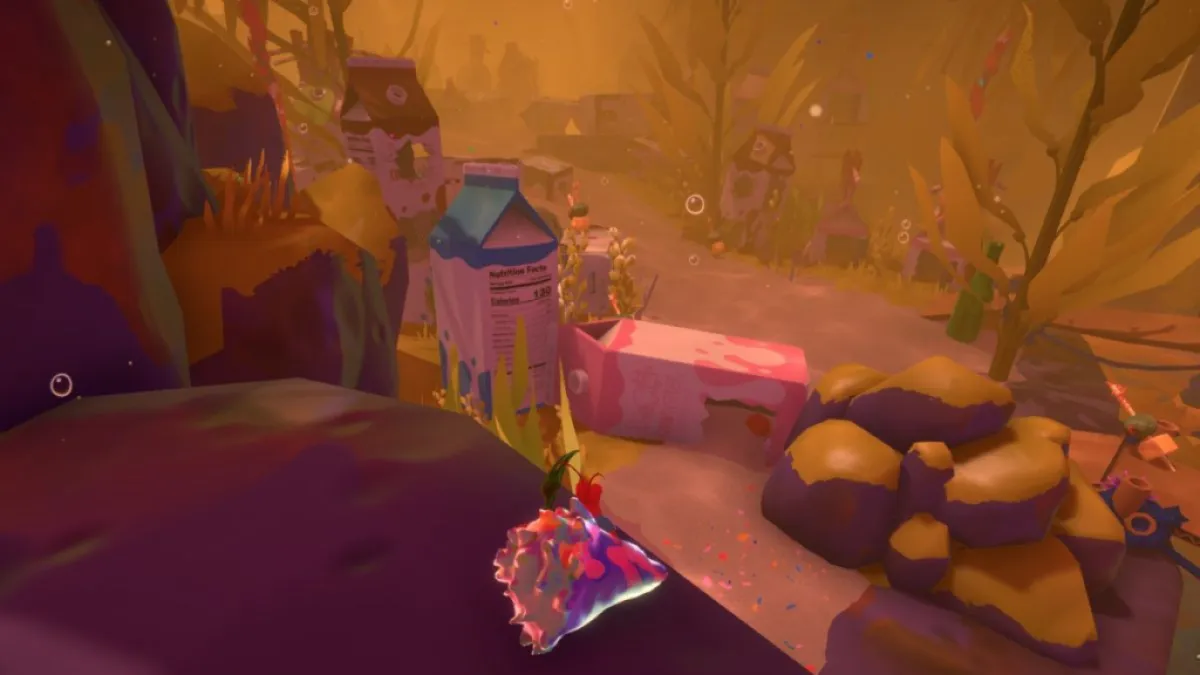
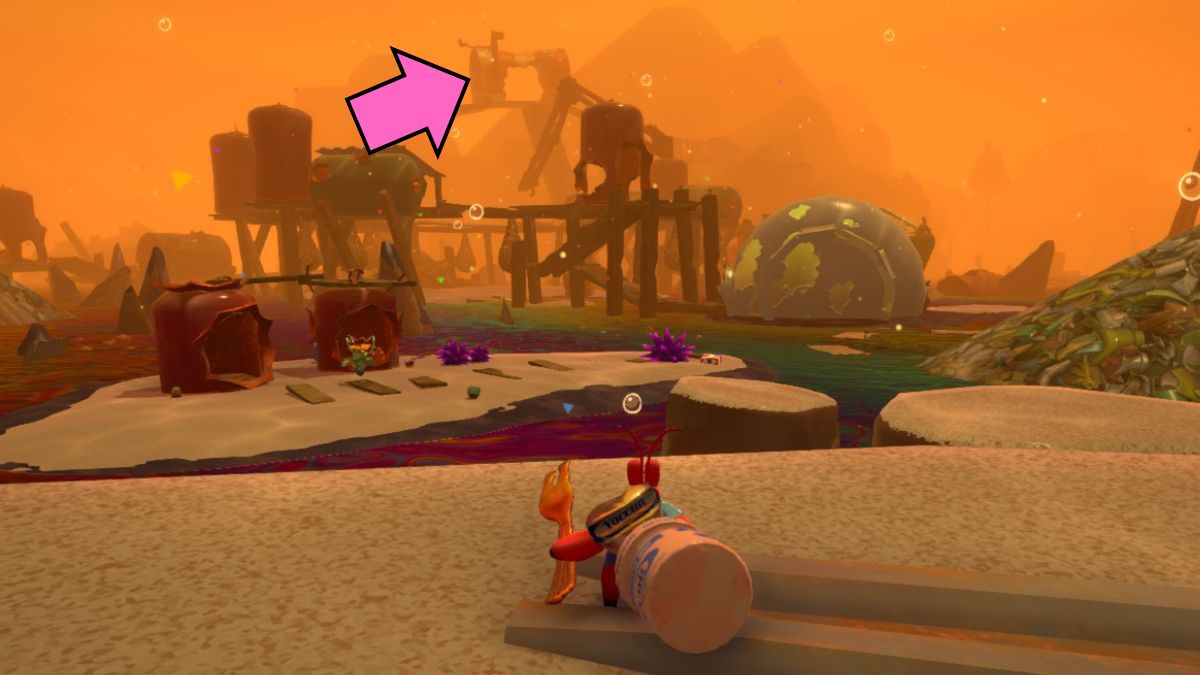
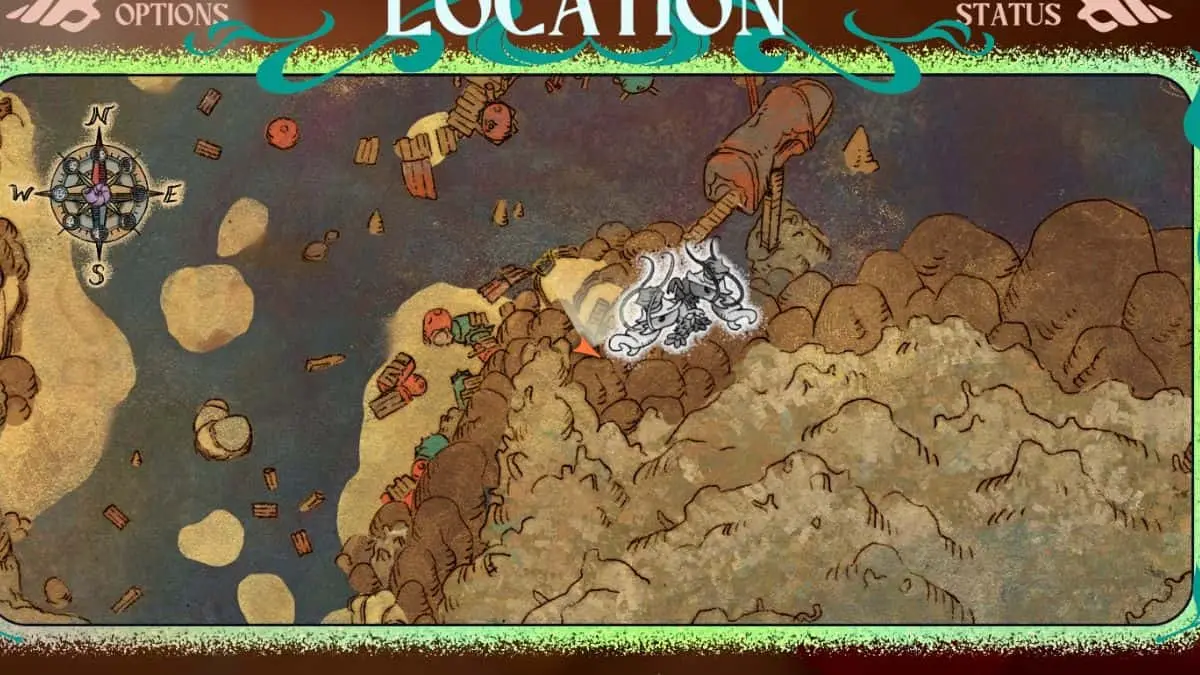
Now, instead of going further into the swamp, turn around and go the other way. This path will take you to the Expired Grove and Curd Village (first image). Getting through Curdled Village is difficult because there are a lot of enemies around and a crab sniping at you from above (second picture).
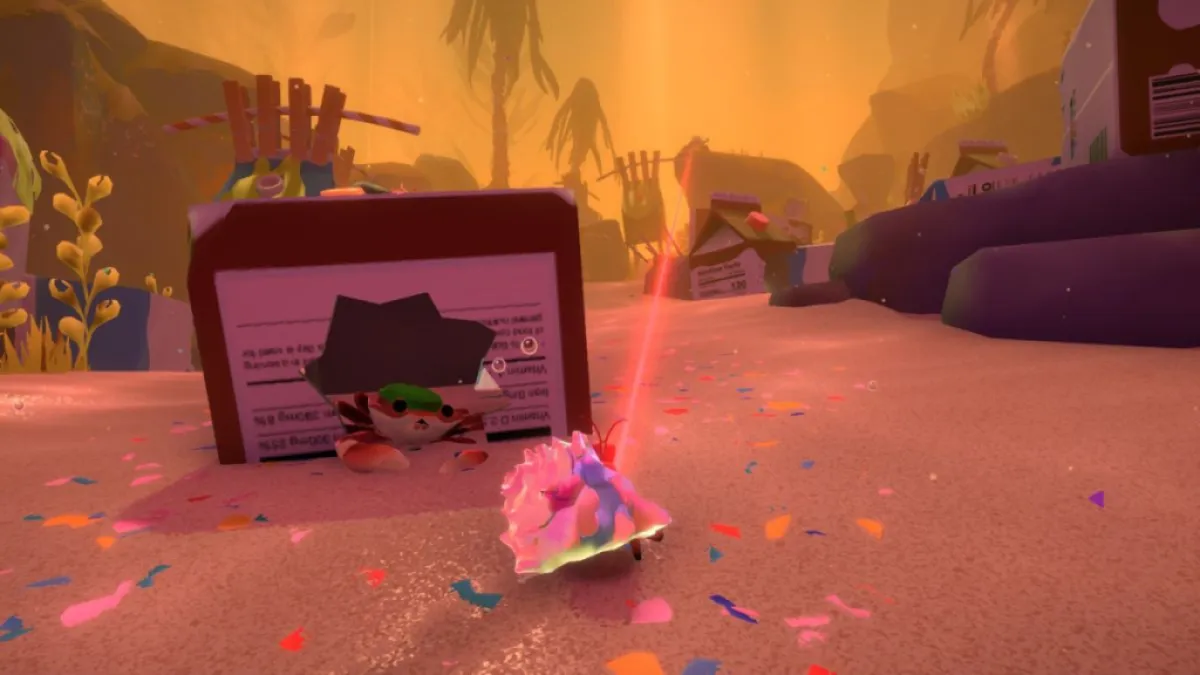
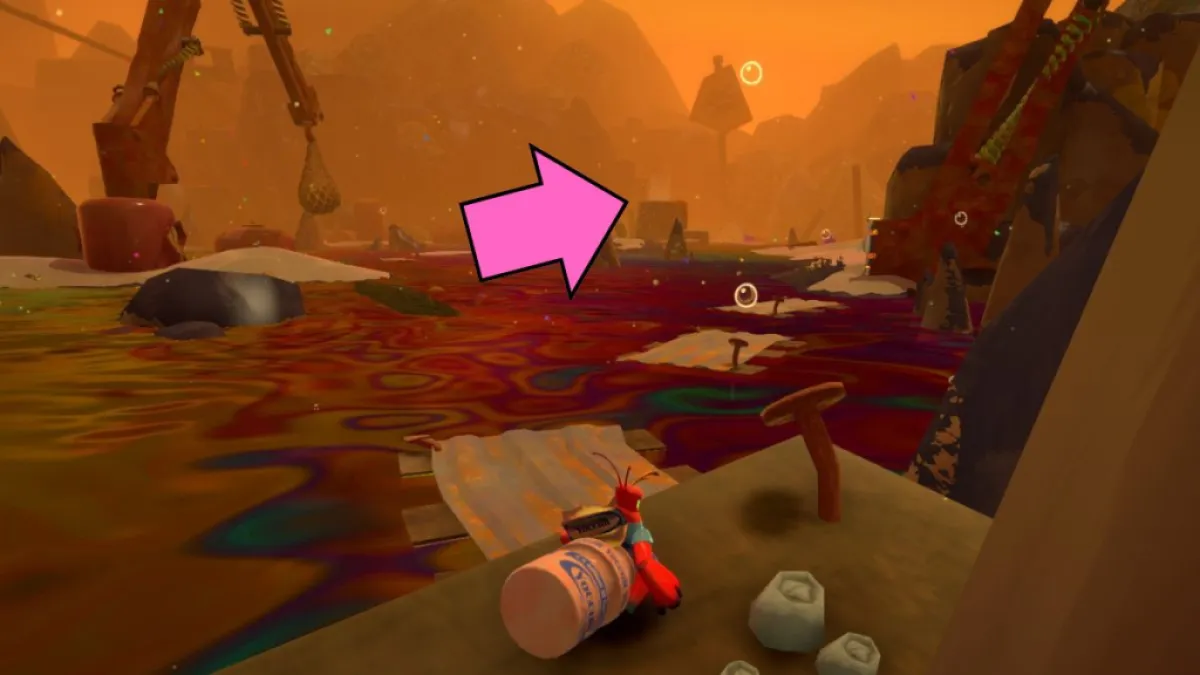
The best strategy here is run and dodge until you pass the sniper. If you have to fight, fight, but try to keep moving. After you get past the sniper and a large crab with a hammer, open the village gates (third picture) and you will see Heikeathe boss with the second map piece.

If you haven't killed the crab sniper, make sure you don't get in its line of sight because it can still kill you through the gates. For Heikea, the goal is keep a distance when he uses his Intimidate ability, which makes you hide in your shell. There are a lot of Cascadia Rolls lying around, so be sure to use them to heal yourself.
Where to find the third Treasure map piece in Another Crab's Treasure (Location)
Related: How to buy shell insurance in Another Crab's Treasure
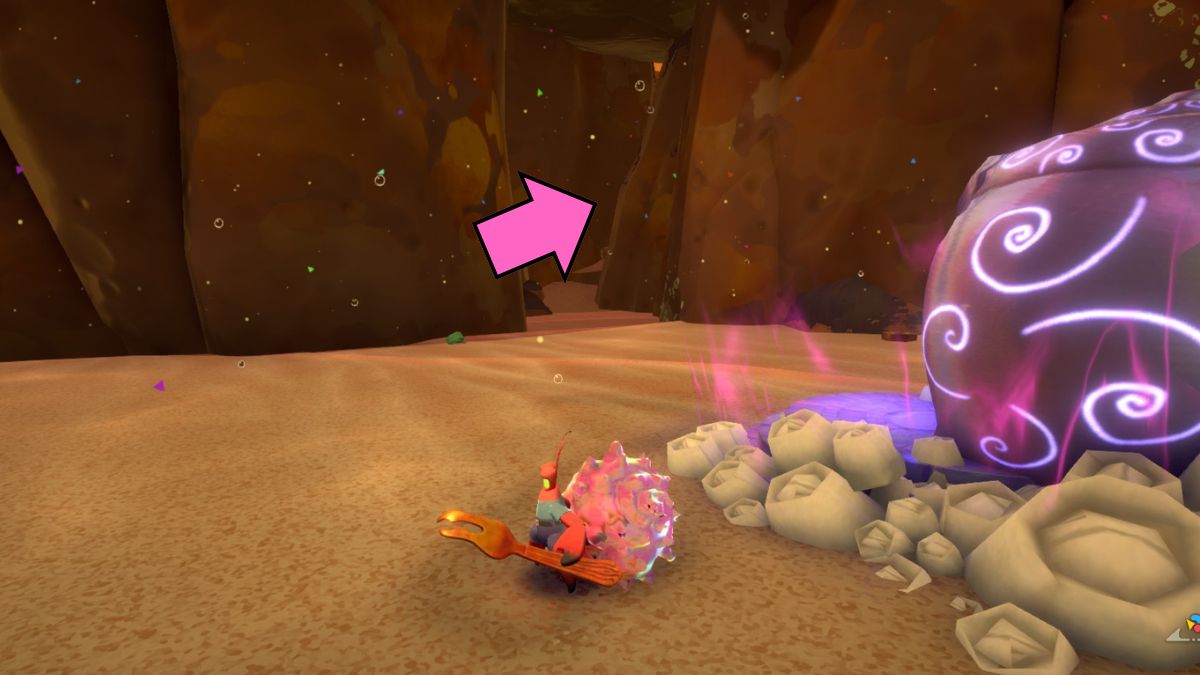
From the Village Gates, go to New Carcinia to get the next clue and then teleport back to the Upper Swamp. Your goal is to reach the mailbox above. Make your way through the junk and try not to notice the enemies. The game itself tells you that you don't have to fight every enemy. Save your health until you reach the boss fight.
You go to the air boost. Double tap the jump button and you'll find yourself entering a cave system. The Ceviche Sisters is at the end of it with the third and final treasure map piece in Another Crab's Treasure. Since there are two of them and they are both ranged enemies, it can be difficult. However, the best tactic is to focus on one to kill it while avoiding the other's attacks.

Once you have the last piece, head back to the Upper Crust in New Carcinia to complete the map and find where the Treasure is hiding. Nothing can go wrong, right? Except Roland swoops in and stole the map, leading you on a wild boat chase, that is.
If you're a completist, be sure to check out ours All Trophies and Achievements in Another Crab's Treasure on Pro Game Guides.

")


