
So, you’ve finished The Final Form campaign, had that rather scary (yet hopeful) showdown with the Witness, and now you want the sword you’ll die with. Then let me guide you through how to get the Ergro Sum exotic sword in Destiny 2 The Final Form.
Destiny 2 The FINAL Form – Destiny Heroes Quest Guide
Step one is to beat the main campaign if you haven’t already, as you can only start the quest to unlock Ergo Sum, ‘Destined Heroes’, after that. Talk to Ghost, and he will give you the quest. There are nine steps in total, but don’t worry, it doesn’t take that long.
First you will be asked to listen to a message coming in on the radio right next to Ghost, who will reveal the fact that our old enemy Savathûn I’m not done doing my head yet. Listen to the message, and then leave to do your first quest on the chain, Queens, Part 1. (The marker for which will not be far from the radio in which you received the message.)
I’ll give some brief guides on this mission as it has some mechanics that really confused me for a bit when I first went through it myself.
Queens, Part 1 Guide
For the most part, this mission is simple, so I’ll only run through the sections that have special mechanics involved. First of which is the use of Hive Knight Swords to activate large floating Hive Runes.
Shortly after starting the mission, you’ll drop into a small room with a Knightand an Acolyte. Kill the Knight so he drops his a sword, and then take it. You’ll notice that when you do, the Acolyte wins invulnerable shieldwhich is good because for once we actually don’t wants to turn something into a nice paste… at least immediately.
The way forward will be blocked by a large Hive Runeand the trick is to use the blockage feature on the sword to redirect the attacks coming from the Acolyte into the room with you so that they hit the rune.
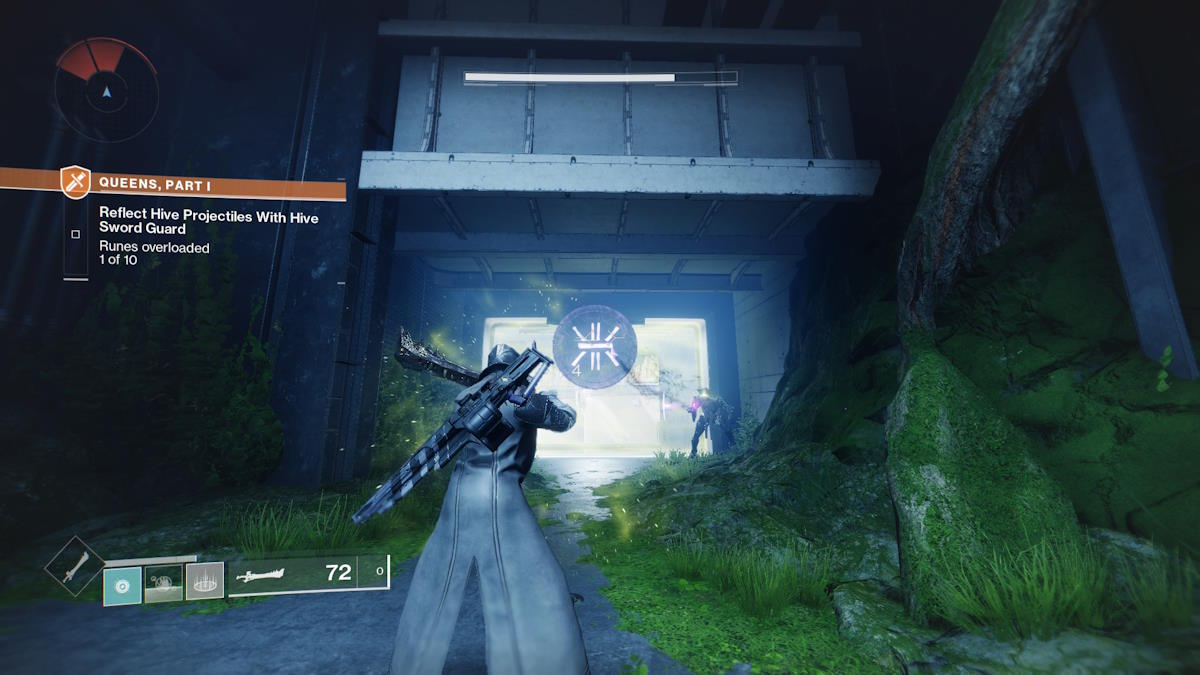
You’ll be doing this quite a few times during the previous mission, so best practice now while it’s only one Acolyte and not… six Witches or something.
The next area is much larger, and there are a total of 10 runes to activate here, but luckily they’re all separated and organized by item type. Now here’s an important part, the colors on the Runes matter, as does the element they are hit with. Different enemies do different types of elemental damage, and you’ll need to make sure you redirect the right type of fire. It’s best to deflect which color they shoot at you, but we’ll also explain which enemies shoot which element.
- Purple Rune – Void Damage – Fired by Shrieker Turrets
- Blue Rune – Bow Damage – Fired by Wizards
- Orange Rune – Solar Damage – Fired by Knights
Move through this arena, get all those bullets lined up correctly, and then you’ll be able to move on to the next section. We’re just going to do it again, albeit with one more step. When you get to the next Rune section, you’ll see that all the runes have some sort of force field around them, so you’ll need to take that down before we do the reflection.
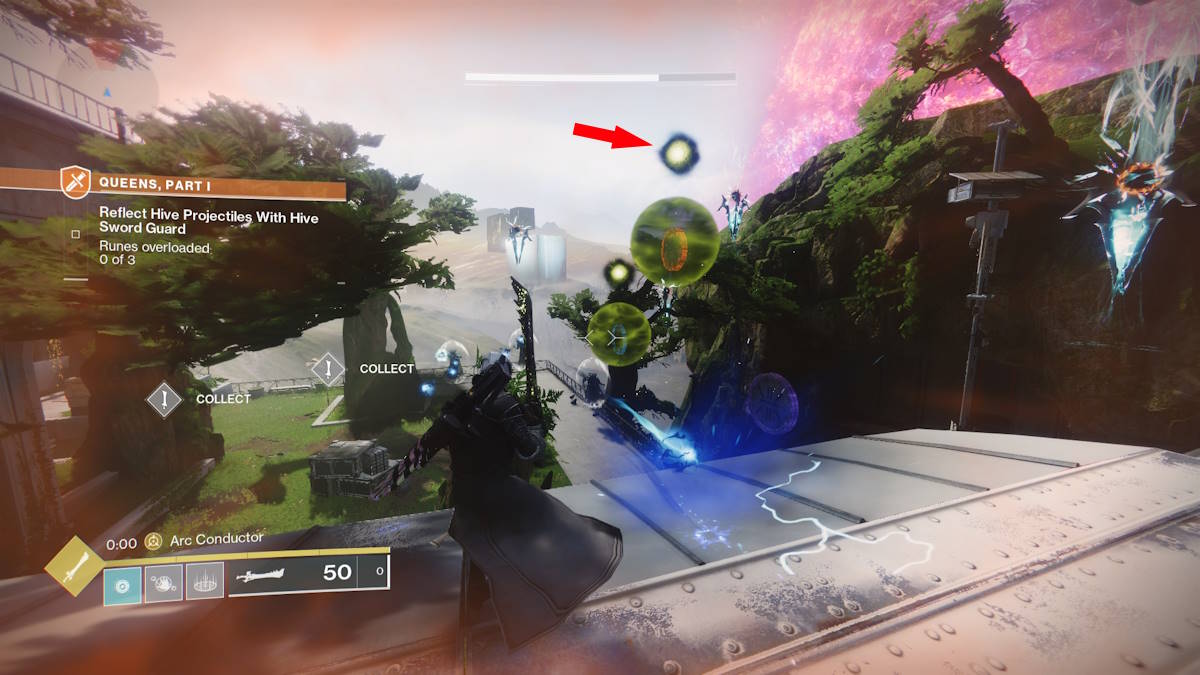
This isn’t too hard either, as it only requires you to complete a heavy attack with the Hive sword that will shoot a projectile. Aim that projectile at the light green orbs above the force fields, and then proceed with redirecting enemy attacks to trigger the runes again.
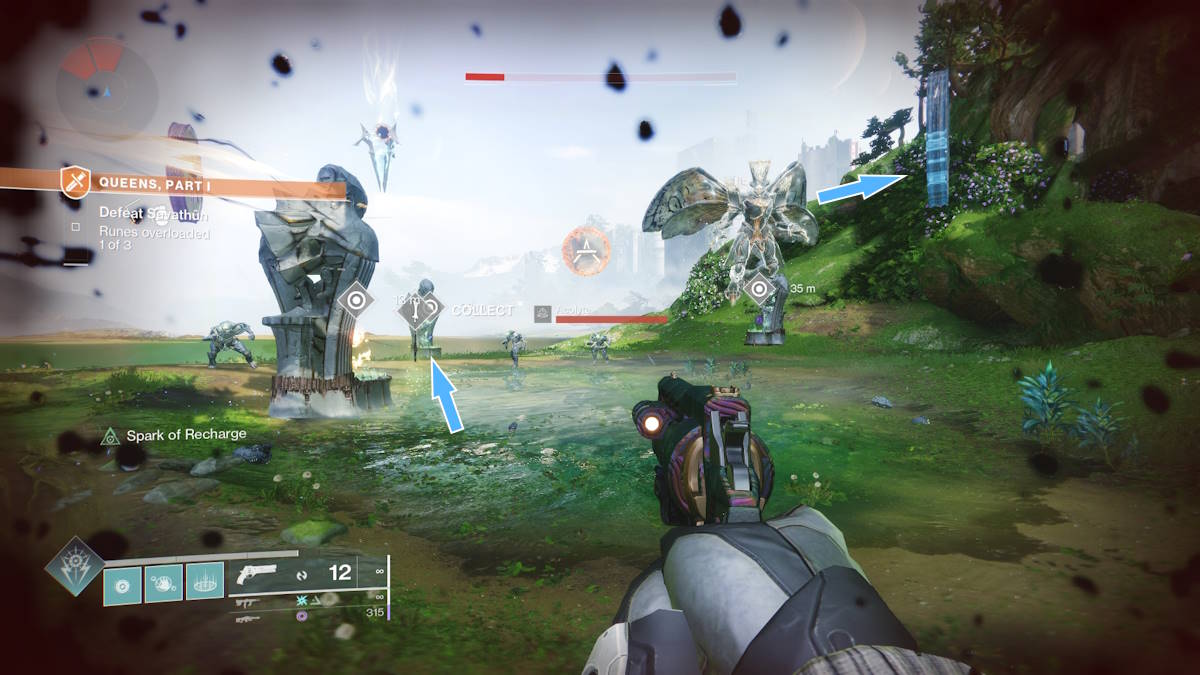
Continue the mission, and eventually you will find the ever beautiful Savathûn again. This is a boss fight with another simple mechanic, but we’ll break down the first section just for clarity. When you reach Savathûn, you’ll see three more Runes, but this time you’ll also see three shrines, each holding an elemental orb. As you might guess, your goal is to catch these orbs and throw them directly at the corresponding runes. I have included one highlighted example in the image below.
Once you’ve soaked all three (you can miss, don’t worry, I totally didn’t miss twice in a row) you’ll be able to damage Savathûn. Eventually, once you’ve done enough, she’ll move on to a new area and you’ll repeat this process again, albeit with twice as many throws. Once she’s dealt with, that first mission will be done, and you’ll be free to continue moving forward.
Next steps
Once you’re done with the Savathûn mission, you’ll be directed to introduce yourself to a new Guardian, Micah-10. They want your help to rescue some lost Ghosts hidden around the Pale Heart, and this serves as an introduction to this new activity. Talk to Micah-10, and exhaust the dialogue before moving on.

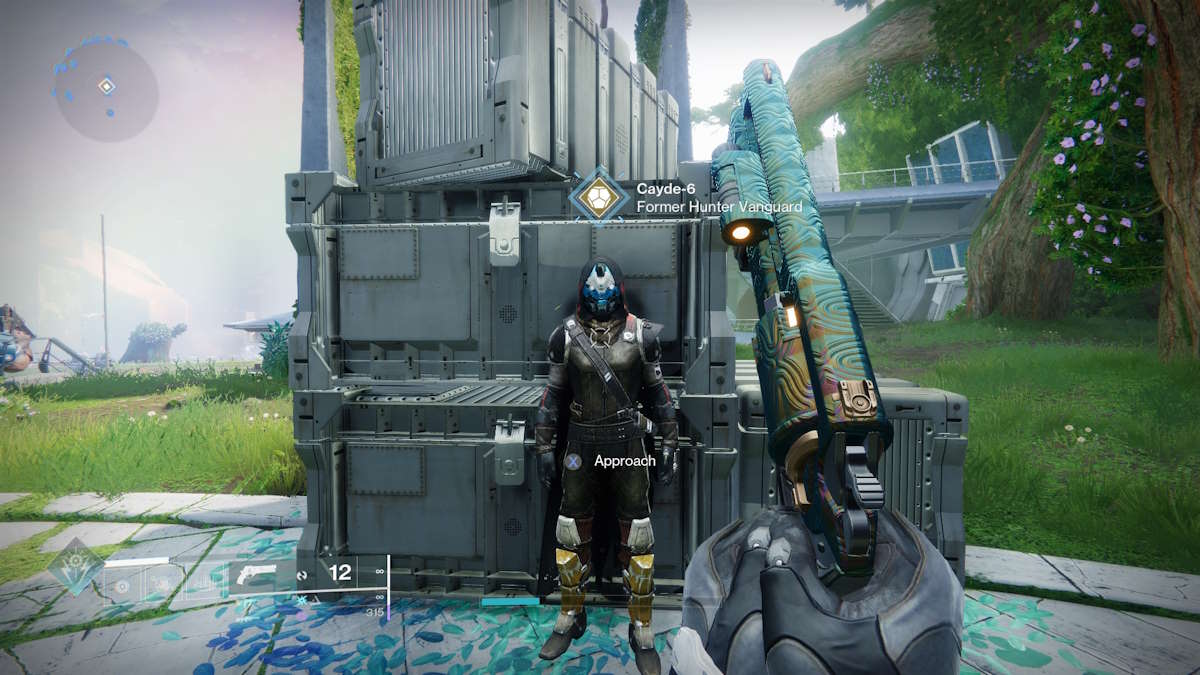
Next is to chat to Cayde-6which will give you the quest for another exotic. You can do that later, for now you need to get the sword that you will absolutely die with.
After talking to Cayde-6, you will be prompted to talk to Ghost one more time. This will lead you to a rather long chain of quests, but they aren’t difficult and will probably be introductions to the Strikes of The Final Form, so we won’t cover them here. You’ll be told to go to two separate locations, which we’ll mark below, one that will give you additional Light abilities, and another that will grant you additional Dark abilities.


Once you’ve done both of those quest chains, you’ll be prompted to return to the Tower again, where you’ll have Queens, Part 2 awaits you around the same area you got in Queens, Part 1. This one is pretty simple too, so we won’t go over it here, but take comfort in knowing you’re almost done. You can also enjoy a bit of a catfight between two of the most powerful creatures in existence, which is always a good time when you’re fighting for your life.
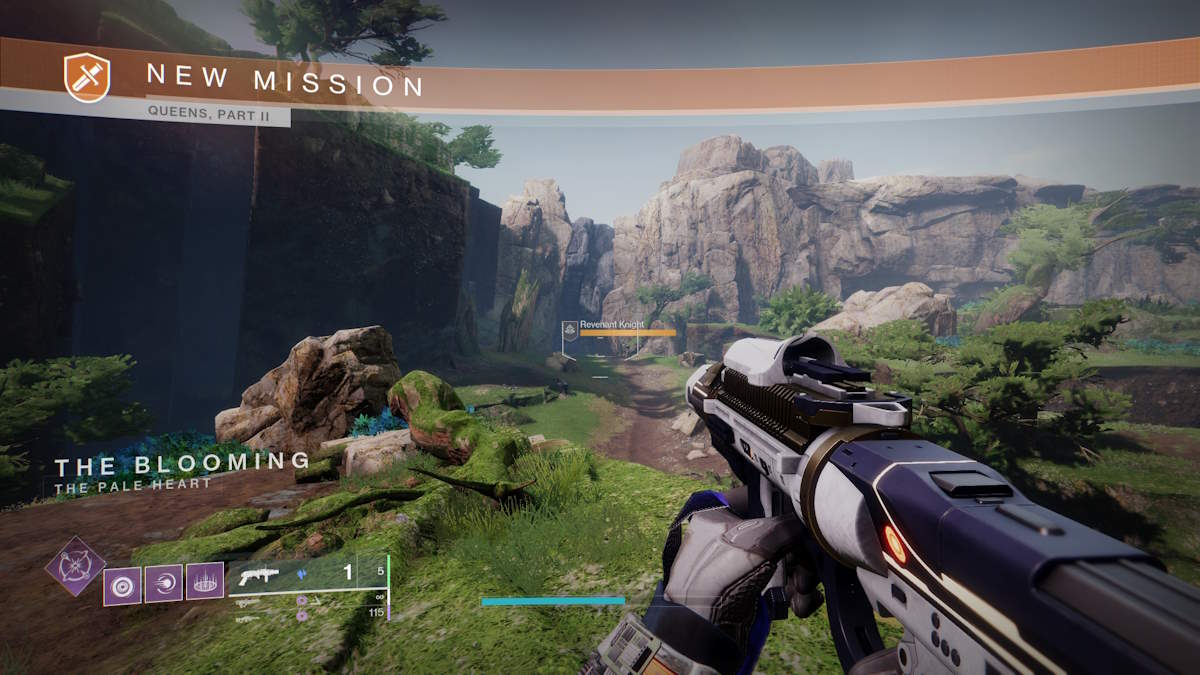
After finishing Queens, Part 2, you will return to the Tower again to talk to Ghost, and he will give you Dyadic Prism item, and unlock a new landing on the map for us. Accept the item, go to your director and locate ‘THE SACRUM‘ on your map before flying to it.
Once there, go forward, try not to look at the really big and scary Ghost, and interact with the sword in the ground to return to the place where you fought The Witness, and make your destiny I won’t put pictures of that section here, because it’s really something you should experience for yourself. And with that, congratulations! You’ve successfully unlocked Ergo Sum, and can now go off and cut some poor Dreg in half to really tough it out.
If you found this helpful, and want more Destiny 2 content from us here at Pro Game Guides, check out our guide on how to get Prismatic Shards, and if you’re one of the unlucky people like me who suffered from those early connection issues, we’ve completed a list of All Pre-Raid Scenes in The Final Form Campaign!

")


