Open Roads Walkthrough – Pro Game Guides

Open Roads takes you on an impromptu road trip to solve a family mystery and rebuild protagonist Tess’ relationship with her mother. I’ll walk you through completing the entire game while gathering every achievement.
Open Roads complete walkthrough
In this guide, I’ll explain everything you need to know while playing each chapter of Open Roads. This includes the locations of all story items, all objects providing lore, and every achievement.
Open Roads Chapter 1 Helen’s House walkthrough
This section covers every room in the first chapter of the game, Helen’s House.
Packing Tess’s room
The game begins with Tess holding a photograph. Flip the photo to read the message on the back before packing it away.
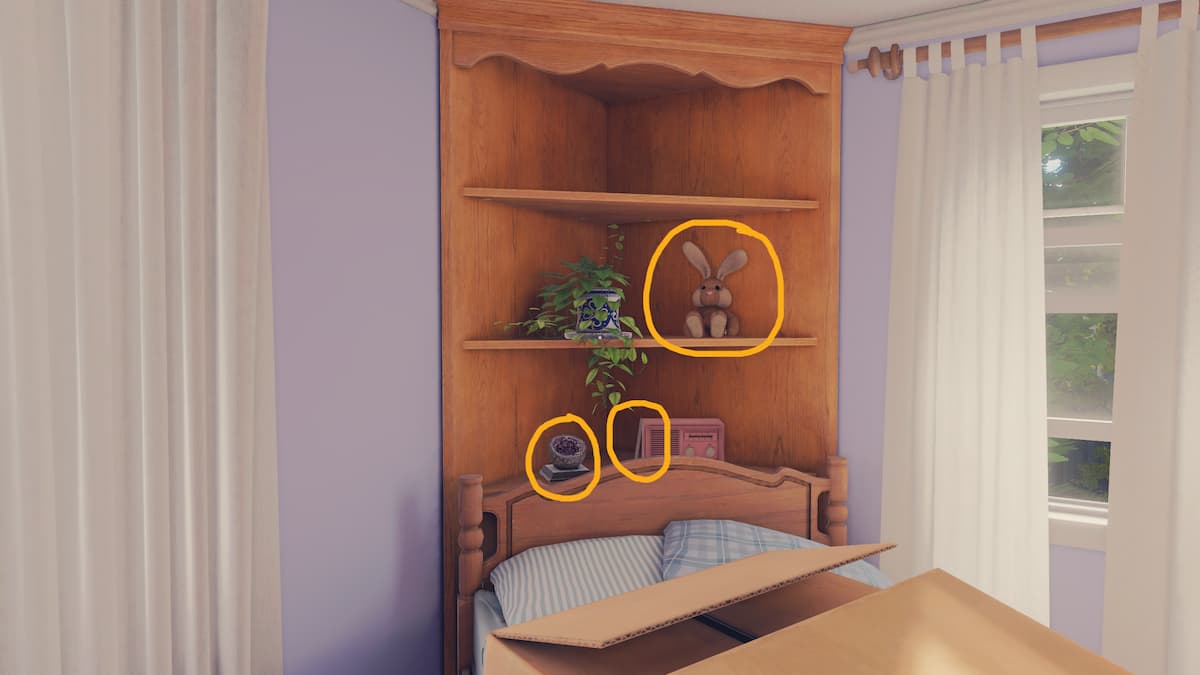
Turn to face the bookshelf at the end of the bed. There are three items to pack here—the geode, Mr. Bunny, and a birthday card, which can be opened and read.
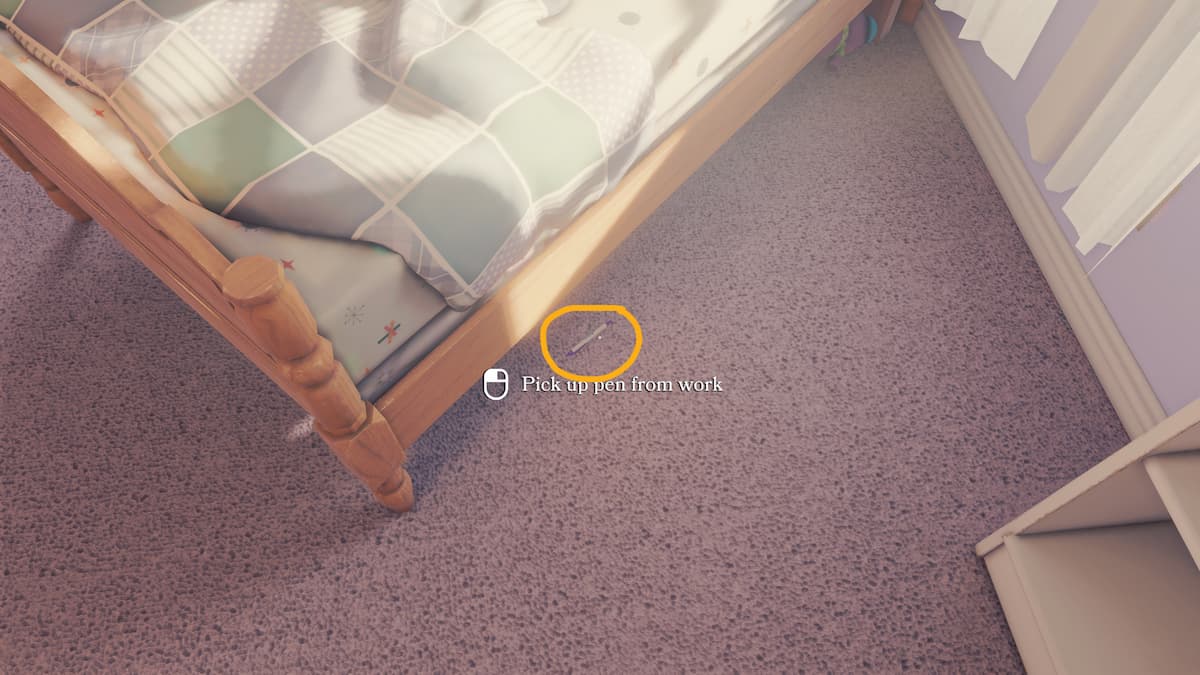
There are two objects hidden on the right side of the bed. The first of these is a pen near the foot of the bed.
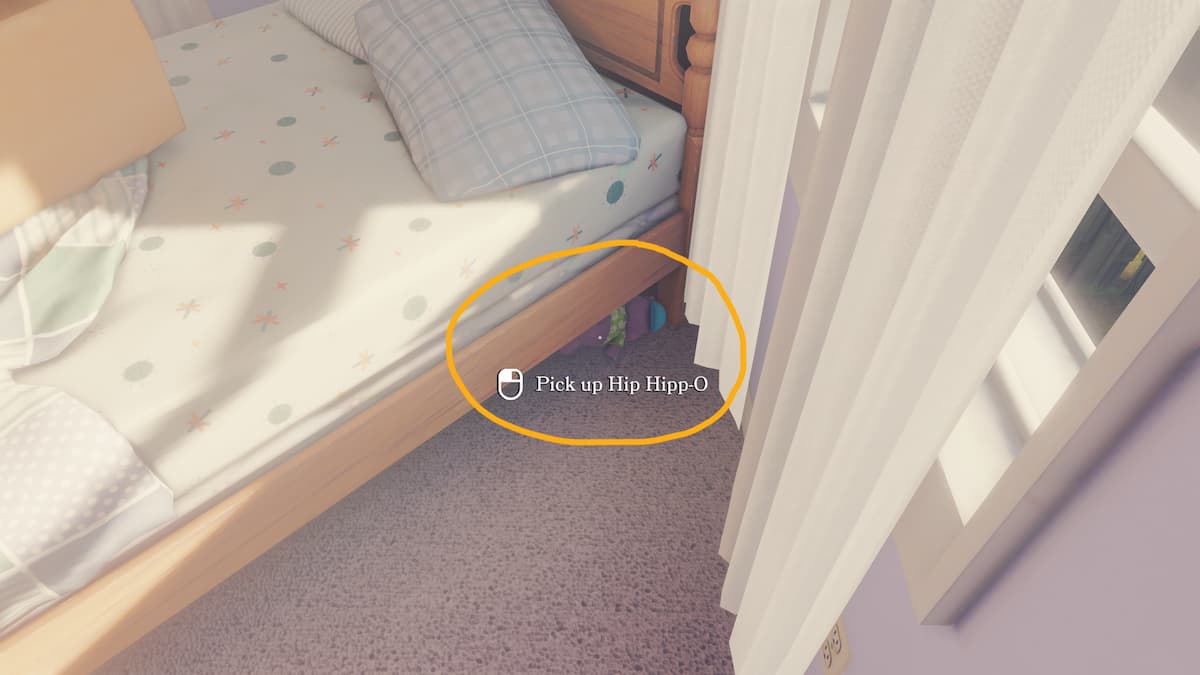
The second hidden item is Hip Hippo, which is underneath the head of the bed.
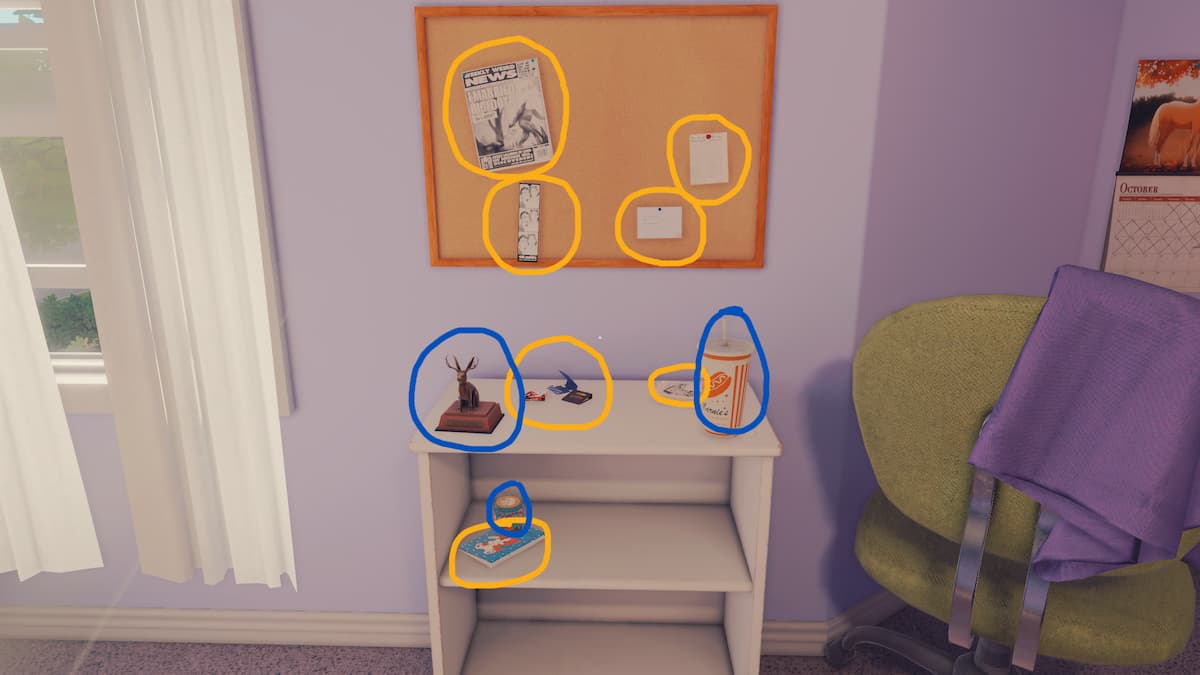
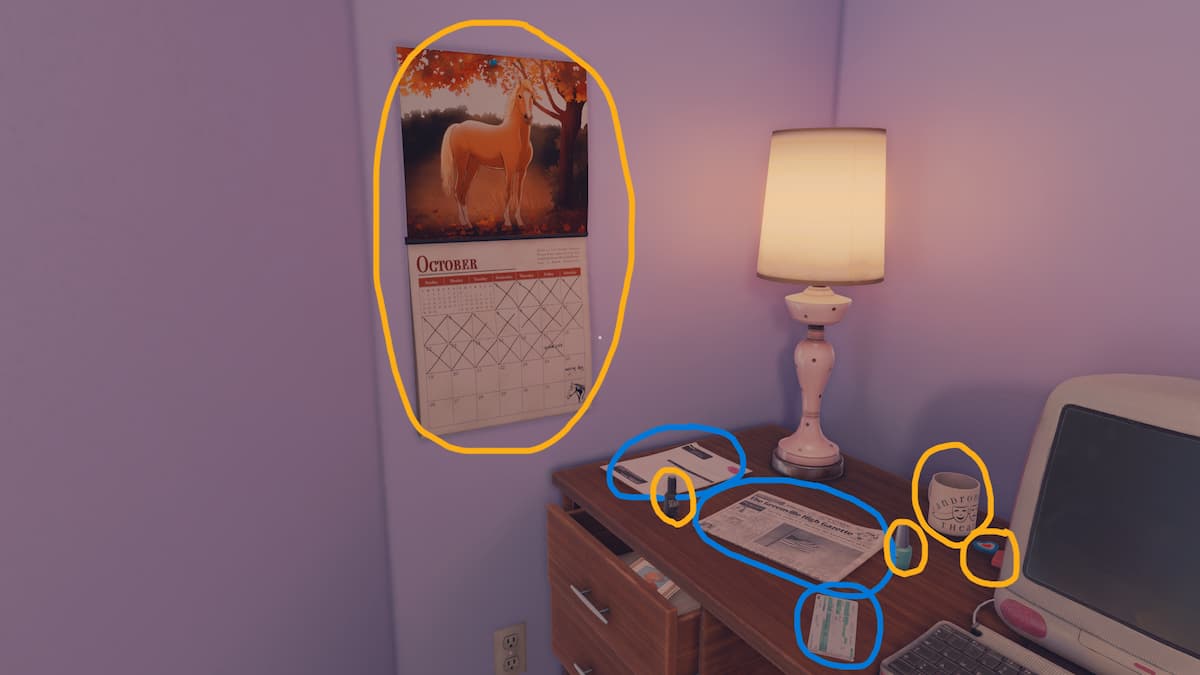
Head along the wall to a small cabinet with a corkboard above it. Everything but the cup will be packed here. The items circled in yellow can be read or flipped through, while those in blue can only be looked at.
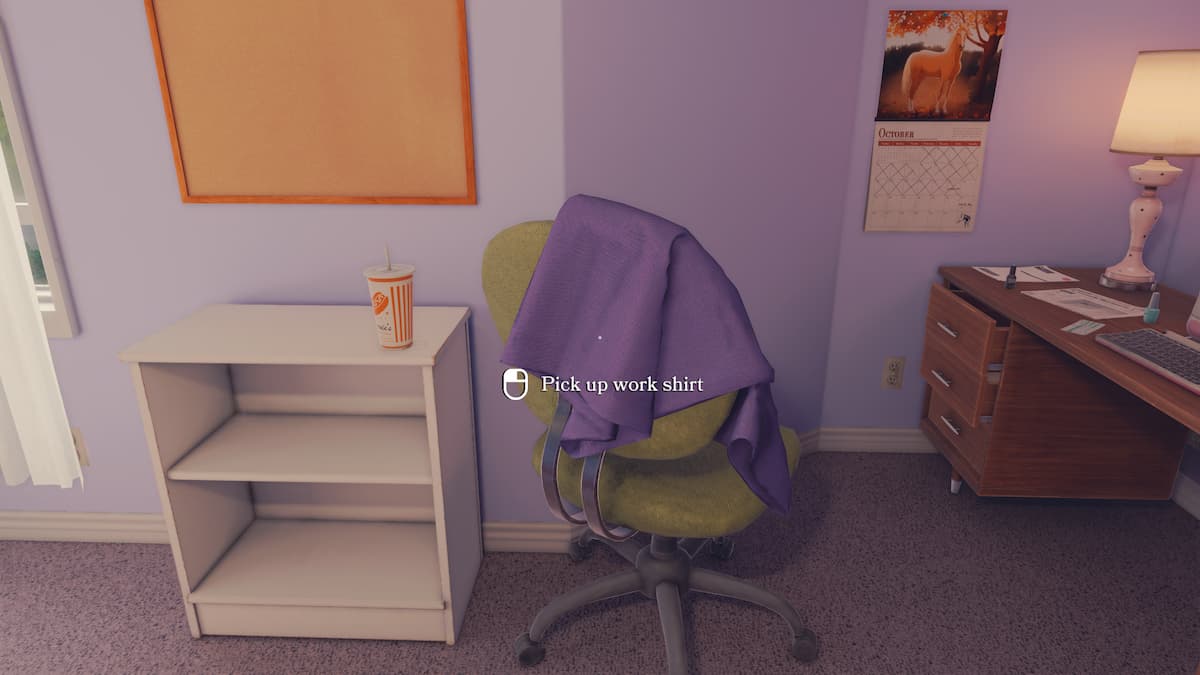
Take a moment to look at the shirt on the desk chair. It won’t be packed but gives background information on Tess’ life.
From there, turn to the desk. Begin by packing everything on top of it, from the calendar to the nail polish, small erasers, and coffee mug. The plane ticket, invoice, and newspaper clipping can be read, but only the invoice and clipping will be packed.
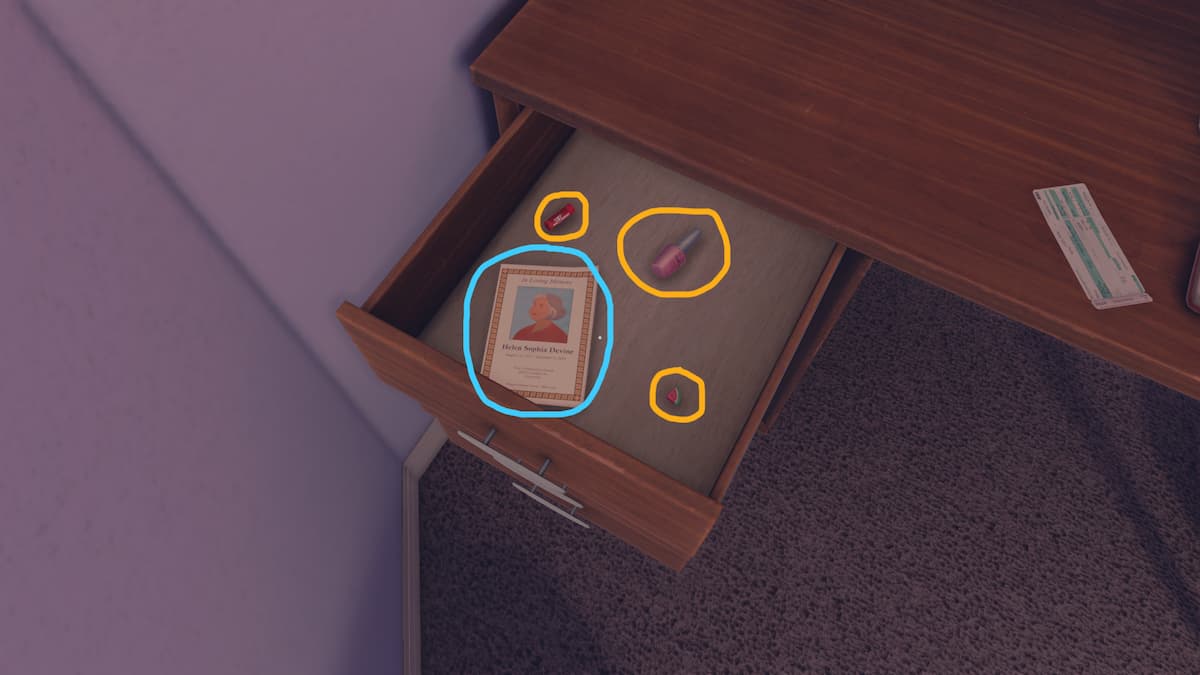
The desk’s top drawer contains an eraser, chapstick, nail polish, and a pamphlet. Read the pamphlet and pack it all up.
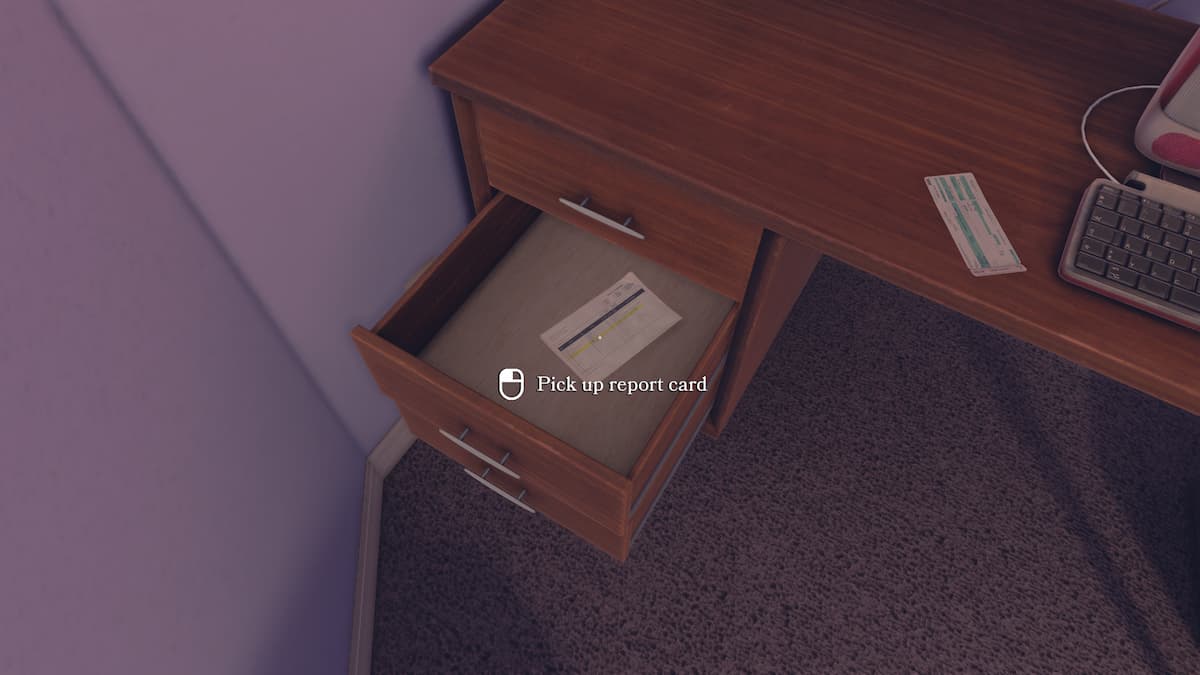
In the middle drawer, read and pack the report card.
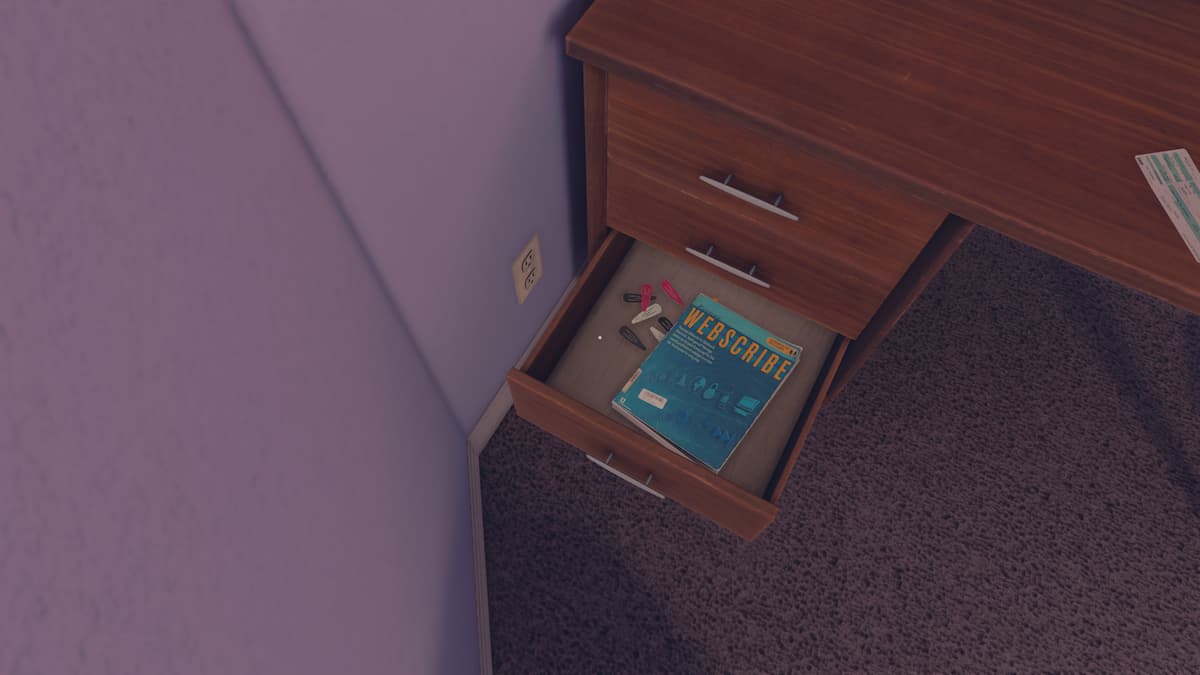
In the final drawer, read the Webscribe book and pack it and the hairclips.
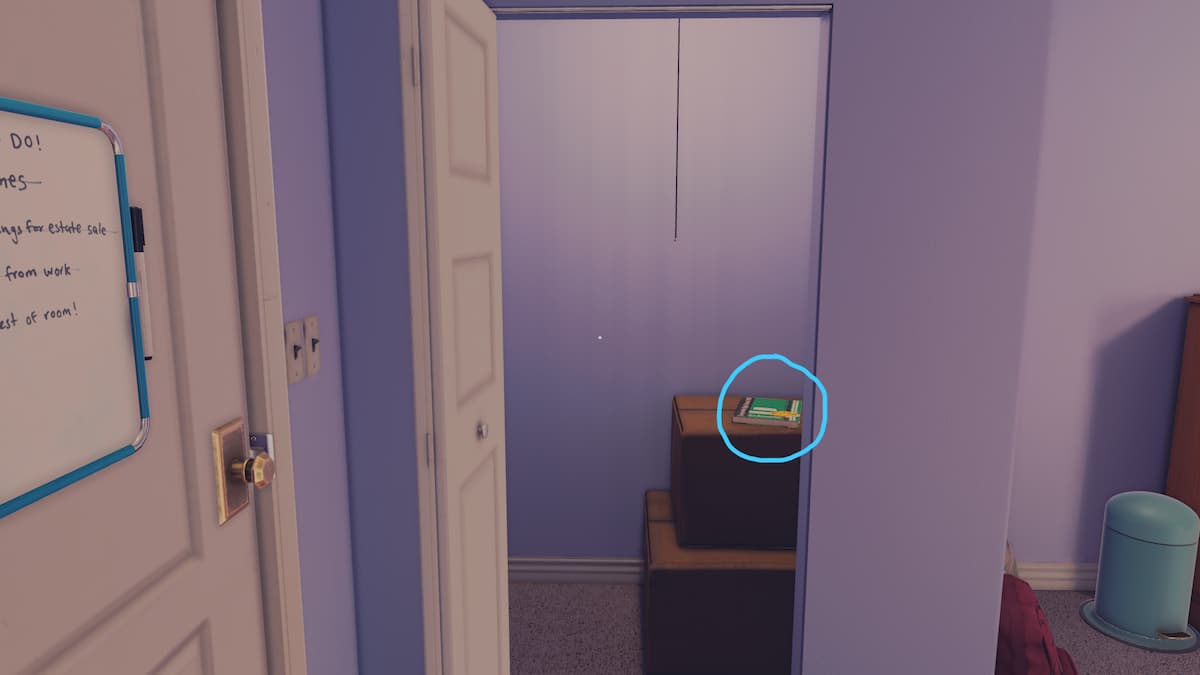
After finishing the desk, go to the closet and open the doors. There is a yearbook that you need to flip through and pack up.
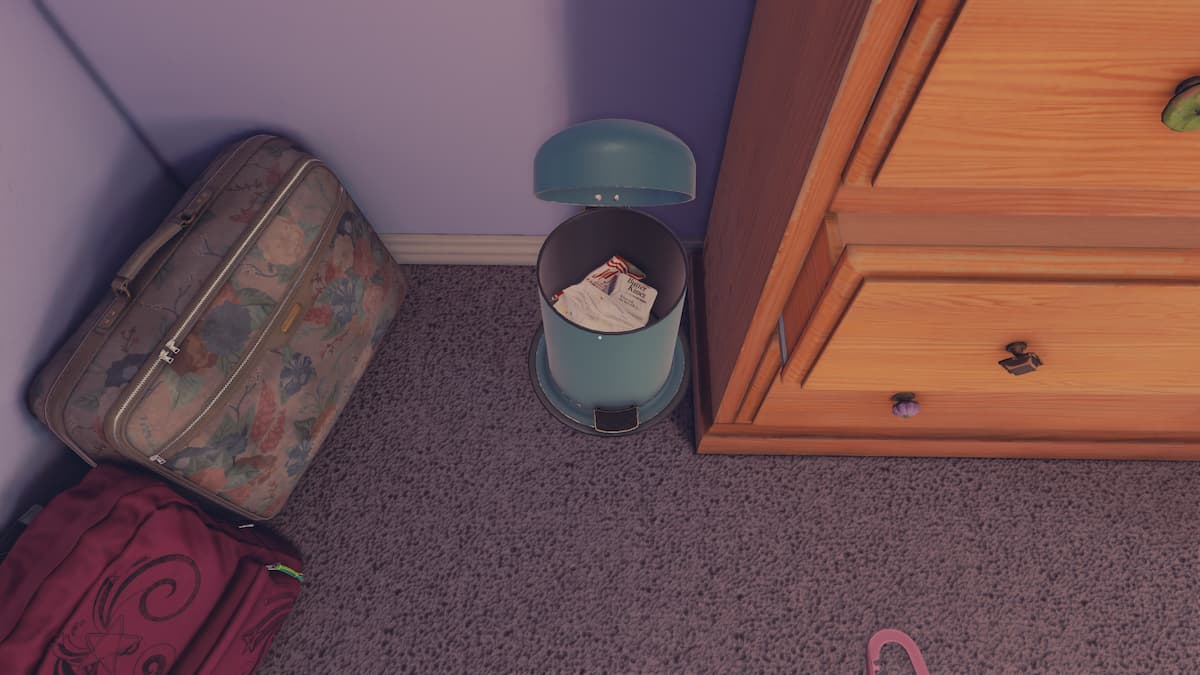
If you want another clue about Tess’ story, open the trash can by the dresser. It contains four items, the most important being an article on dementia.
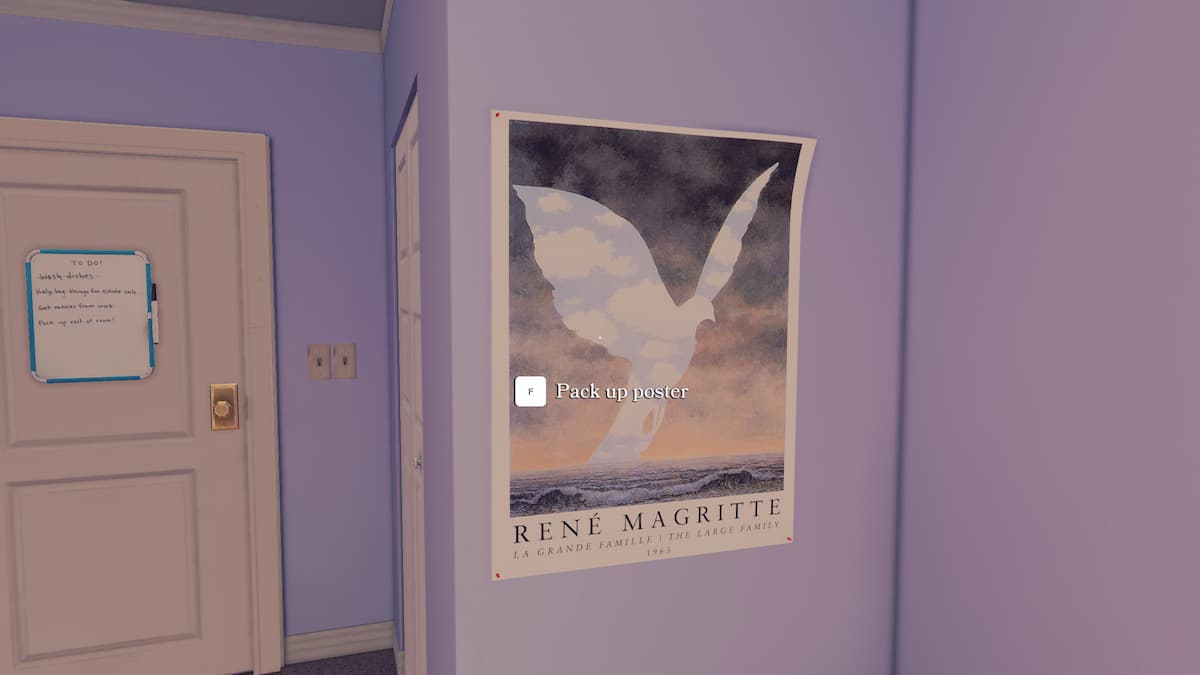
Next, grab the bird poster off the wall the luggage is leaning against.
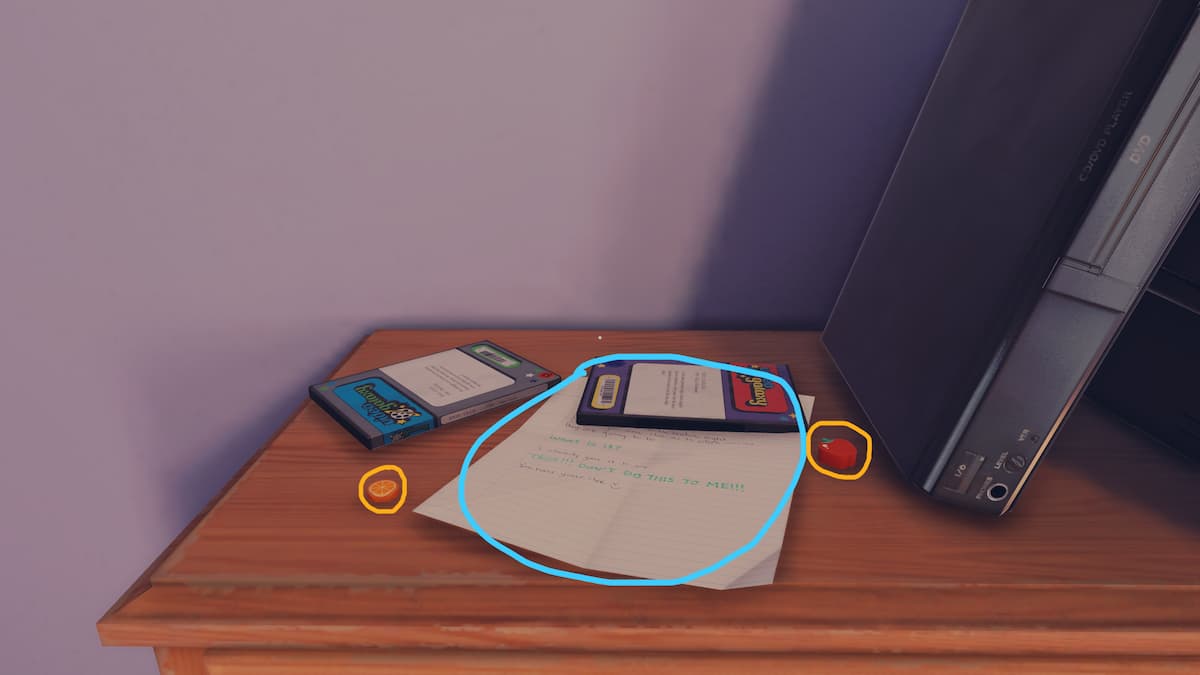
The top of the dresser is next. It has two DVDs to inspect, plus two erasers and a note to pack.
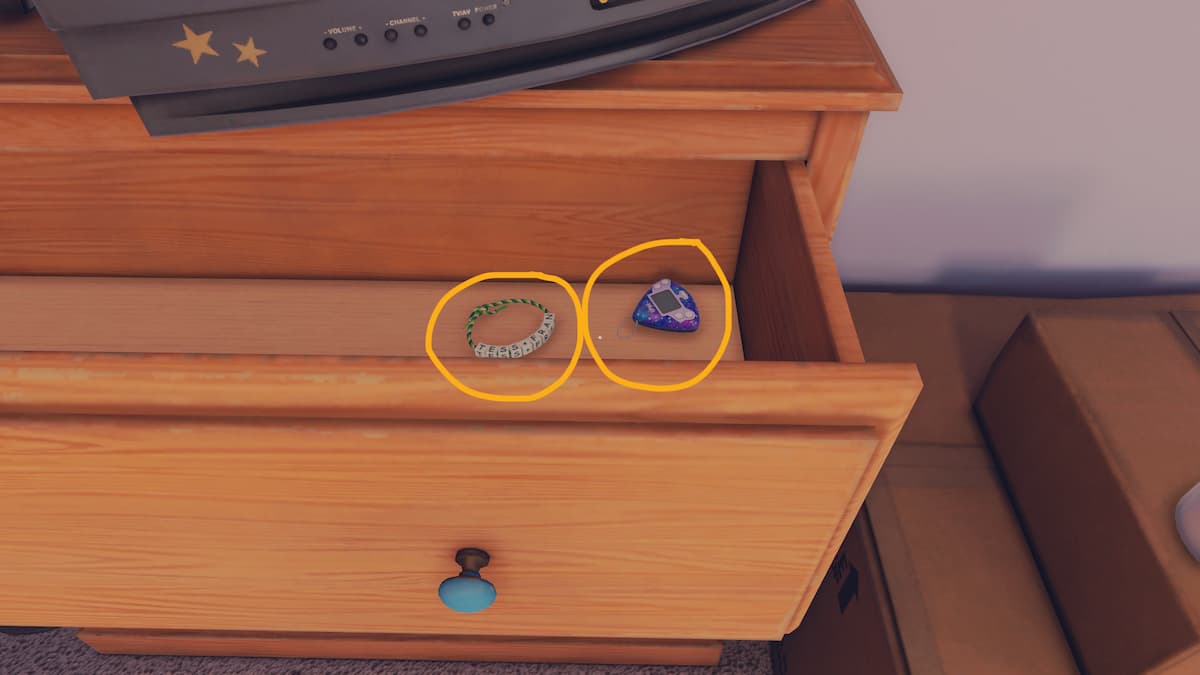
The dresser’s top drawer contains a friendship bracelet and a dead Ipet. Pack both of them.
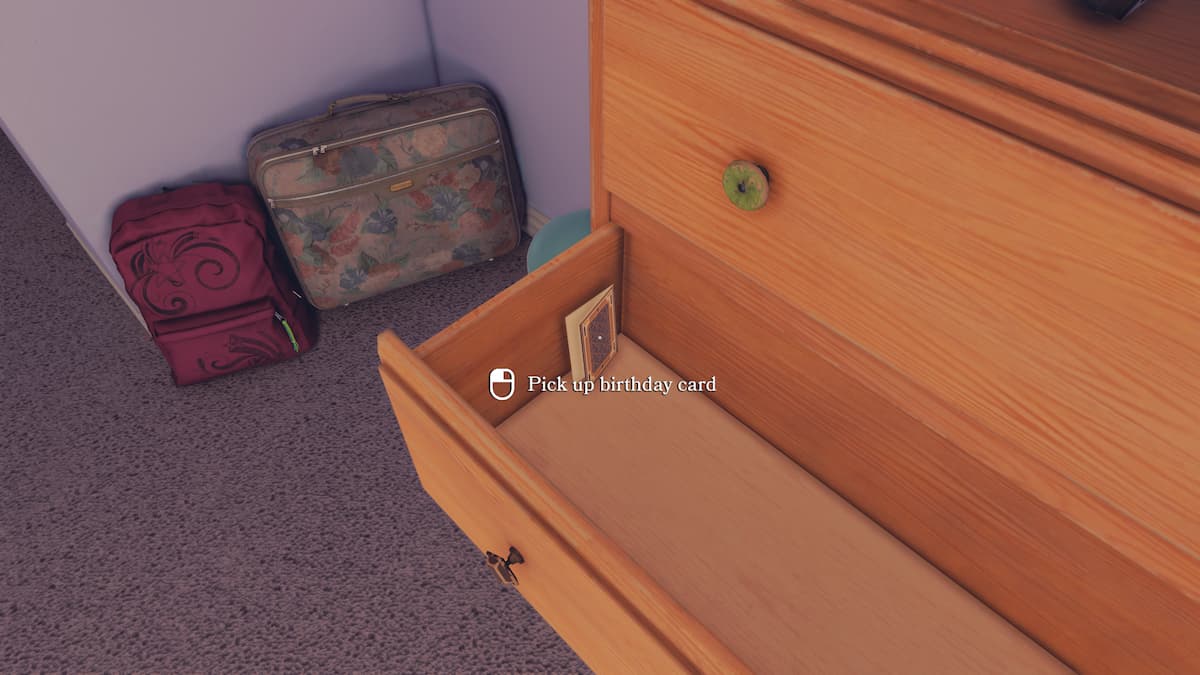
The middle drawer contains another birthday card to read and pack.
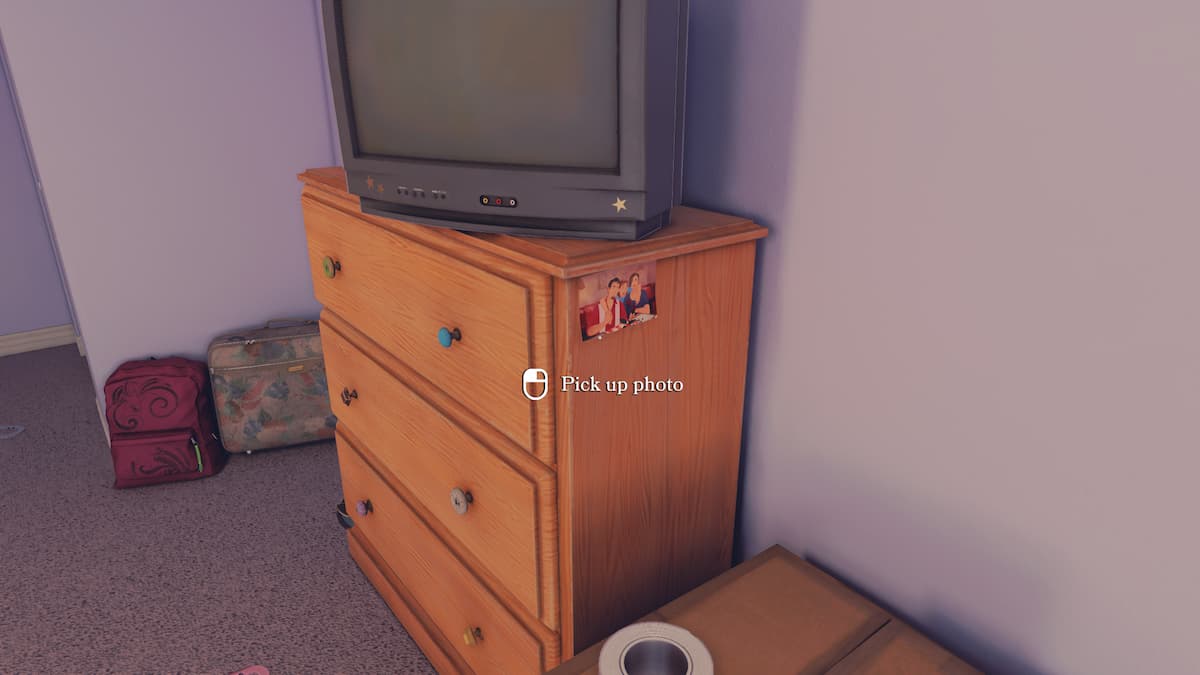
A photo is hidden on the upper right side of the dresser. Make sure to flip, read, and pack it up as well.
The area to the right contains a few boxes and a chair. Grab the hairbrush, power strip, and the poster on the wall.
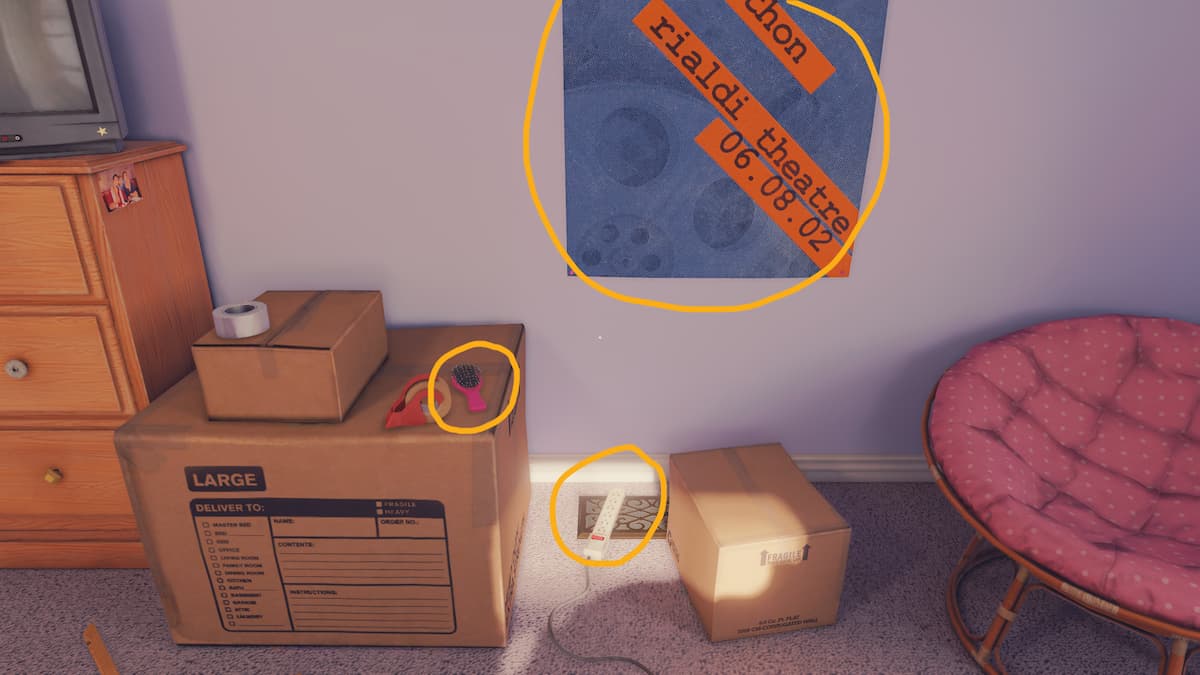
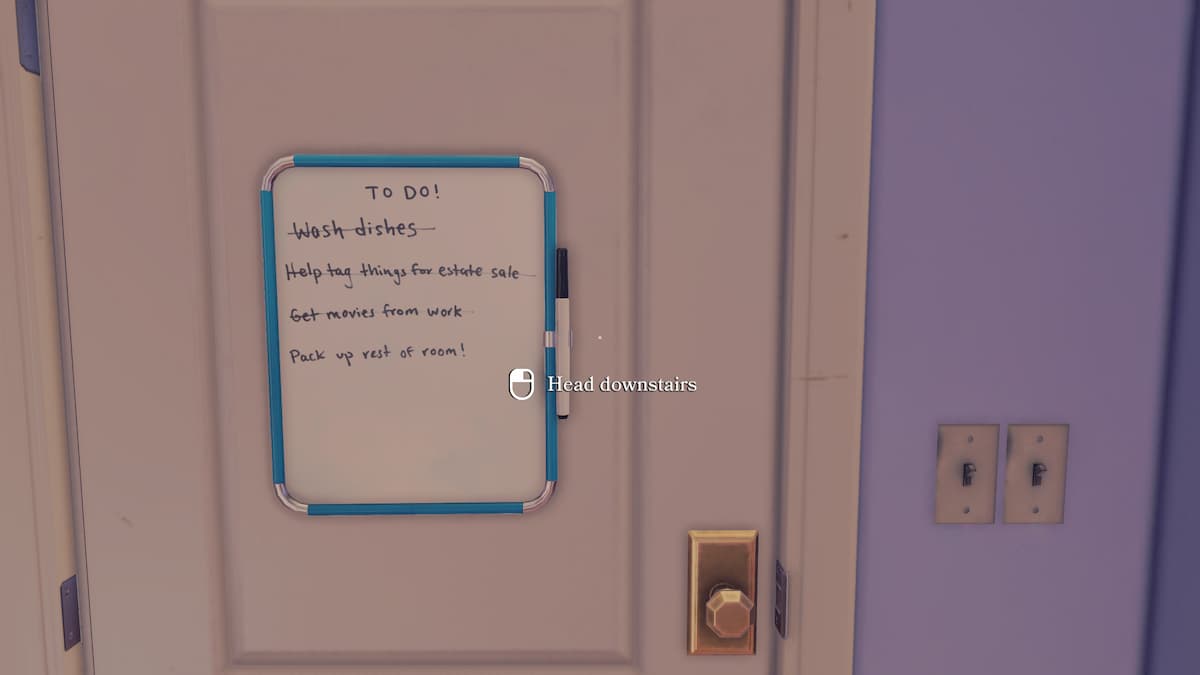
A cutscene will begin once you’ve grabbed every item in Tess’ room. You’ll also be given the “A Lot to Unpack” achievement. Afterward, interact with the bedroom door to head to the next area.
Related: All Tunic items explained
The basement
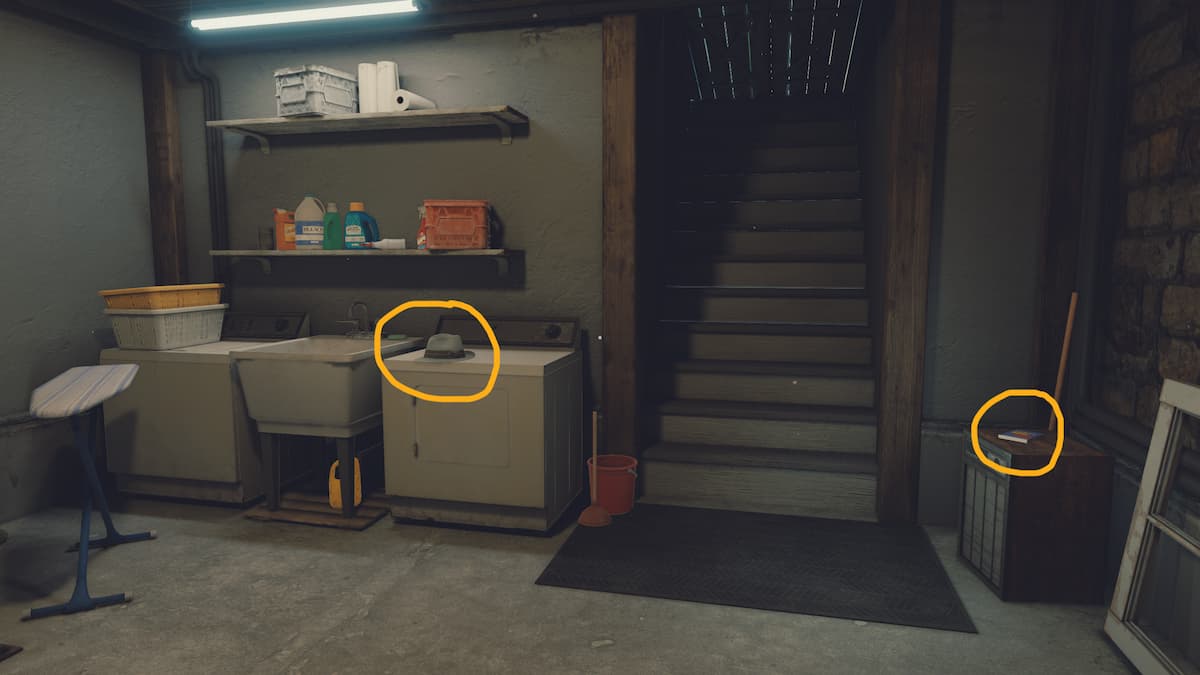
The basement is the next area you’ll explore in the house. In the first room, you’ll want to interact with a fedora and a book to learn more about Tess’ family.
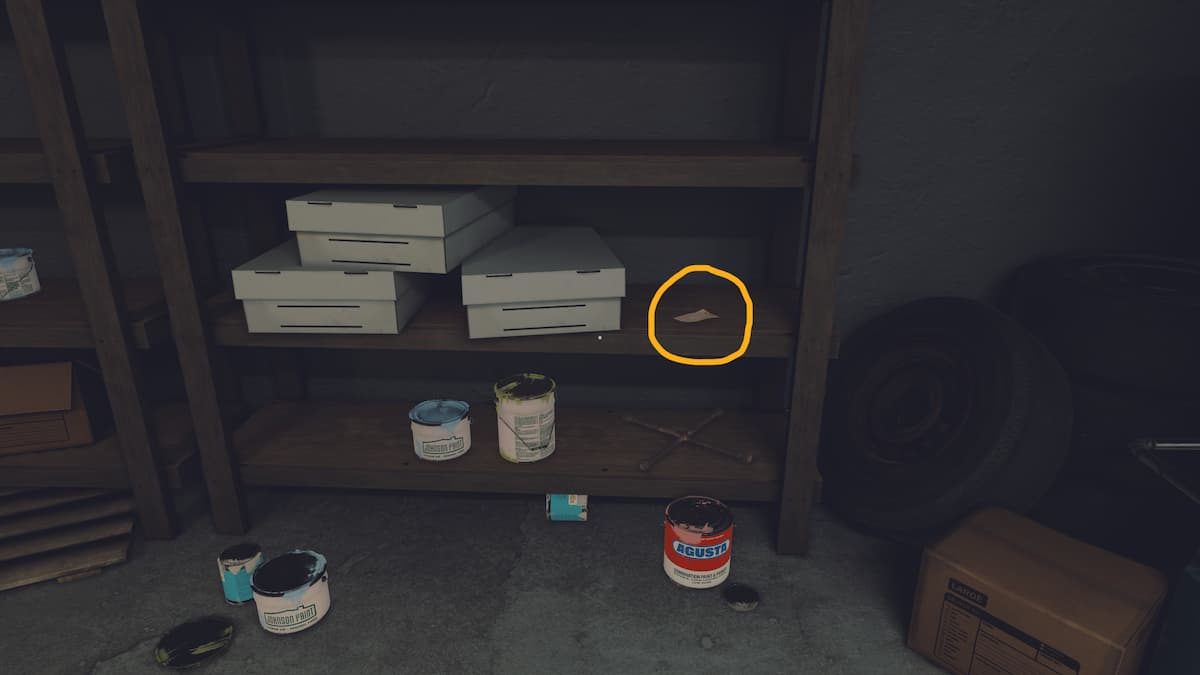
In the next room, there is a small note on the second shelf with information about Opal’s father.
There is a table with tools on the opposite side of the room. Most of the items on the table can be interacted with. However, you’ll want to interact with the small ID card to get another interaction with Tess’ mom.
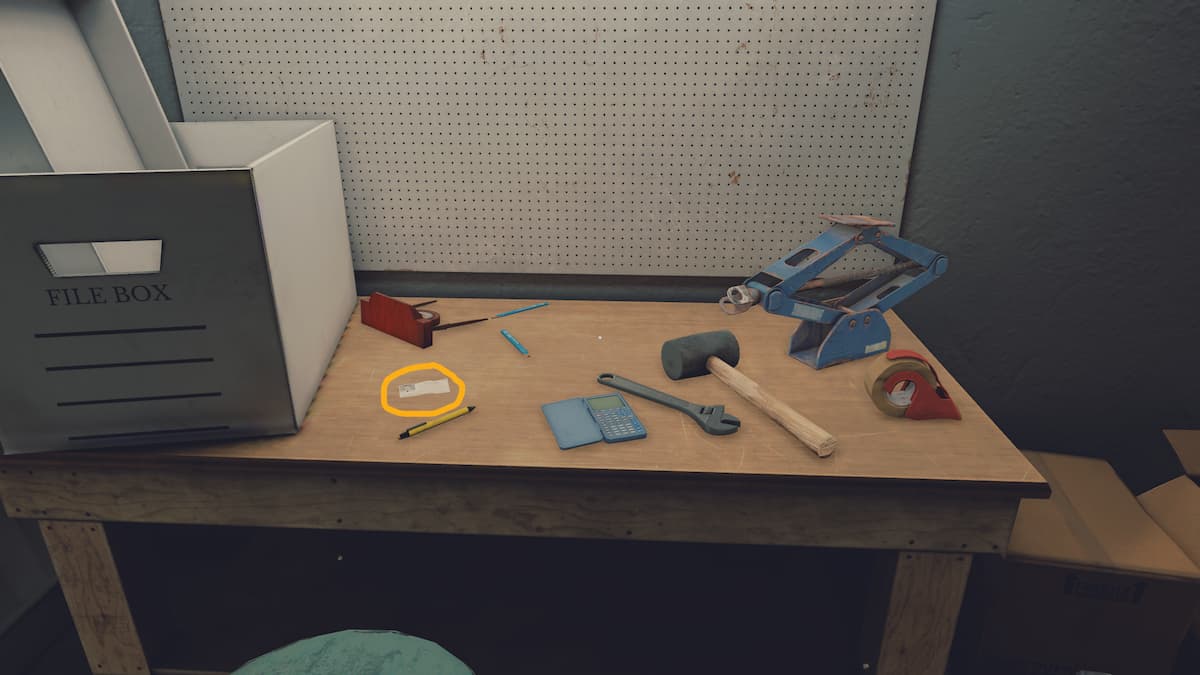
This is everything of importance in the basement. Head up the stairs to come face-to-face with the kitchen.
The kitchen
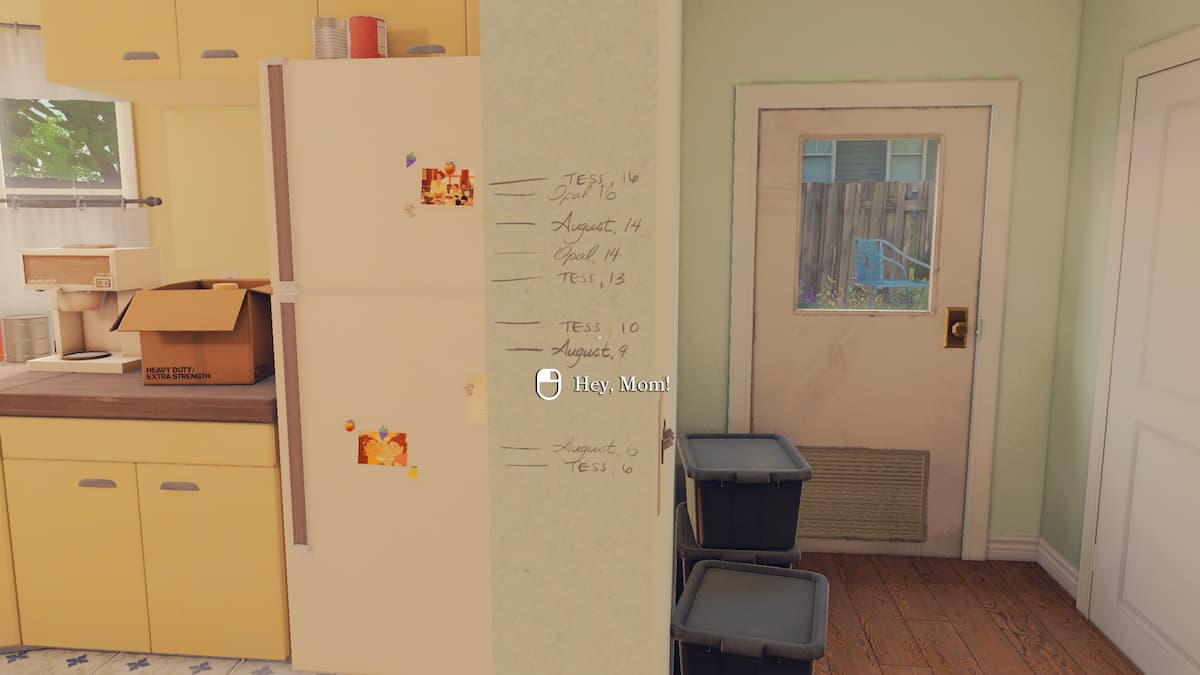
When entering the kitchen, interact with the writing on the doorframe.
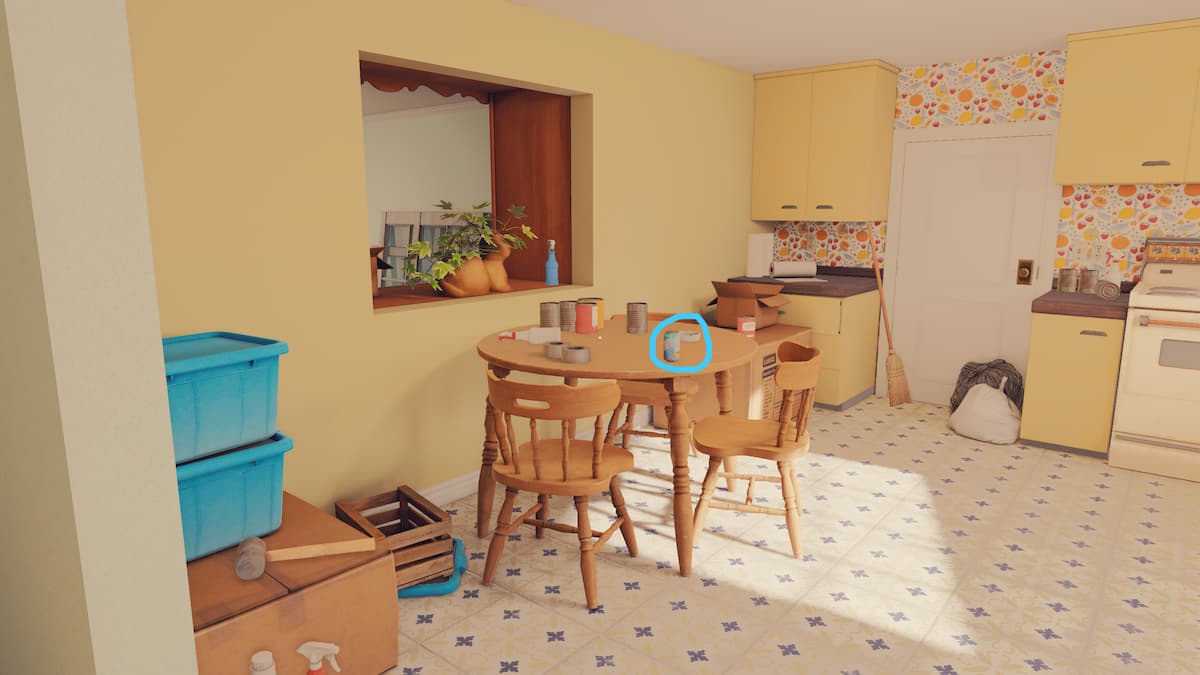
Interact with the soda can on the kitchen table to hear Tess’ thoughts.
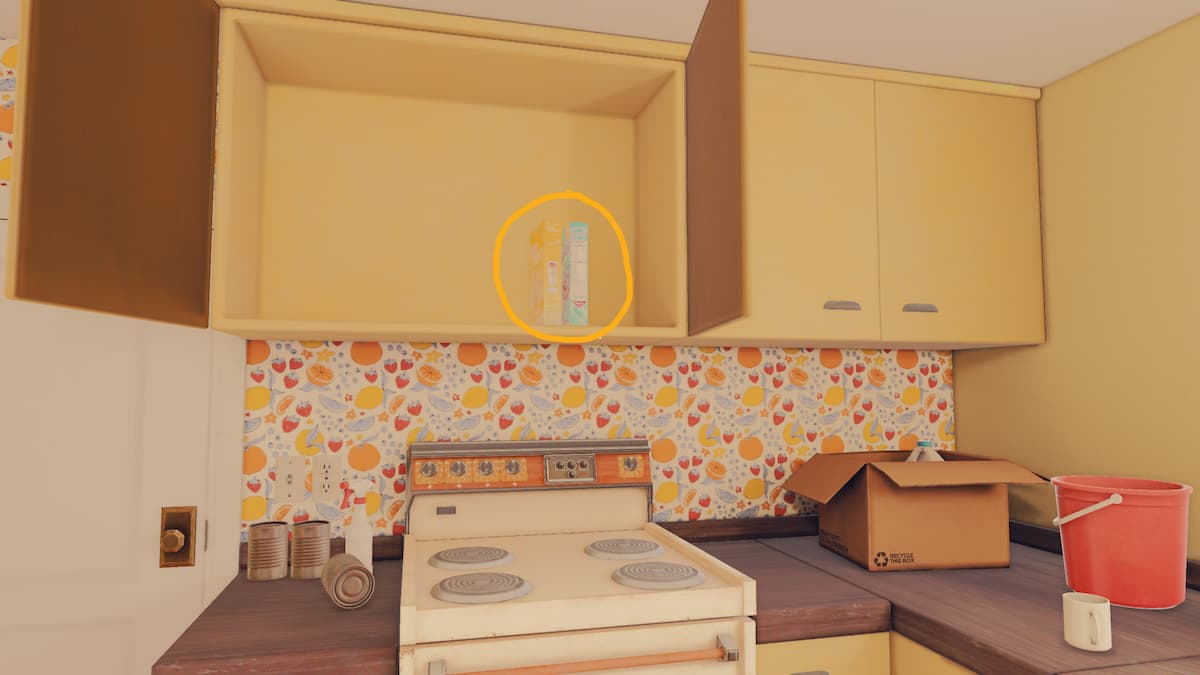
The cabinet above the stove contains two cereal boxes. Interacting with the blue one makes Tess sing its jingle.
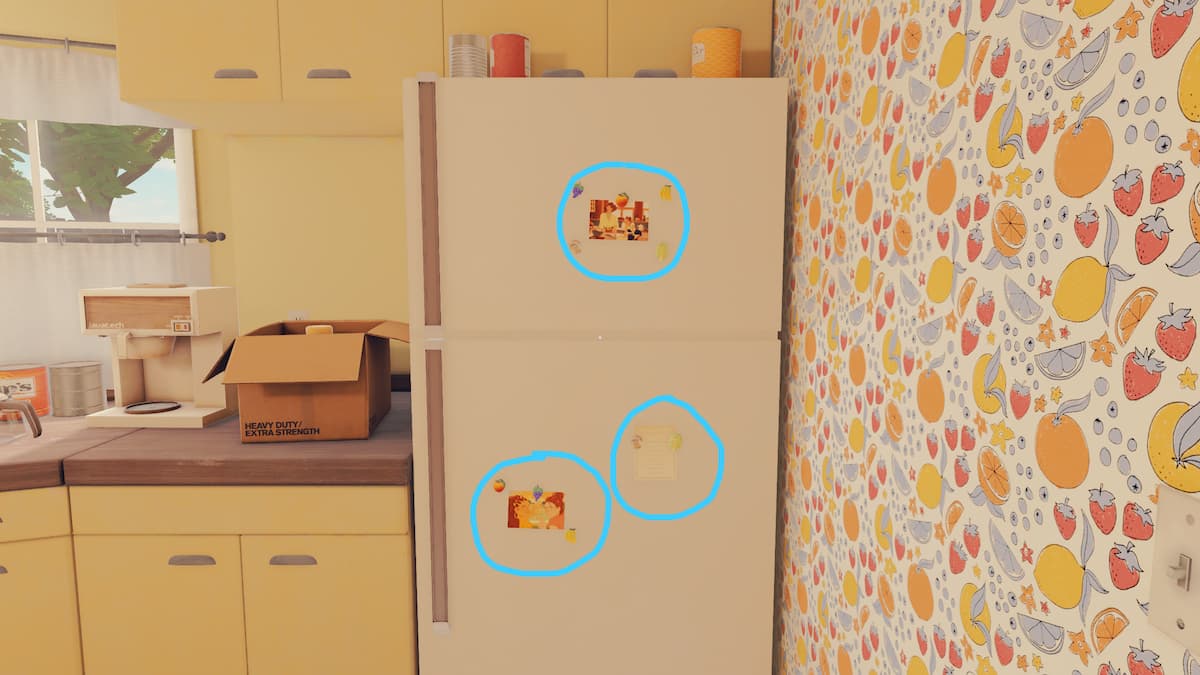
Lastly, the kitchen fridge has a wedding invitation and two photos to look at.
When you’re done in the kitchen, open both the freezer and fridge doors.
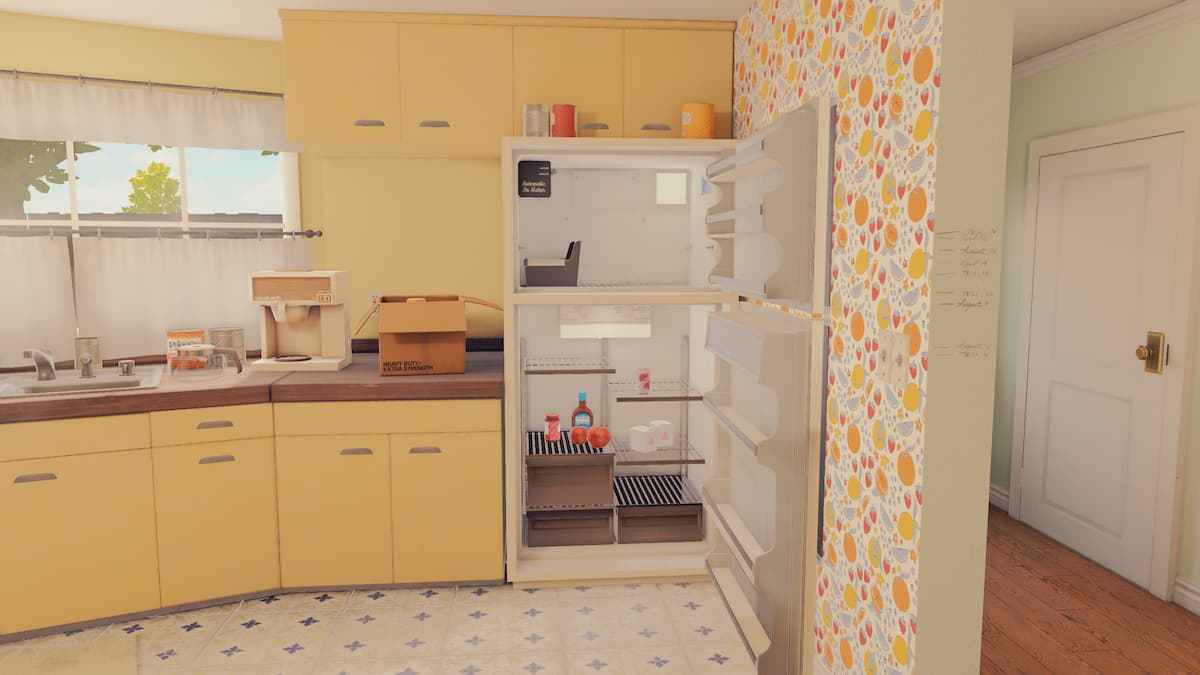
Leave both open and exit the kitchen to get the “Born in a Barn” achievement.
The dining room
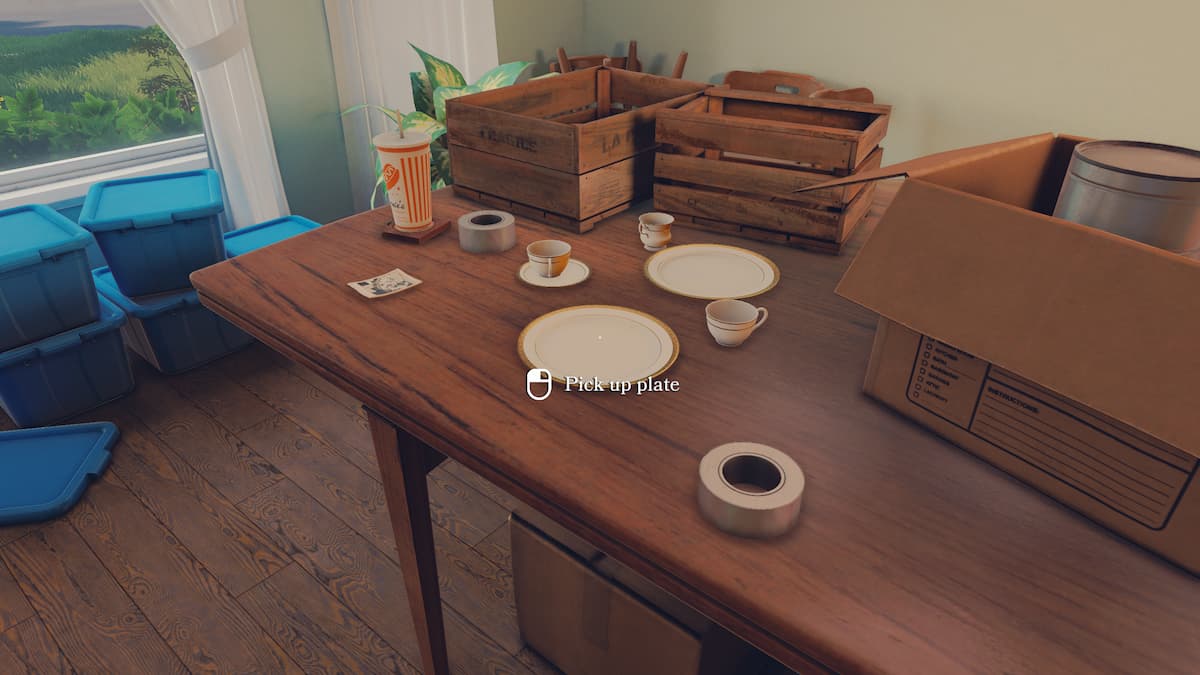
A cracked plate on the dining table starts another interaction between Tess and her mom.
The living room
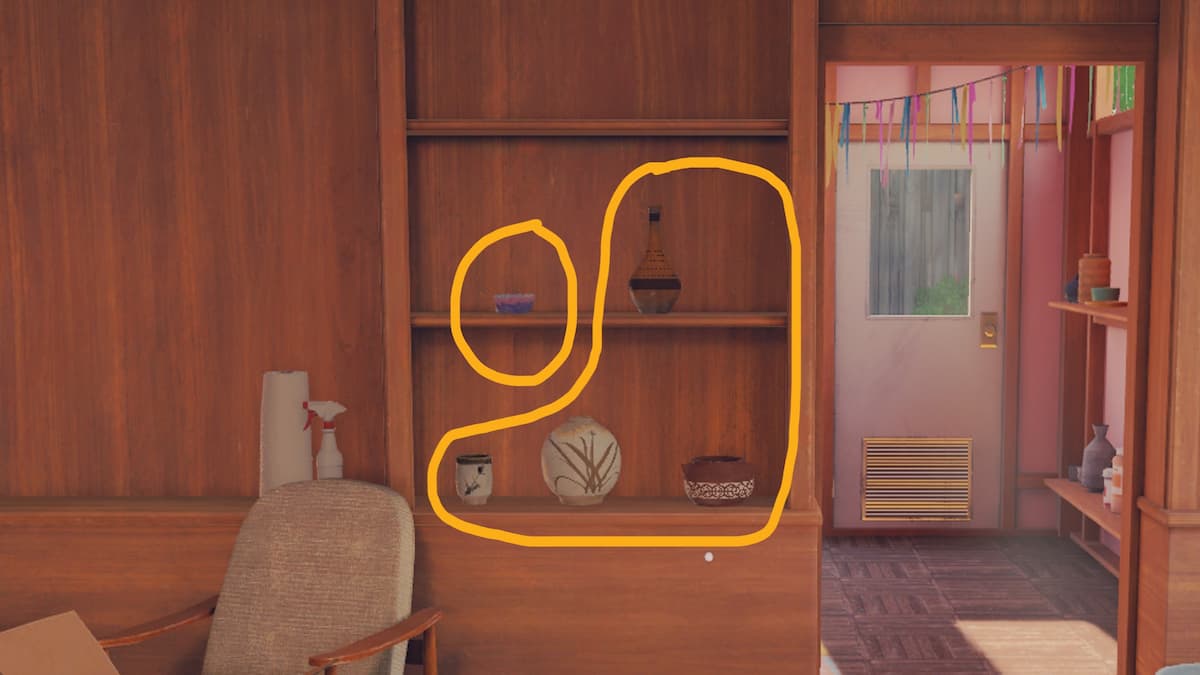
The next important objects are in the living room. This has the most so far, with two photos, a box of cigarettes, and several pieces of pottery providing lore.
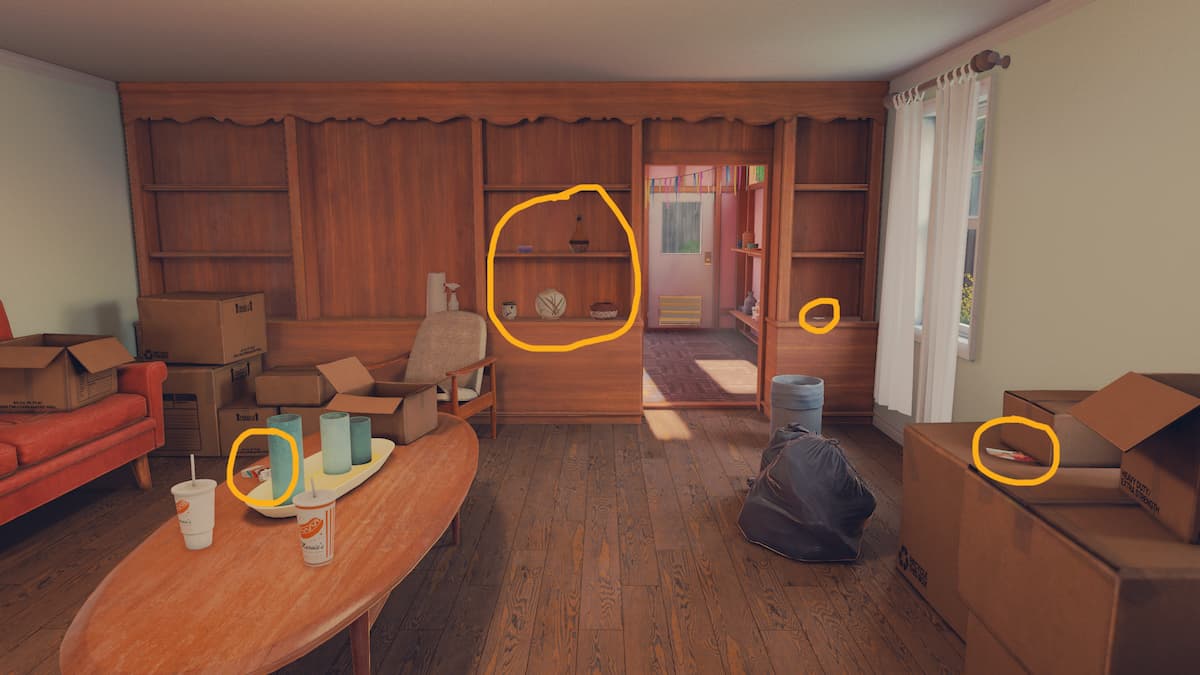
The top left piece of pottery has its own story, while the other four share the same conversation.
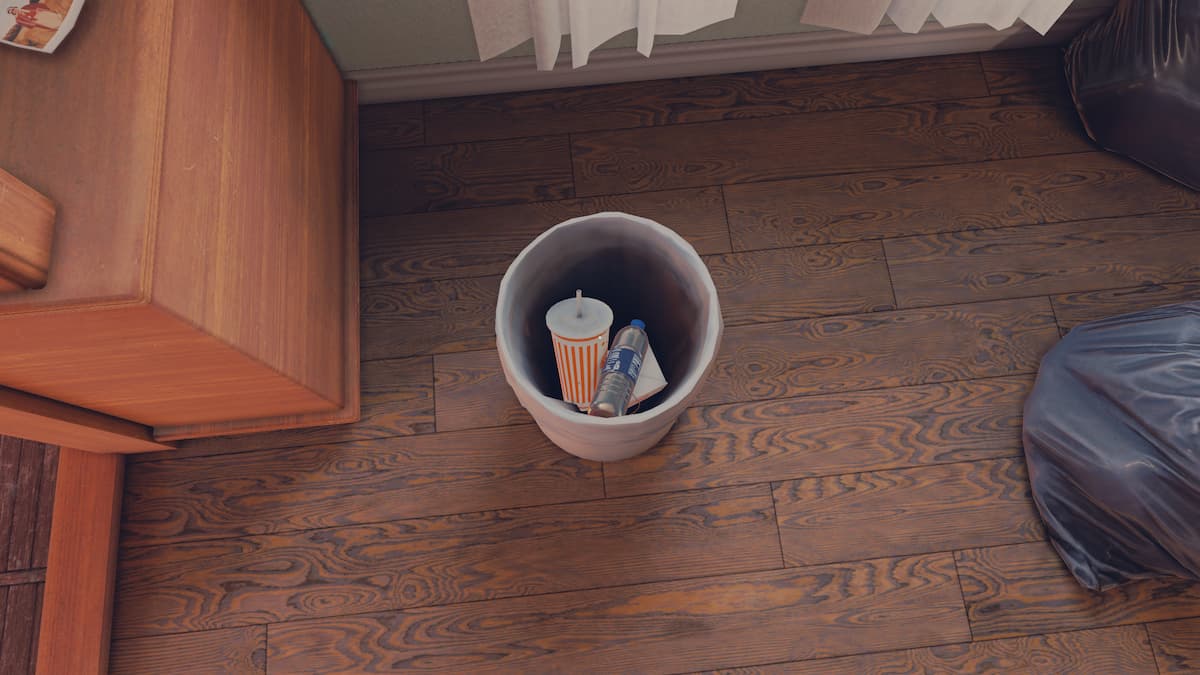
While in this room, pull an item out of the trash can to get the “Just Checking It Out” achievement.
The pottery room
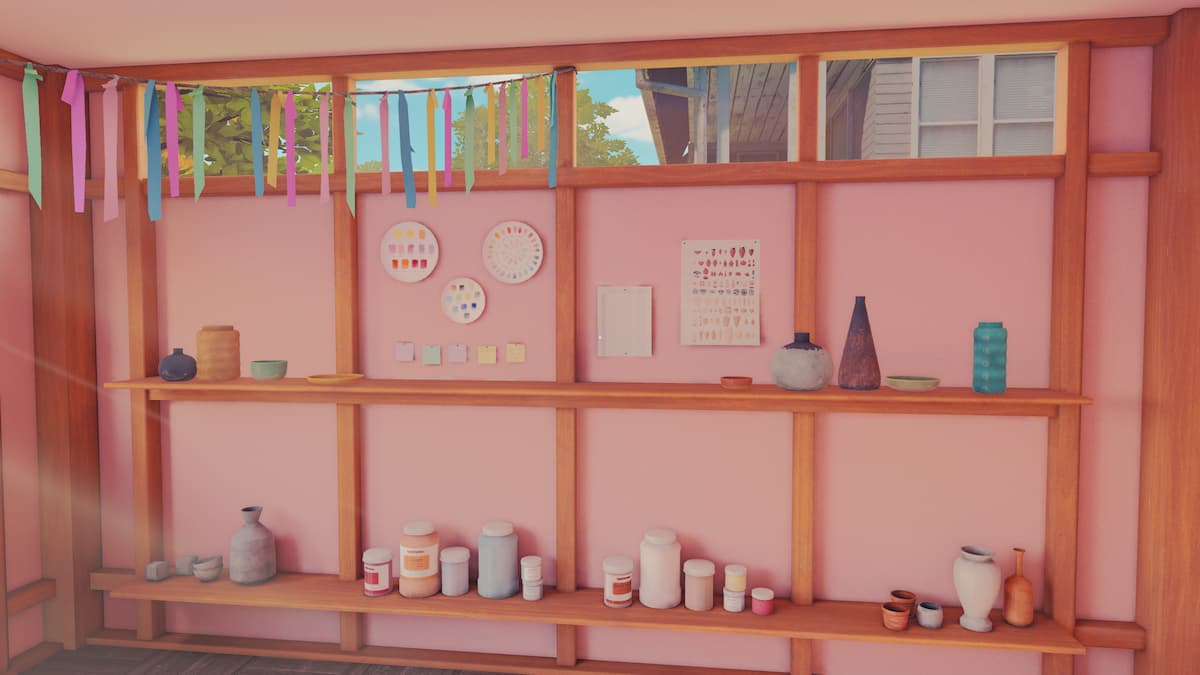
The final downstairs room is the pottery room. As you enter the room, interact with the pottery on the right wall to see a conversation between Tess and Opal.
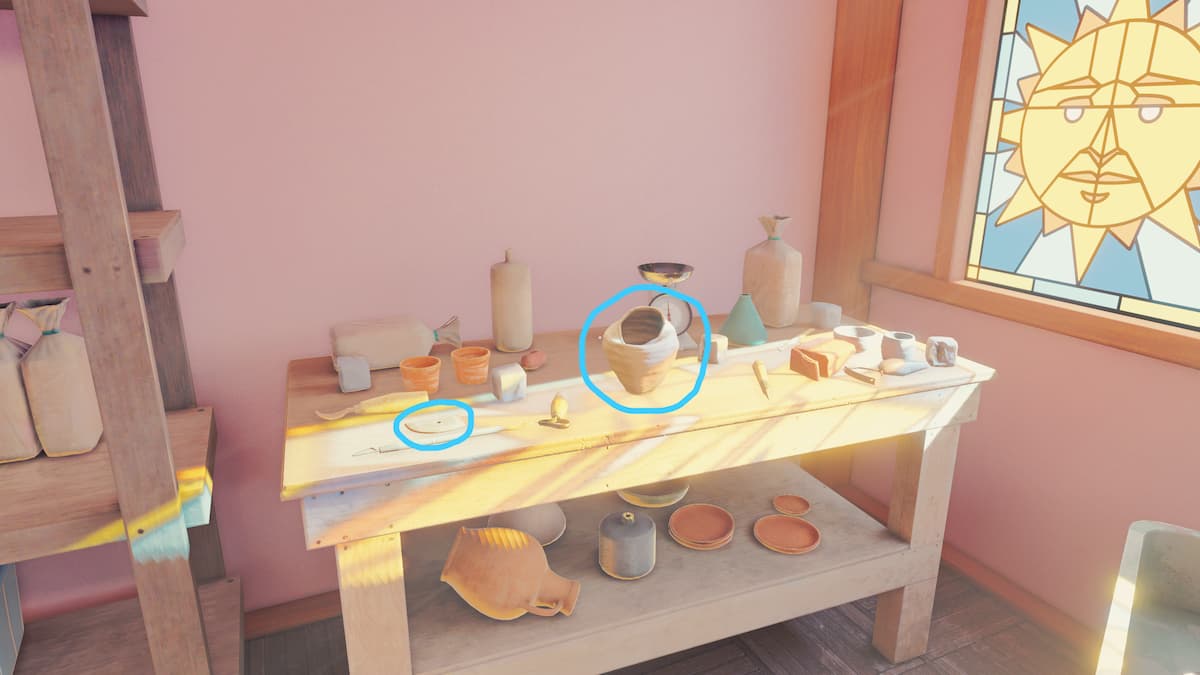
On the left side of the room is a small pottery worktable. One of the tools and the piece of pottery in the center each provide dialogue.
Head up the stairs opposite the front door to unlock the second floor.
The upstairs rooms
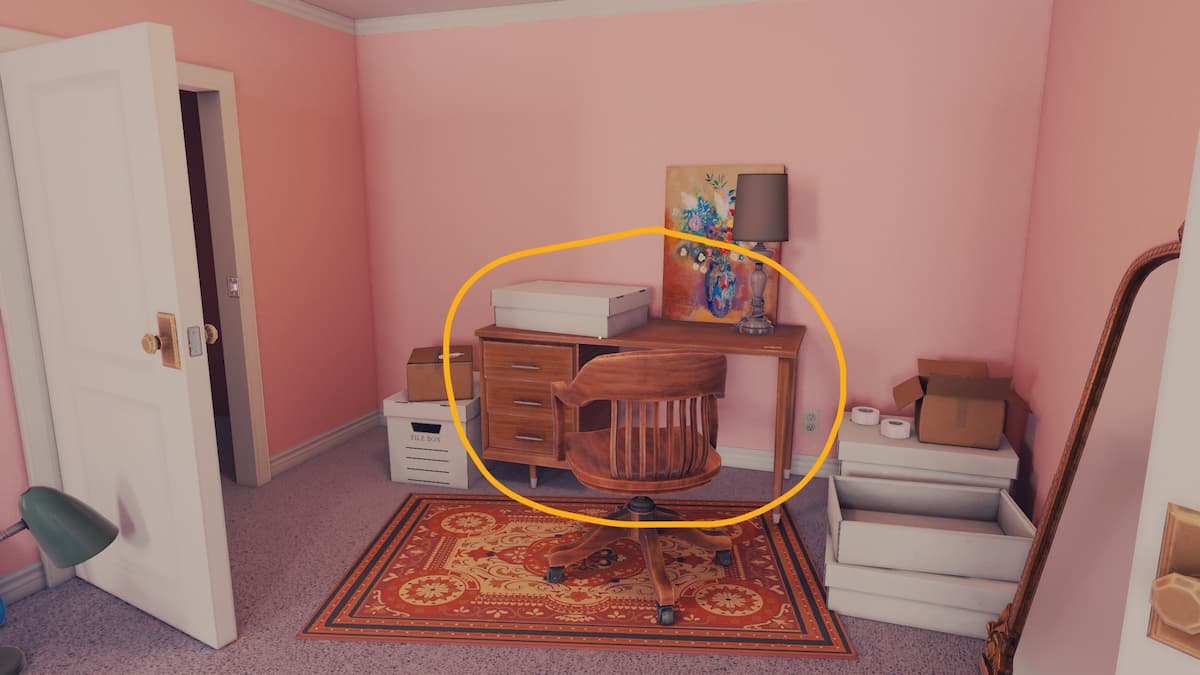
While looking for Aunt August’s book, you’ll have access to the upper floor of the house. I recommend starting in the room to the right of the staircase. The writing desk is the first object in the room to give you a short cutscene.
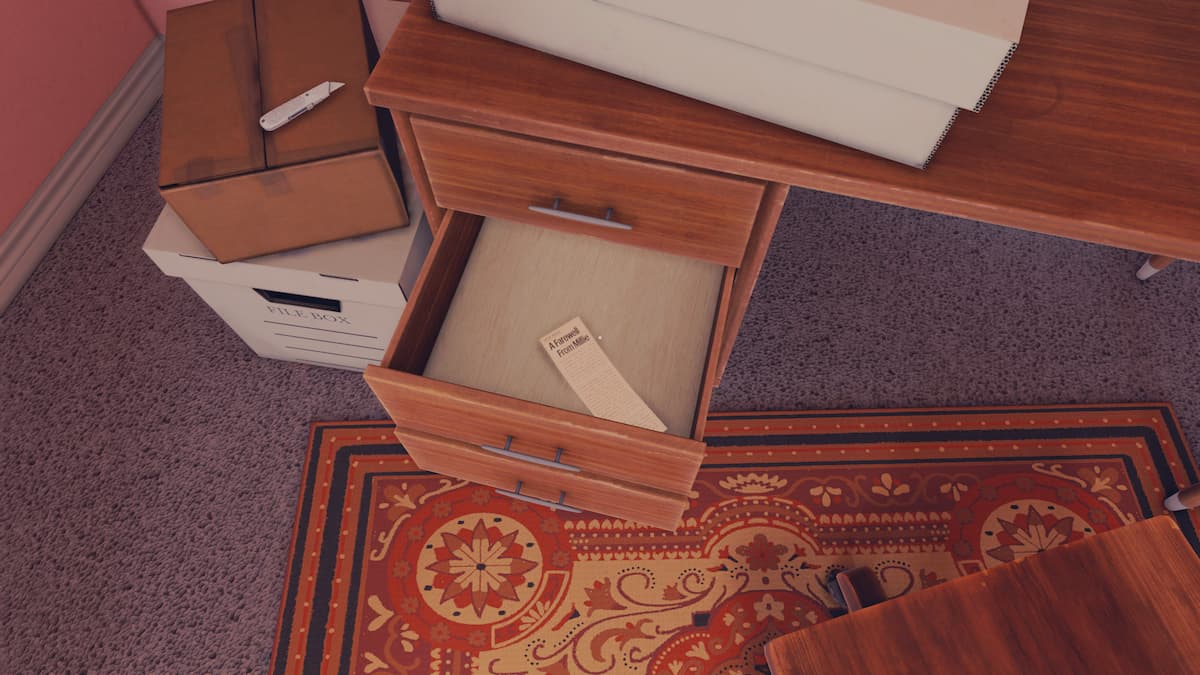
The second object with a cutscene is a newspaper clipping in the second drawer of the writing desk.
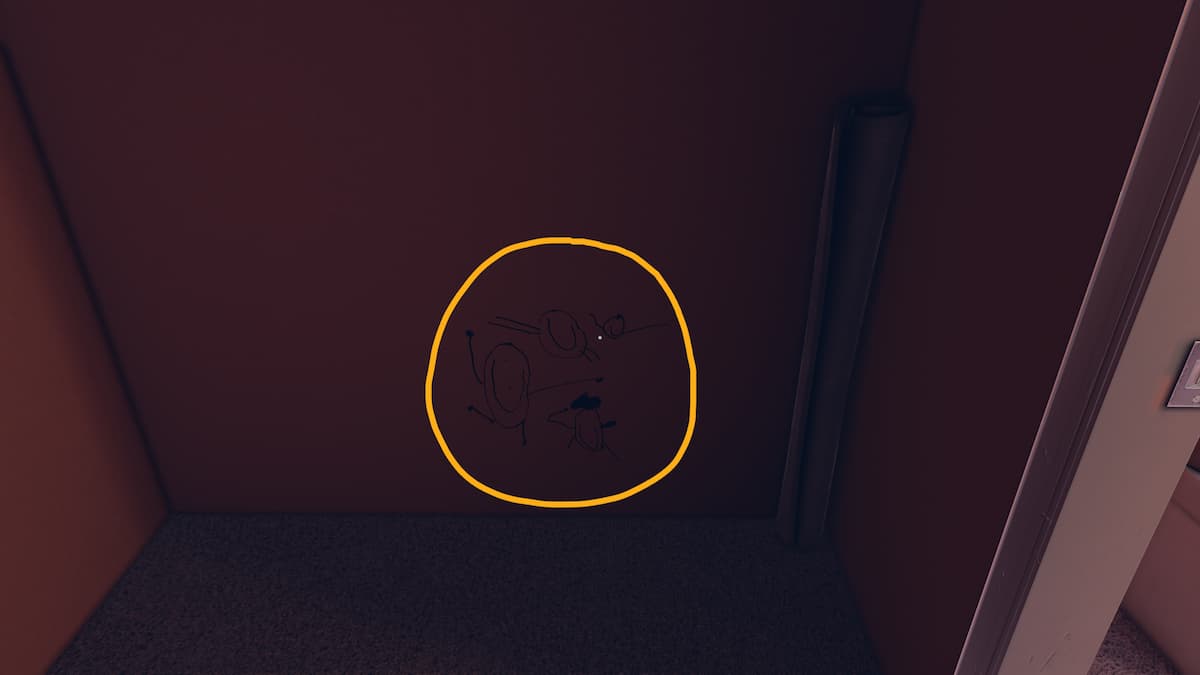
The final object is a drawing on the closet’s wall.
After leaving this room, head to the room at the opposite end of the hall. It will have yellow walls and an armoire in the back right corner of the room.
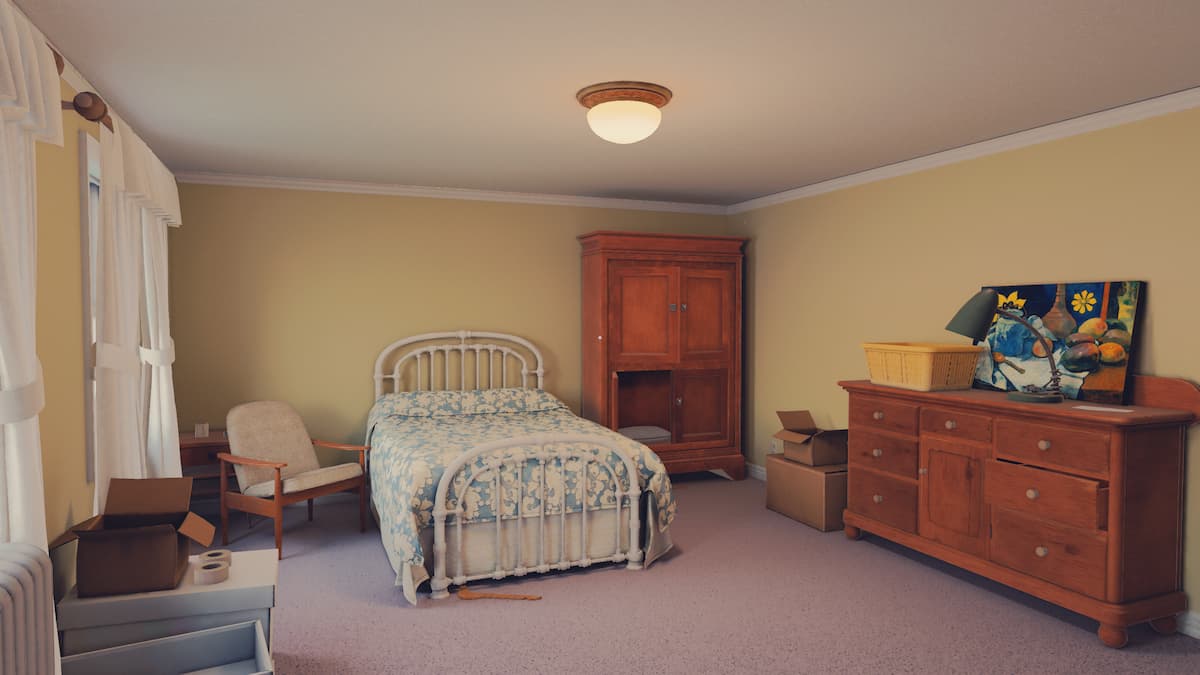
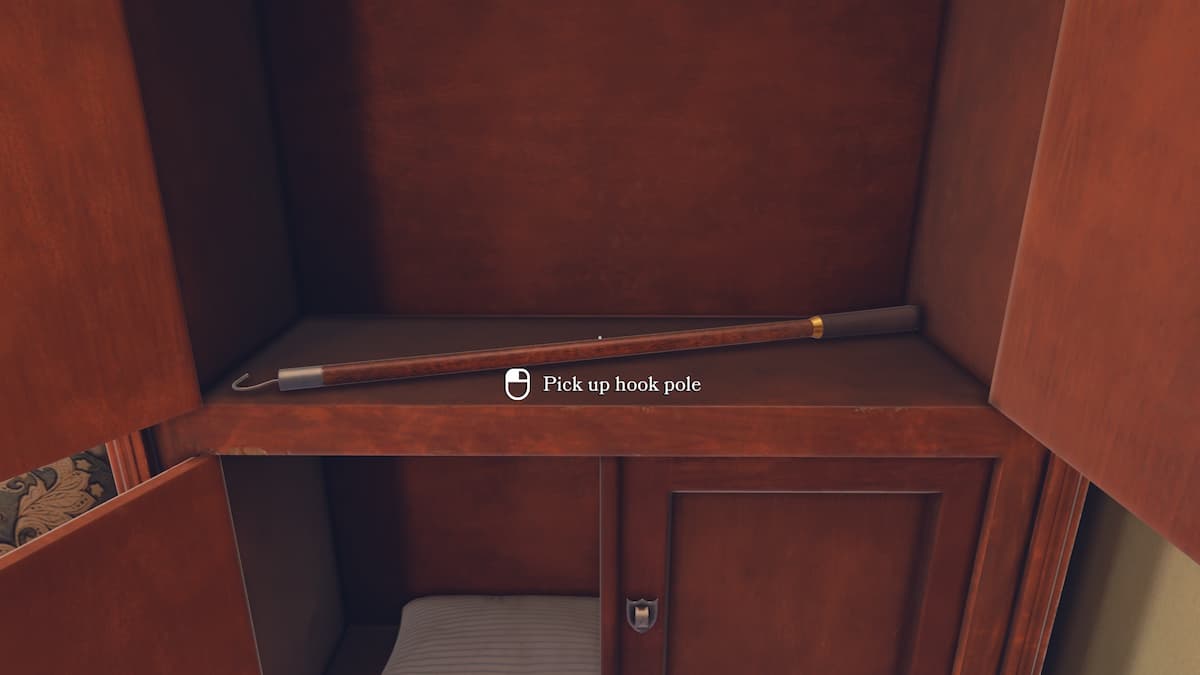
Approach the armoire and open its doors to find a hook pole. Interact with it to get a cutscene and unlock access to the attic.
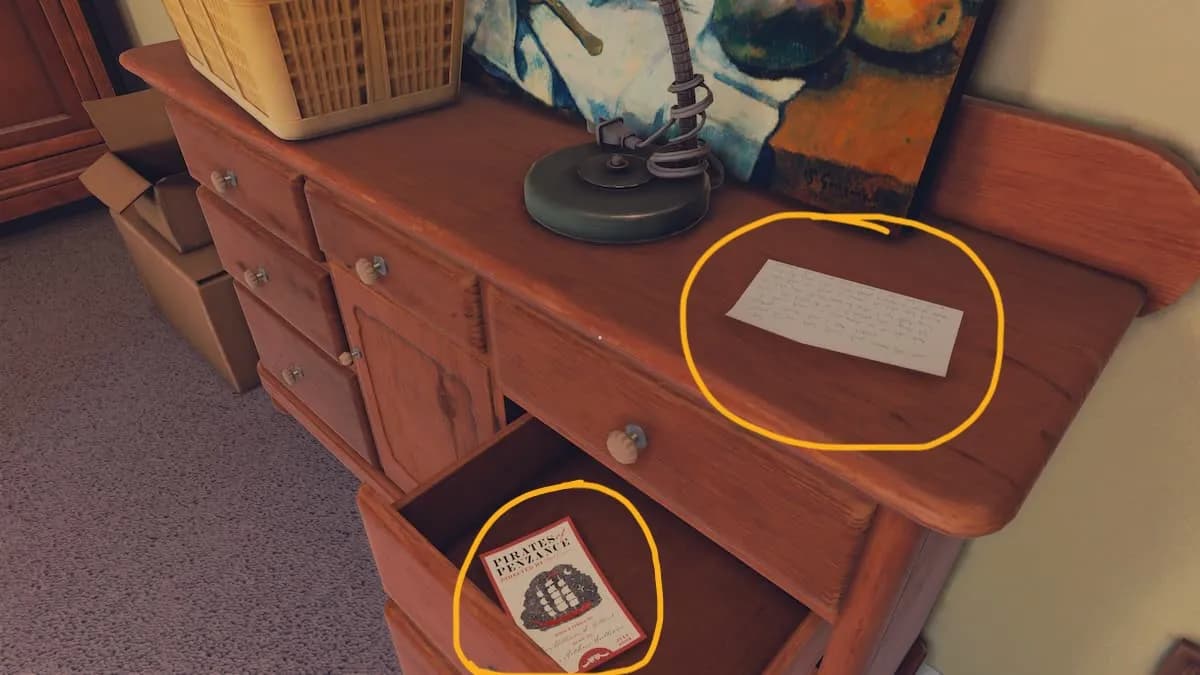
Before leaving the room, check the dresser to find a note and a playbill in a drawer on its right side.
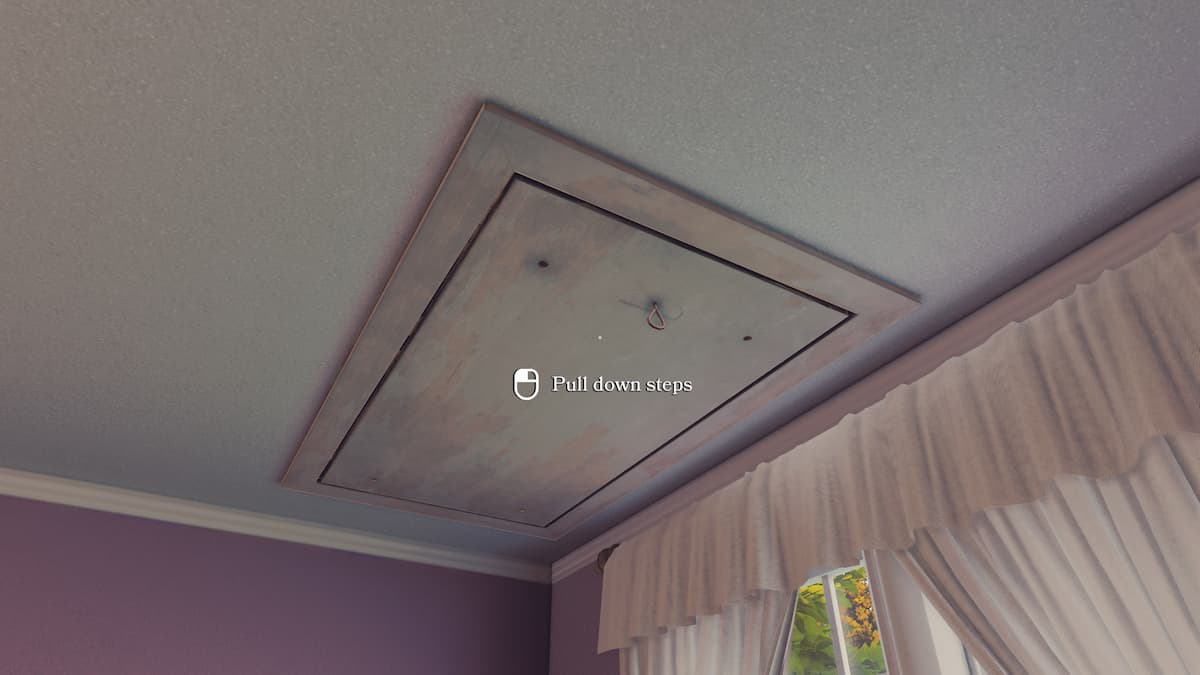
You can now pull down the attic stairs when you leave the room.
Attic
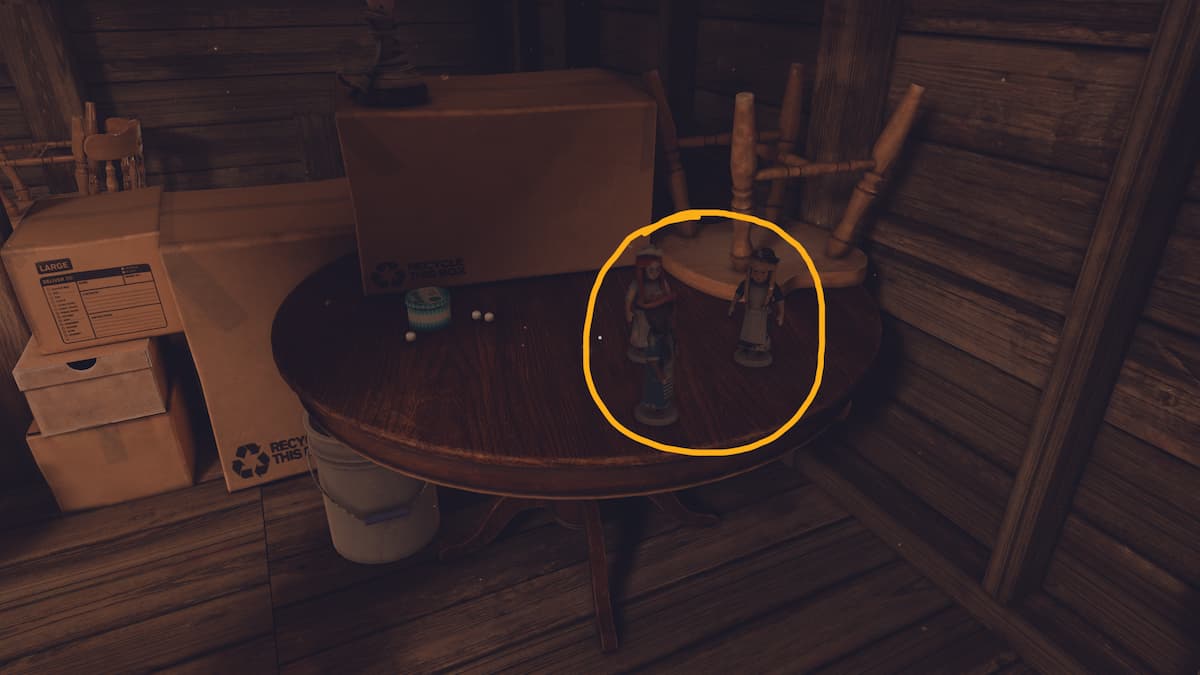
A table on the right side of the attic has three dolls. Interact with one to initiate a conversation between Tess and Opal.
There are two lore items on the left side of the attic. The first is a bowling trophy, while the second is a wedding dress.
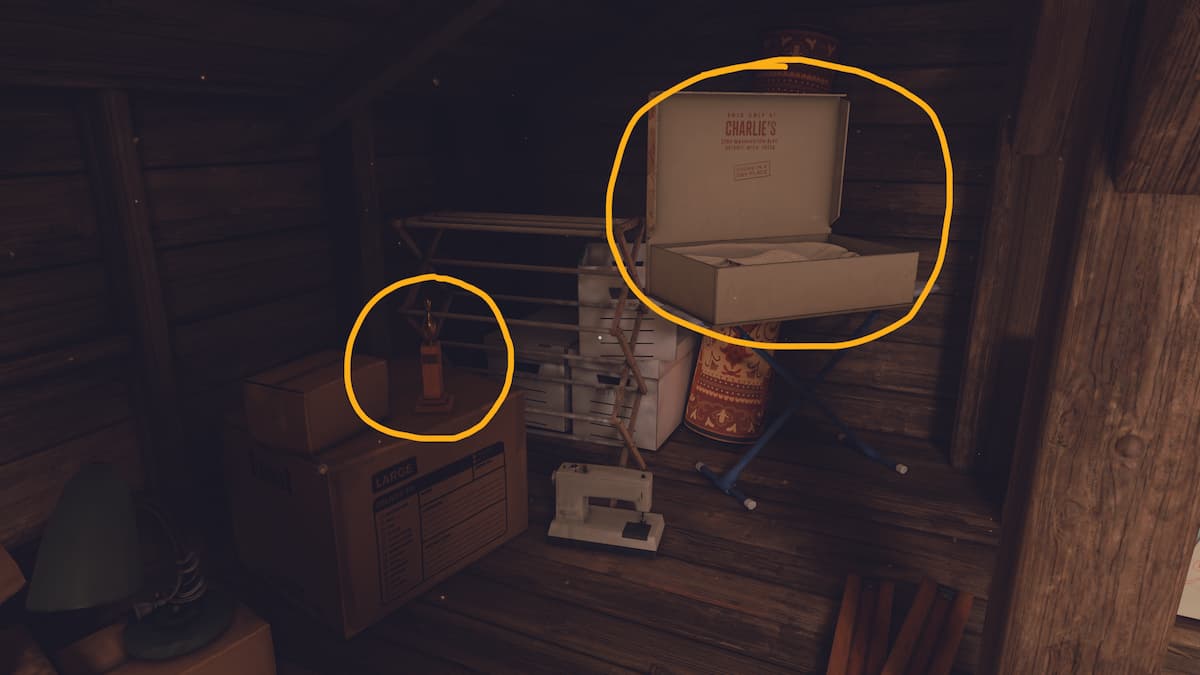
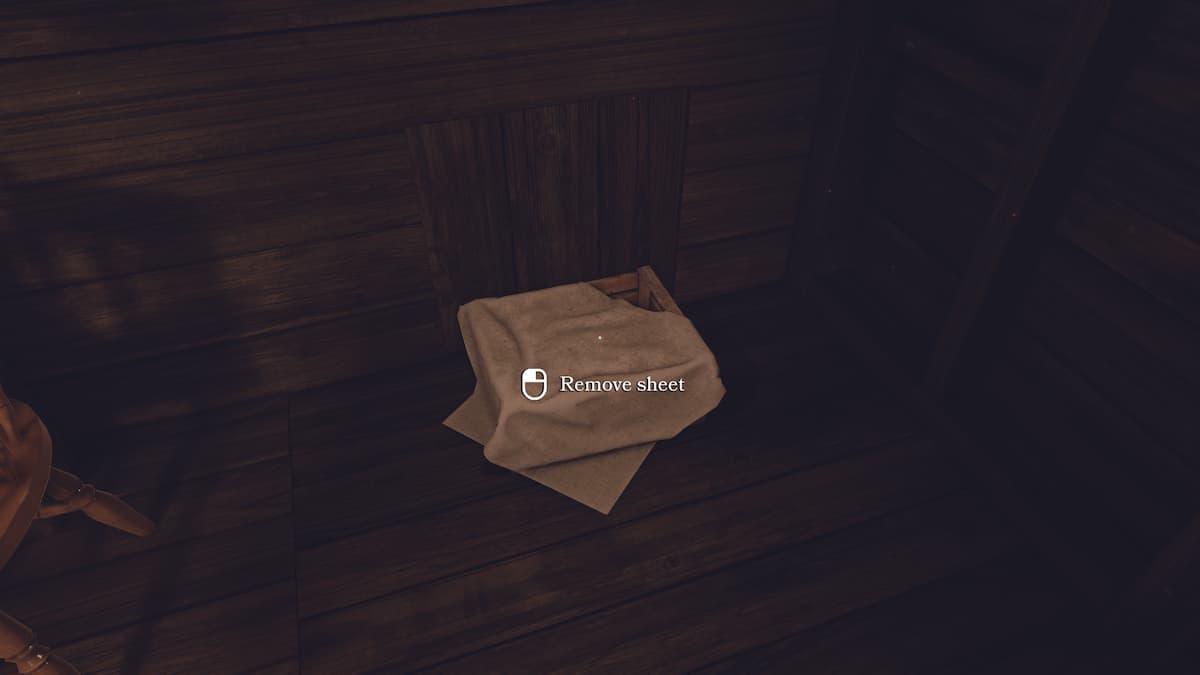
In the right corner of the attic is a box covered by the sheet. Remove the sheet to find a small secret compartment.
Now, there will be a suitcase to go through. There are two snapshots on top to look at.
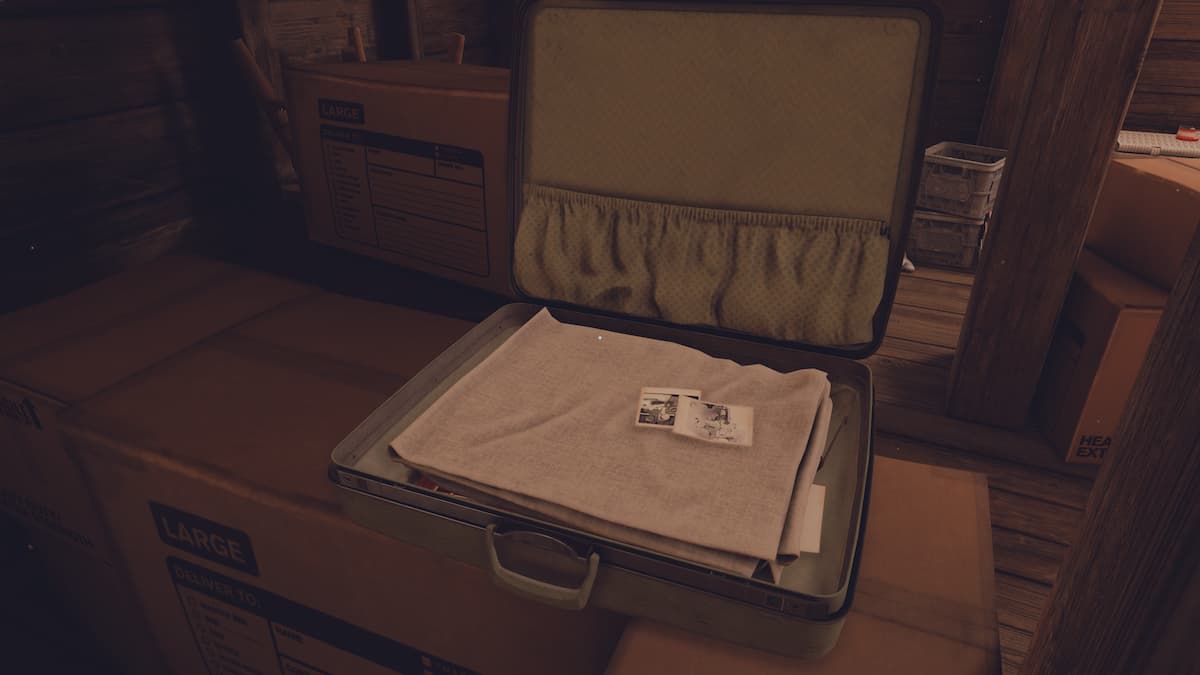
Afterward, remove the sheet from the suitcase to look at the rest of the items.
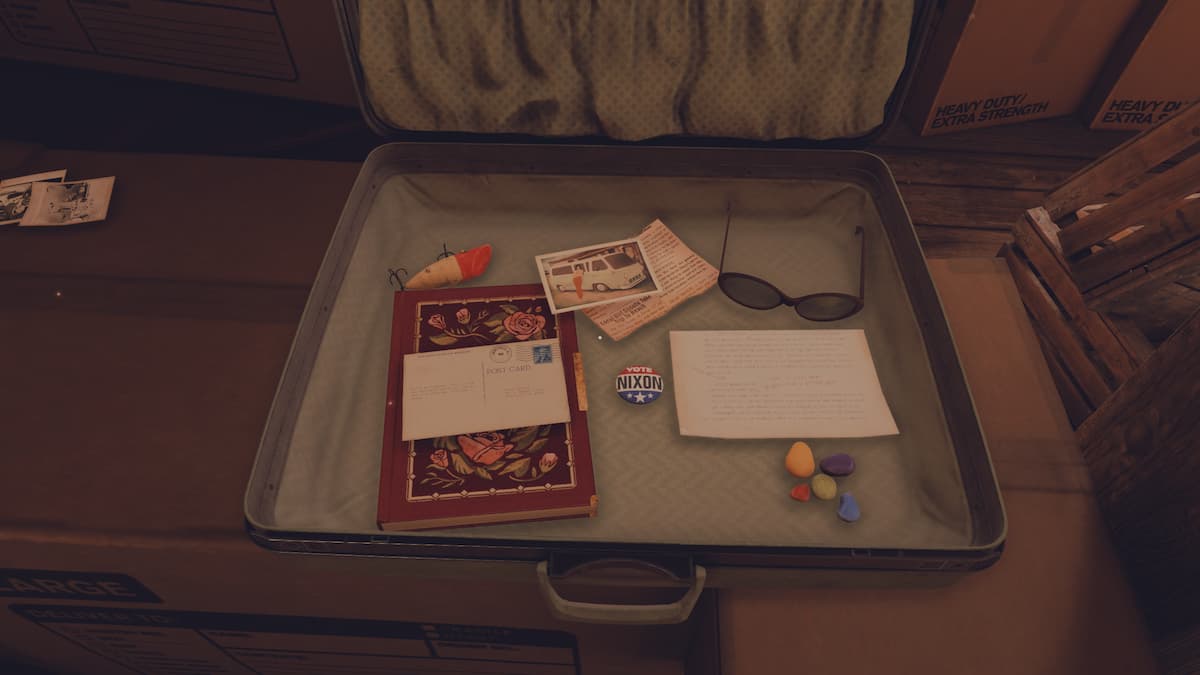
The written letters, notes, and photos give some background information. To advance the story, grab the red diary. It gives you the “Problem Attic” achievement and starts the second chapter of Open Roads.
Related: How to customize your fox in Tunic
Open Roads Chapter 2 Hit the Road Walkthrough
At the start of the road trip, you’ll need to use the radio to get the “The Signal” achievement. If you do it later in the ride, you won’t get the achievement. Look at the radio and interact with it to get permission from Opal to use it.
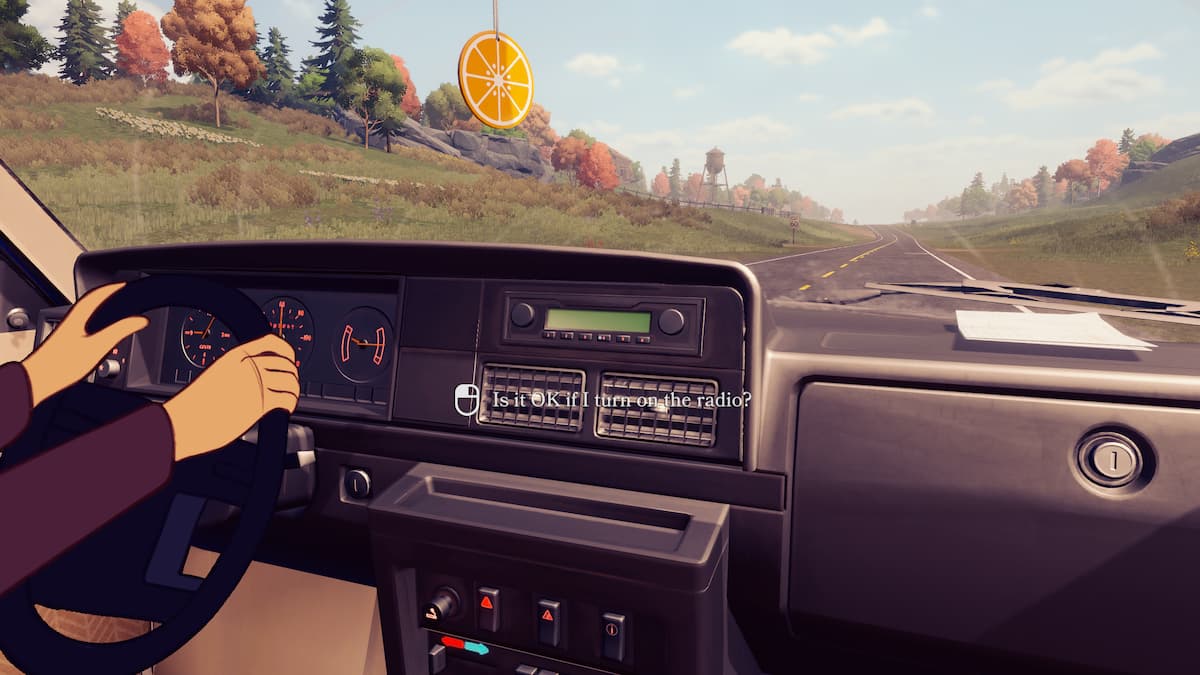
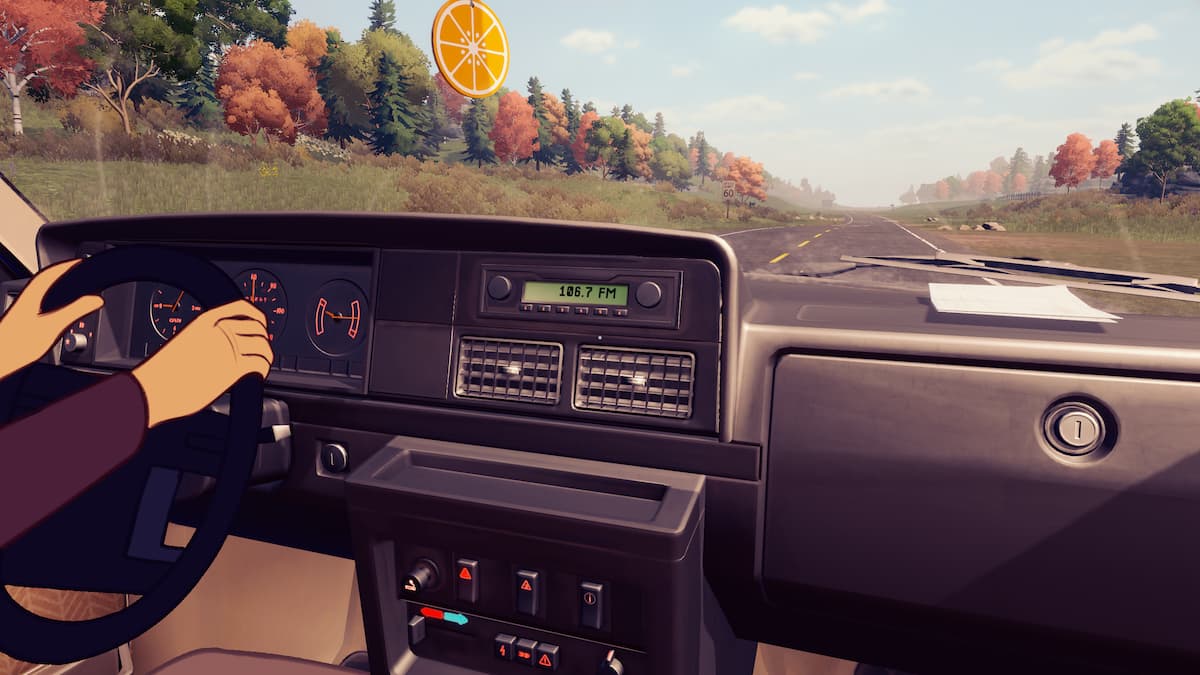
Turn the radio to 106.7 and wait. A cutscene with Tess’ mom will start, giving you the achievement.
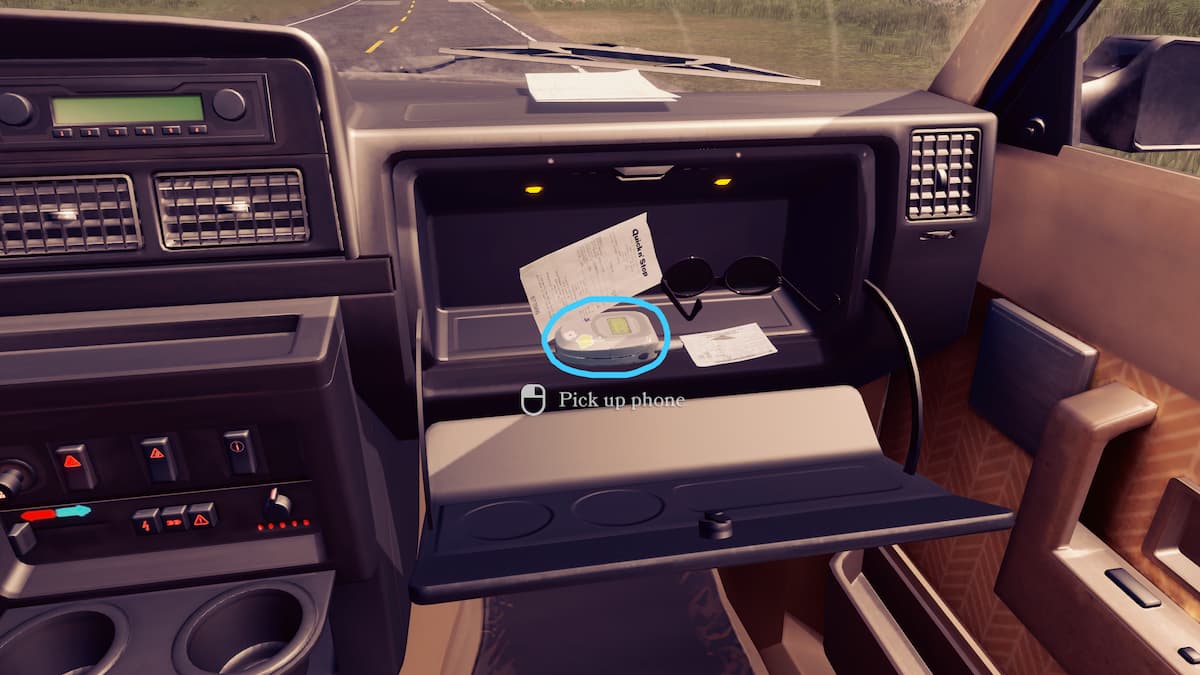
Now open the glove box. There are a few items in there, but the only useful one currently is Tess’ phone.
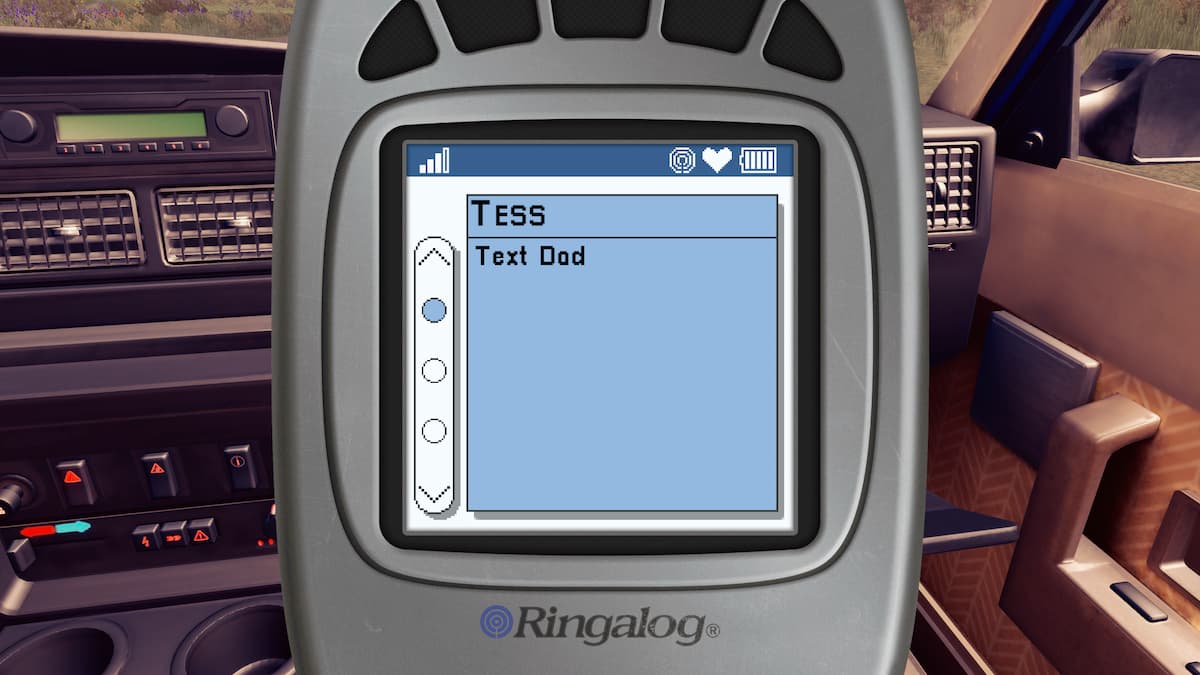
Use it to text both Tess’ dad and her best friend Francine.
After sending the texts, turn to face the backseat of the car and open Tess’ backpack. This enables a short cutscene between Tess and Opal. After the scene, rapidly open and shut the backpack until Tess’ mom gets annoyed to get the “Does This Bug You?” achievement.
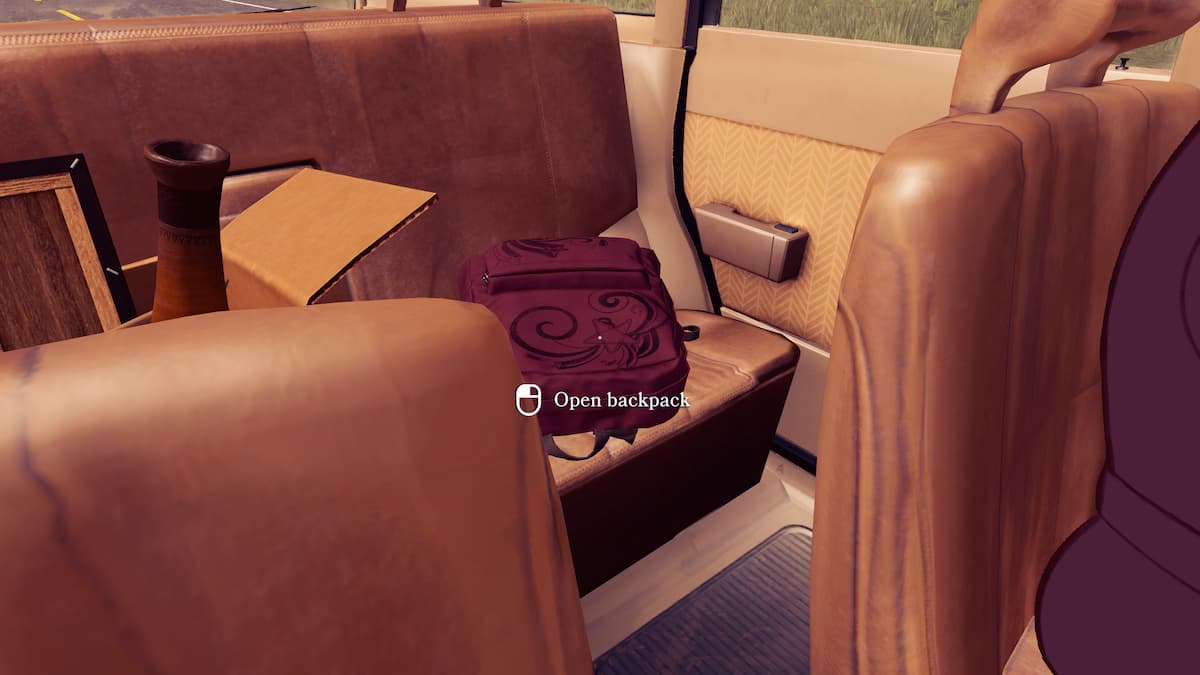
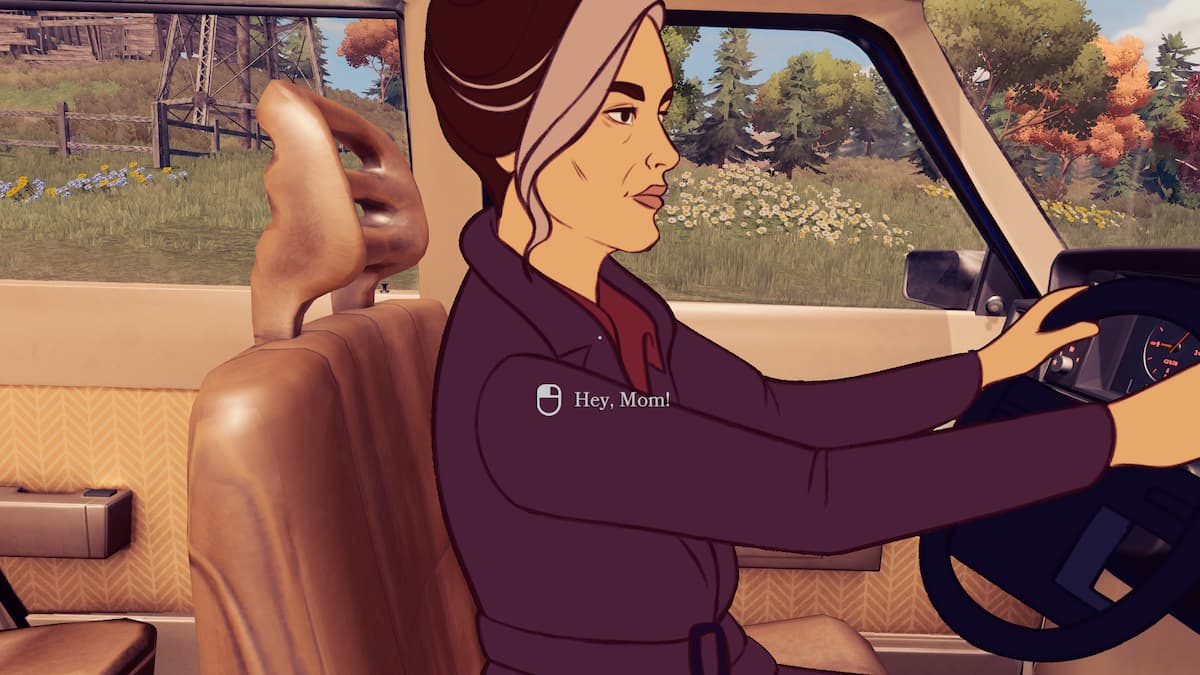
Once you’ve got these two achievements, turn to your mom and start a conversation.
Once the conversation ends, your phone will buzz in the glove department. Pick it up.
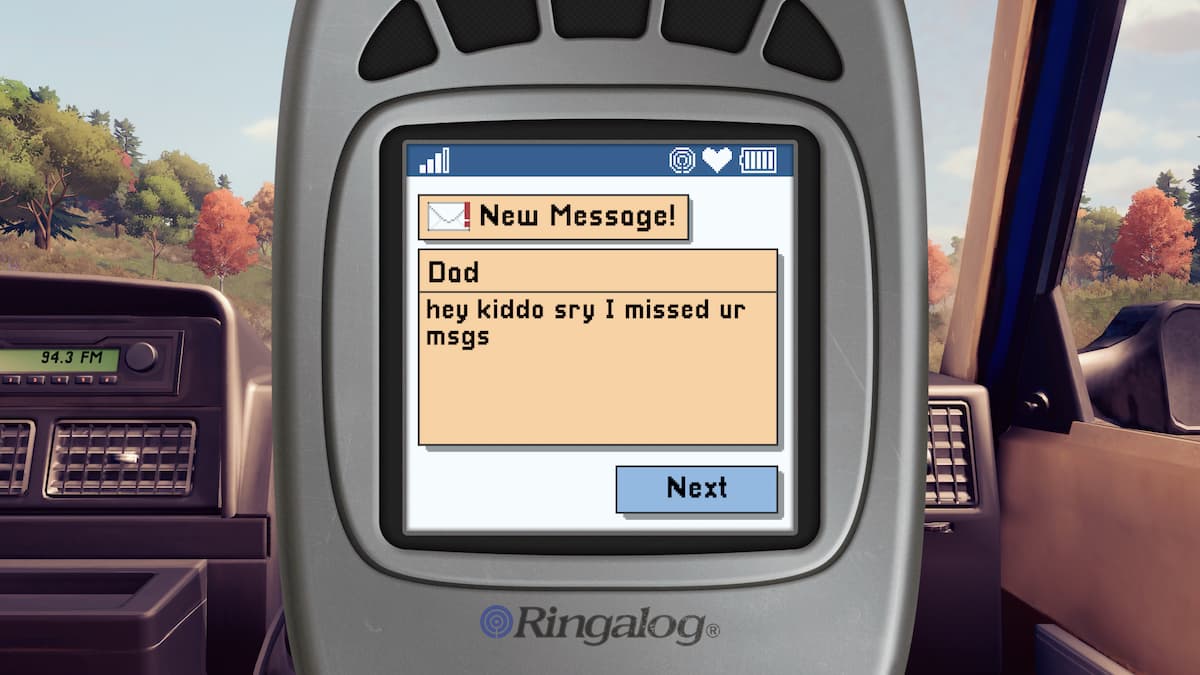
After the messages, you’ll get the “Are We There Yet?” achievement and arrive at the summer home.
Open Roads Chapter 3 Summer Home walkthrough
Select the back doors of the summer van. They will be locked, but your mom will tell you the keys are in your Aunt August’s old room. Keep that in mind while you look around.
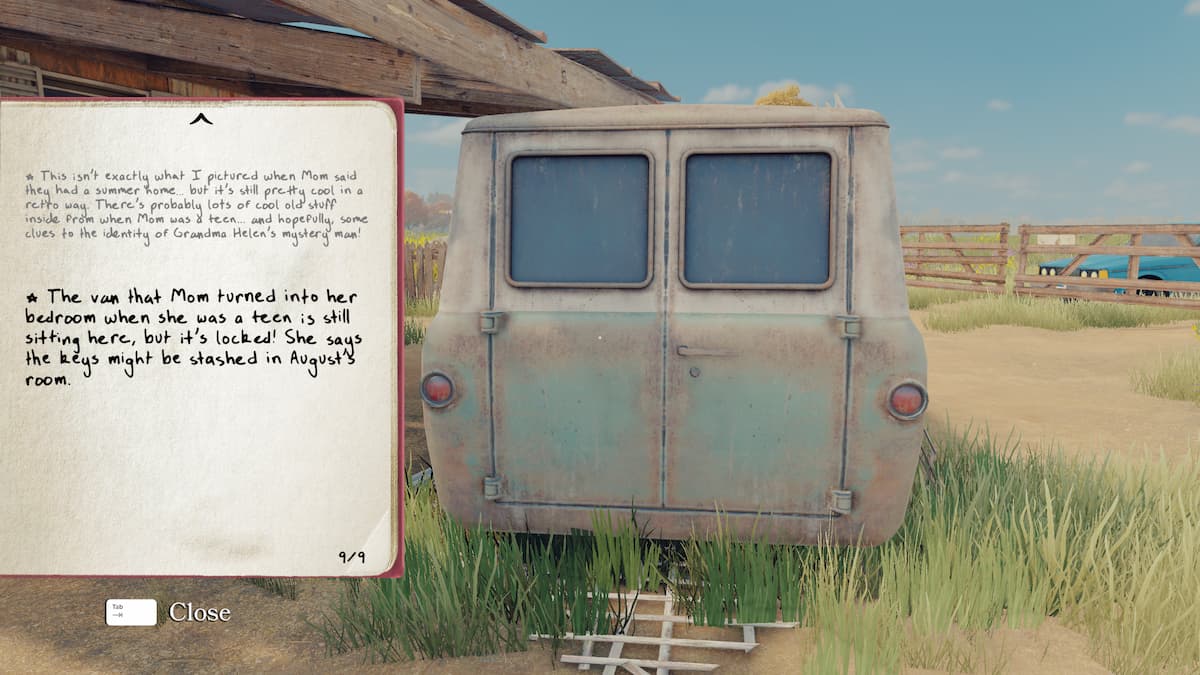
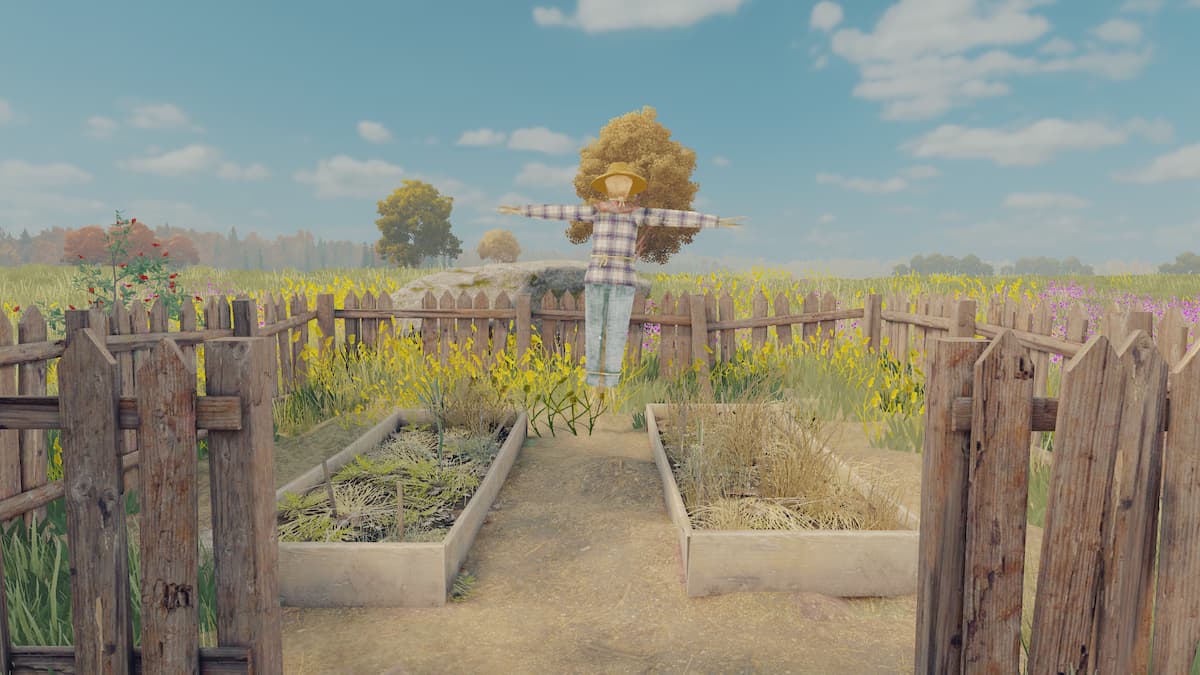
On the right side of the house, interact with one of the garden beds to learn more about Tess’ Aunt August.
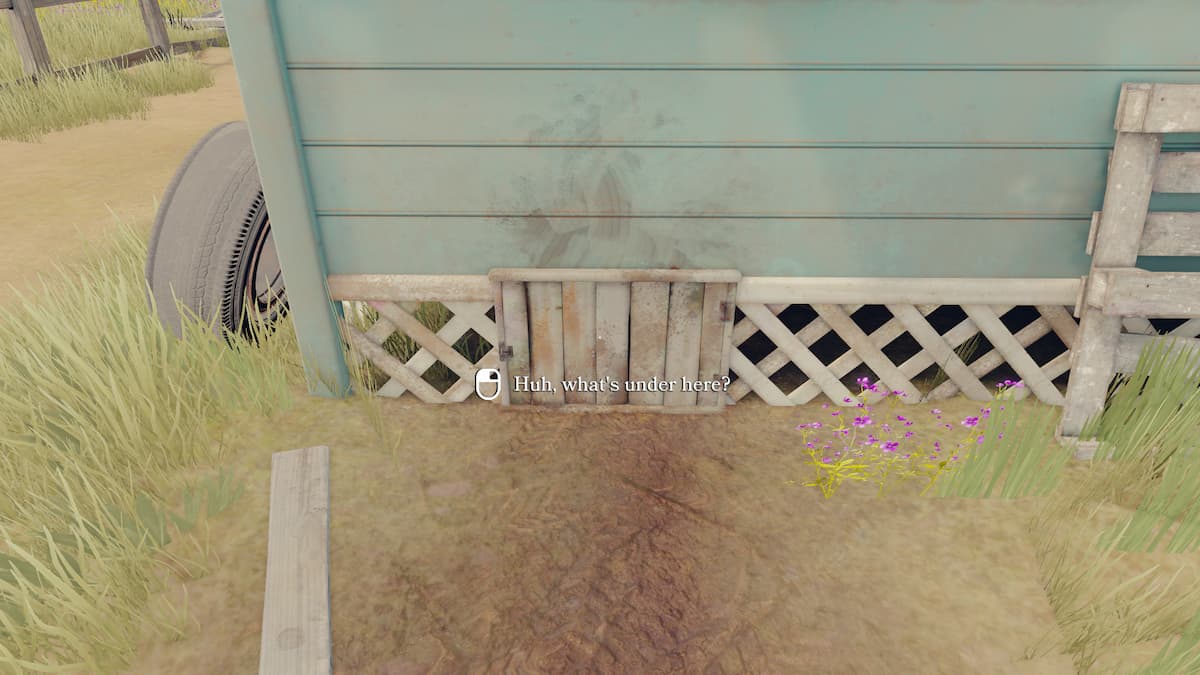
A small doorway to the crawlspace beneath the house is found on the left side of it. Hold the interact button while looking at it to enter it.
The crawlspace
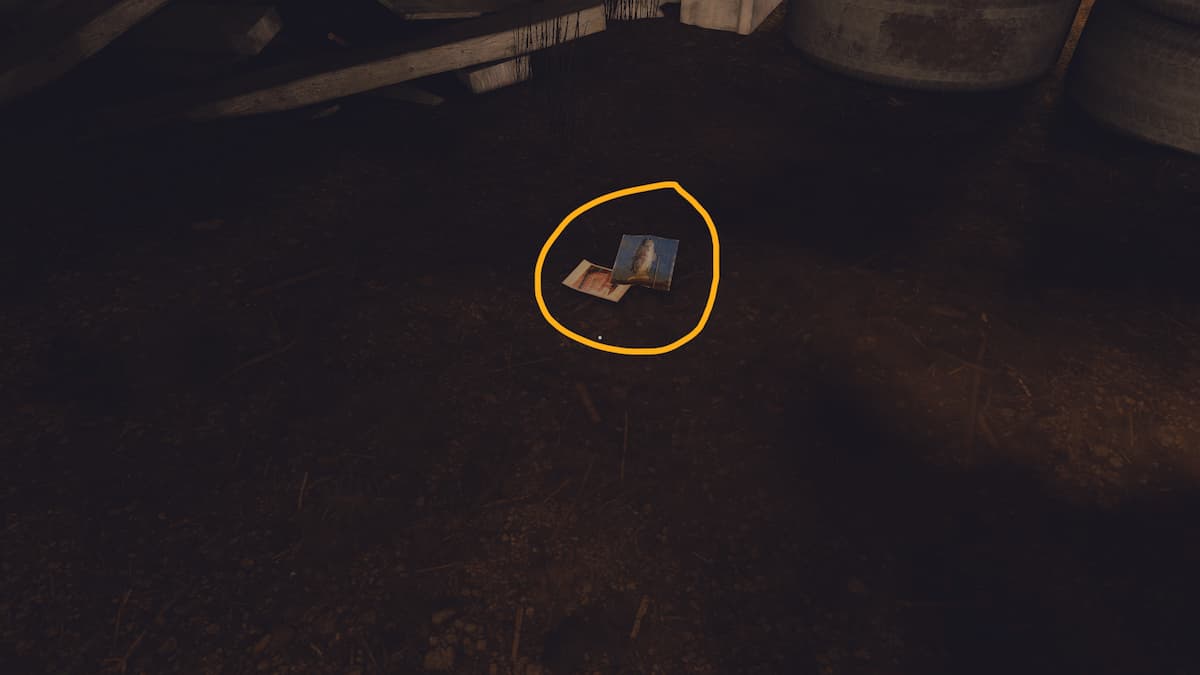
Travel around the crawlspace until you reach the center. There will be a photo and a postcard that can be examined.
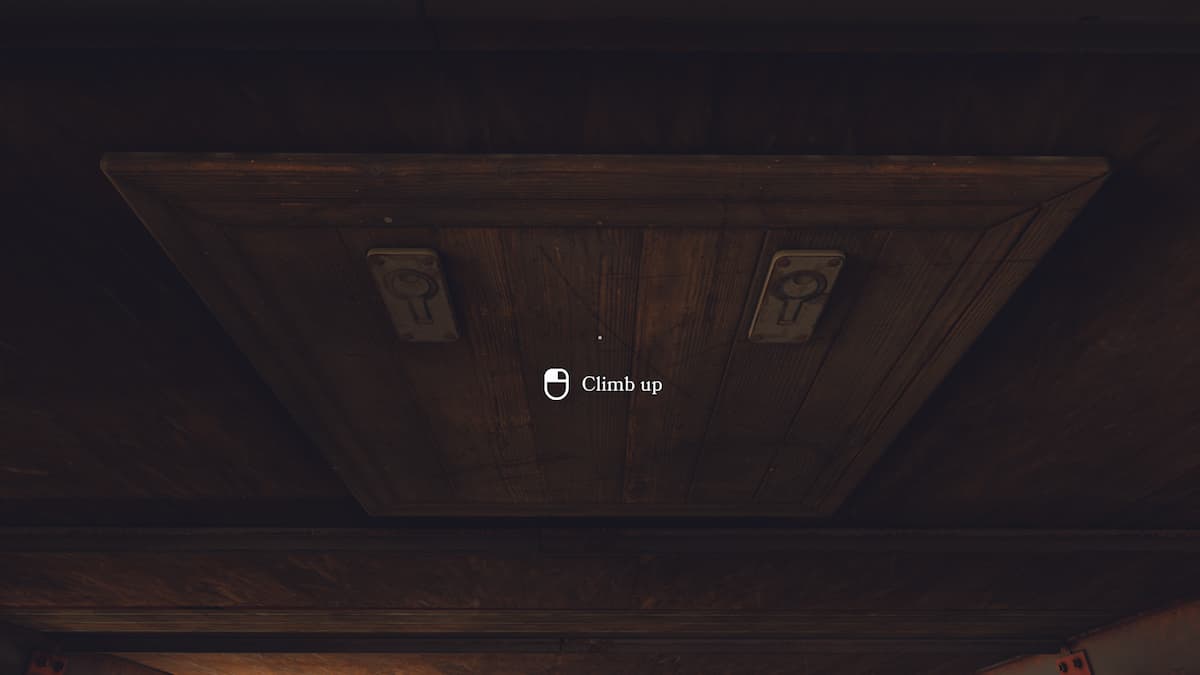
Look at the ceiling in this area to find a hatch leading into the home. Enter it to let Tess and Opal into the house.
Inside the summer home
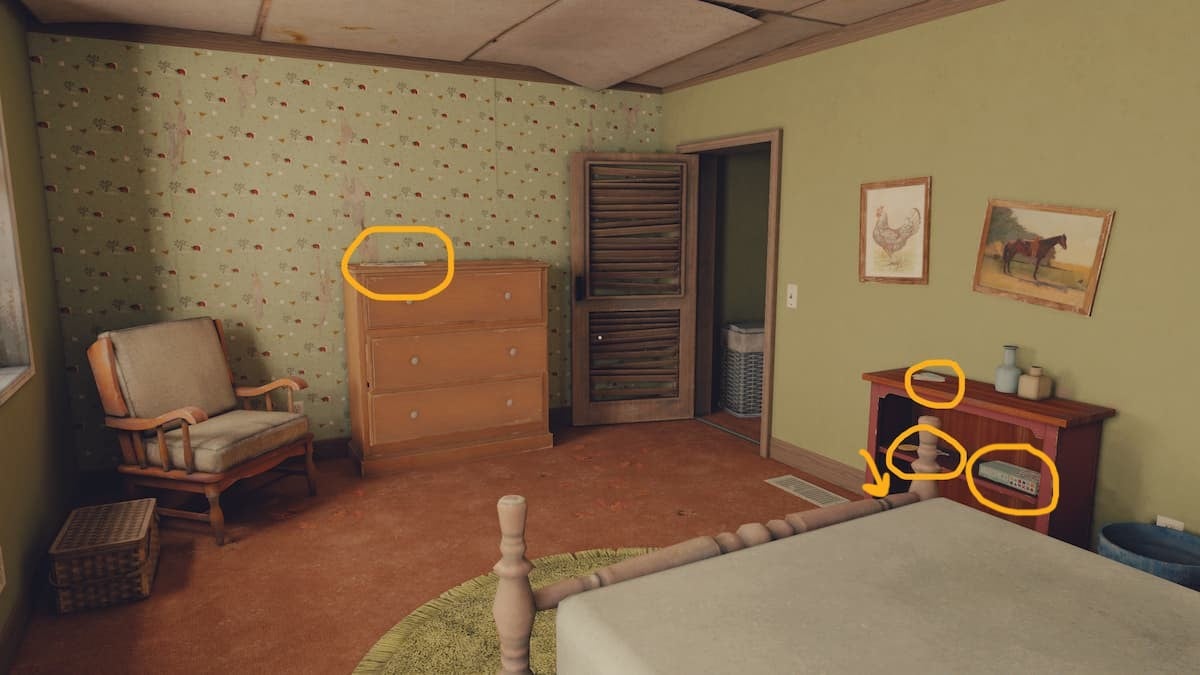
After entering the summer home, August’s room is the first door to your right. The main area of her room has a spirit board, two board games, some tickets, and the key to Opal’s old van.
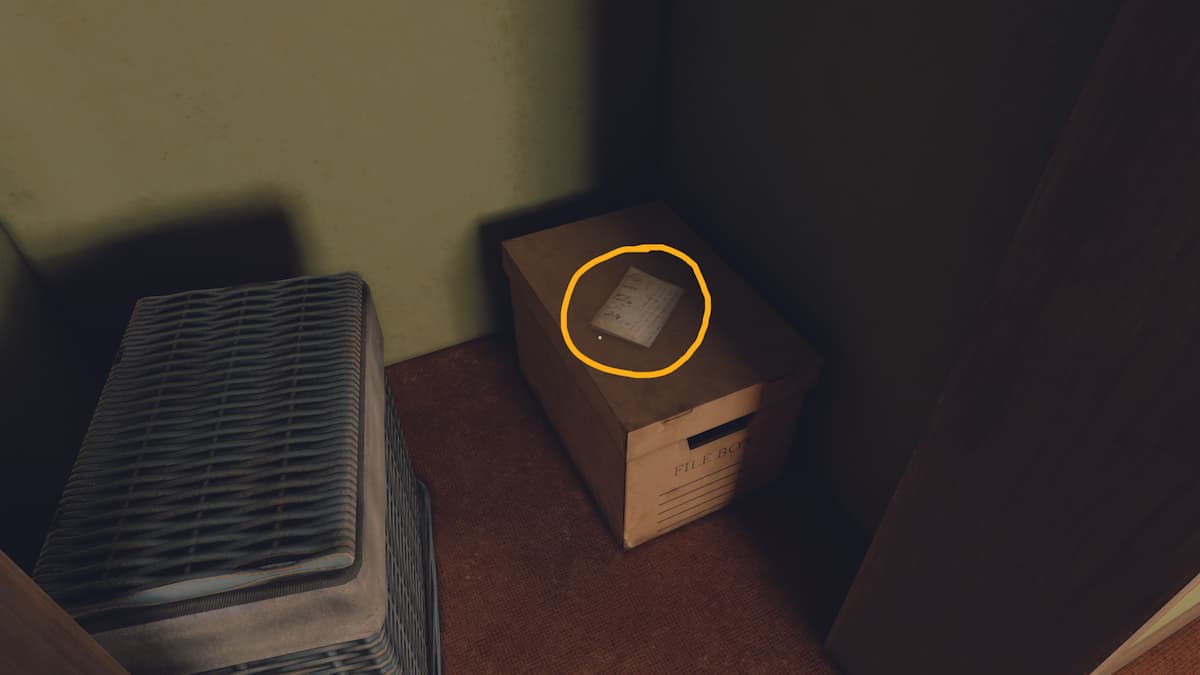
There is also a small drawing in the closet to look over.
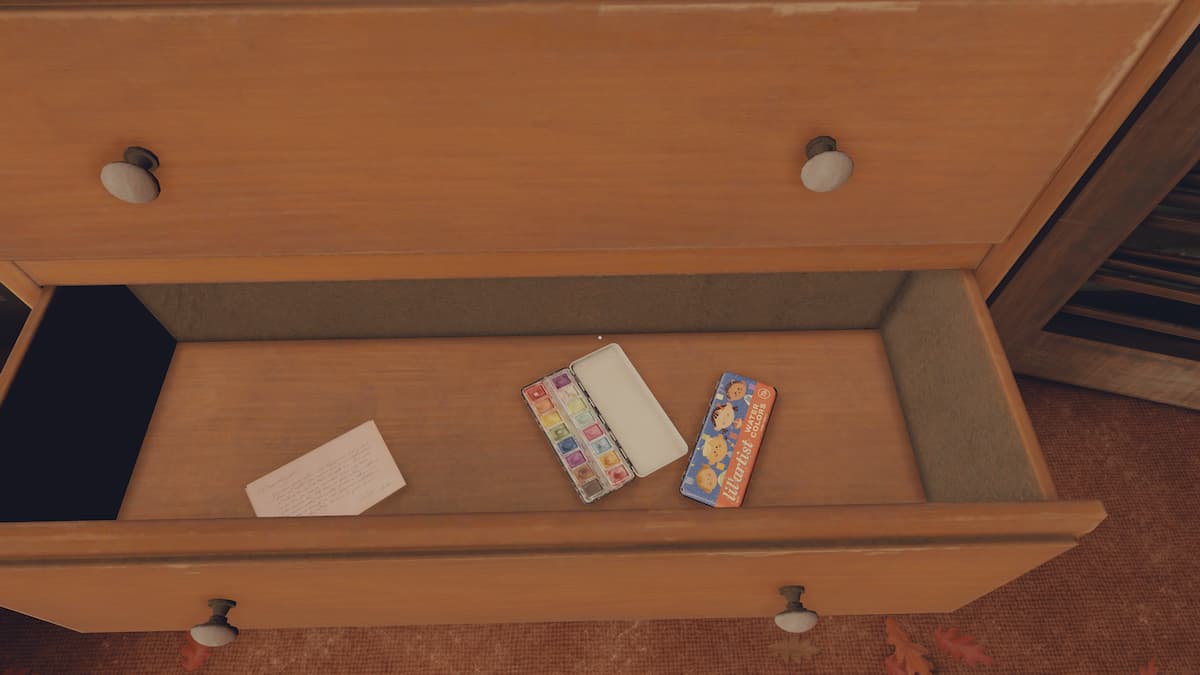
The final place to check in August’s room is the dresser. The middle drawer has a note to August from her mother.
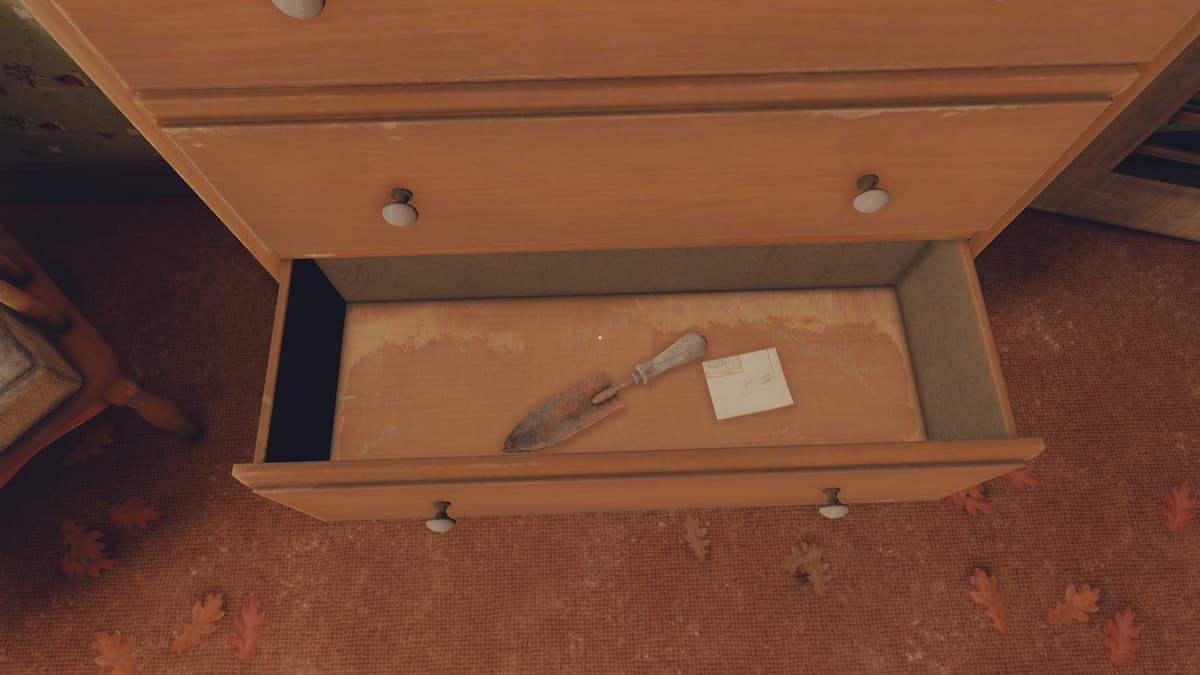
The second drawer contains a treasure map and a trowel. We’ll come back to digging up the treasure when we leave the house to open the van.
Before leaving August’s room, open the door connecting her room to the outside.
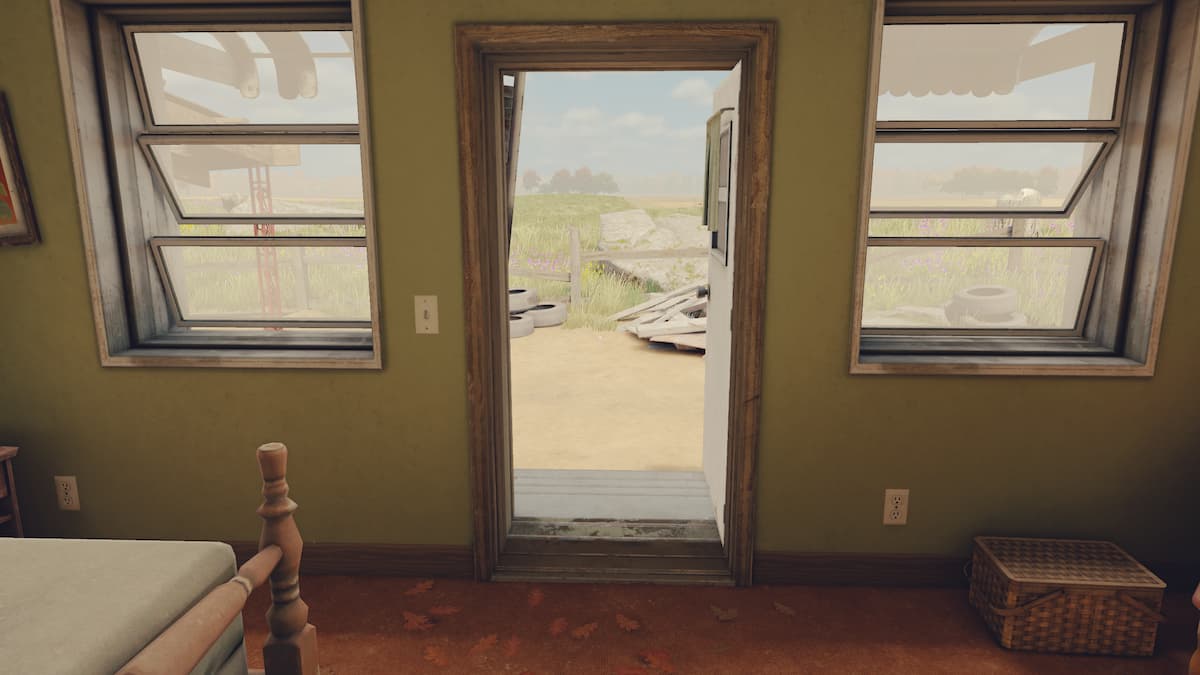
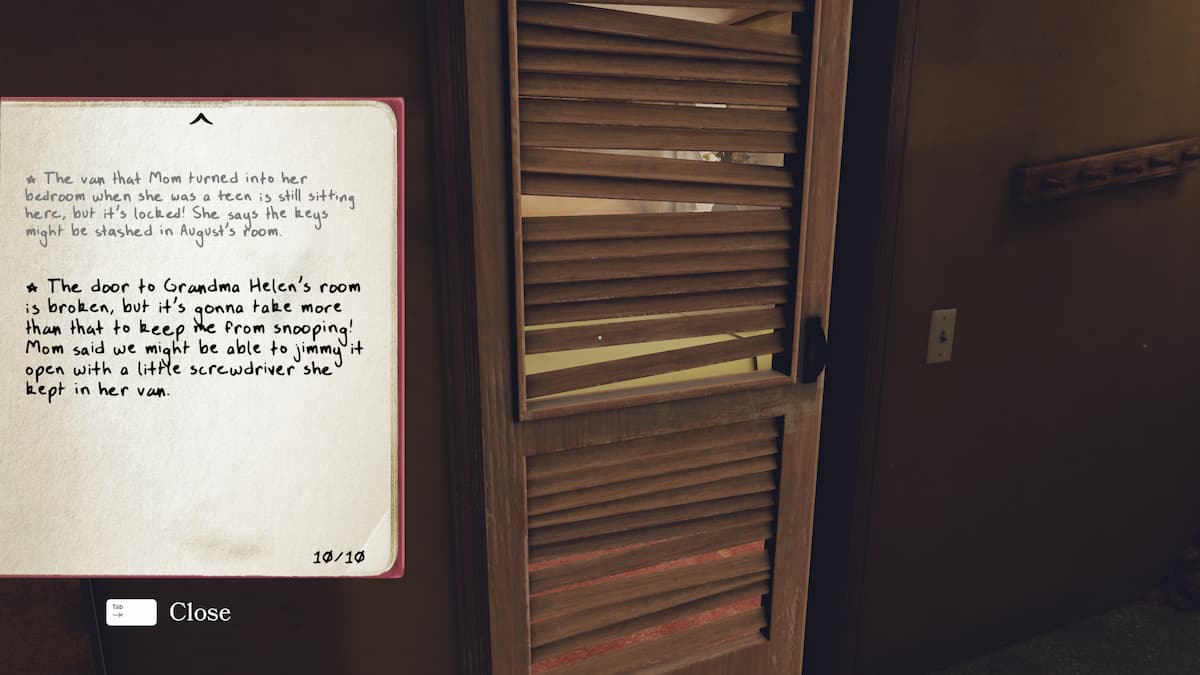
If you try to enter the next room in the hall, Opal will reveal that it is her parents’ room and it is jammed shut. She can open it if you find a screwdriver, which is in her van.
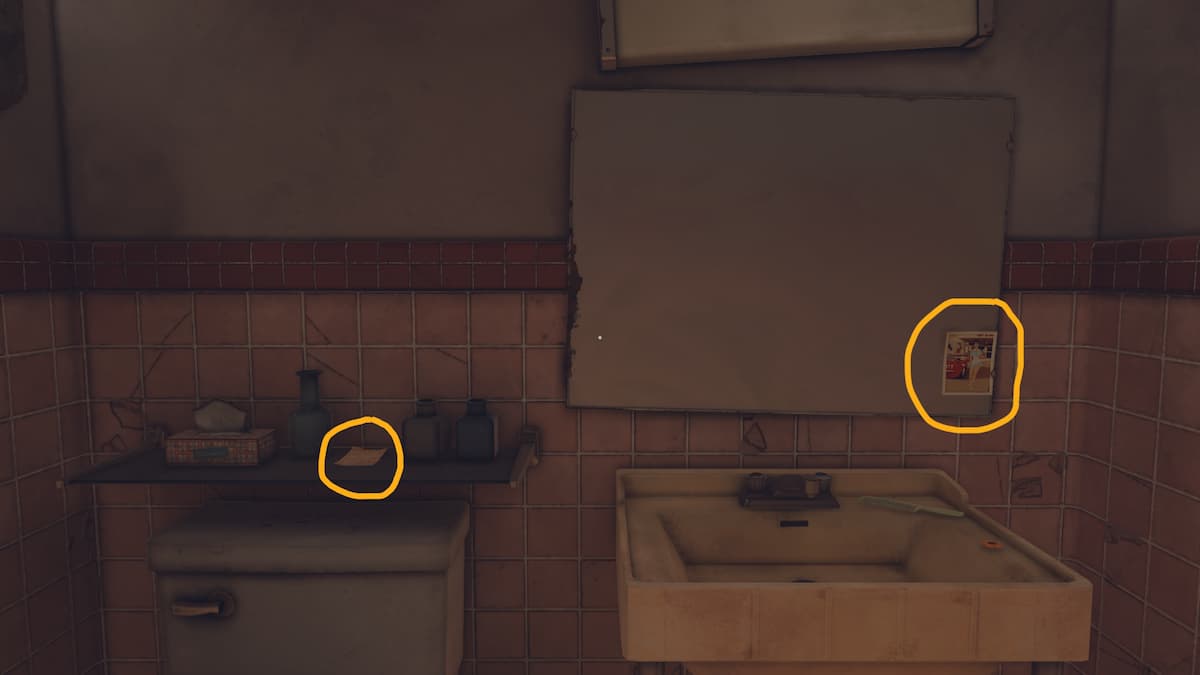
Ignore the door for now and head to the bathroom. There is a newspaper clipping on top of the toilet and a photo taped to the mirror. The newspaper clipping gives Tess a cute interaction with her mom, while the photo gives you the “Waiter Skater” achievement.
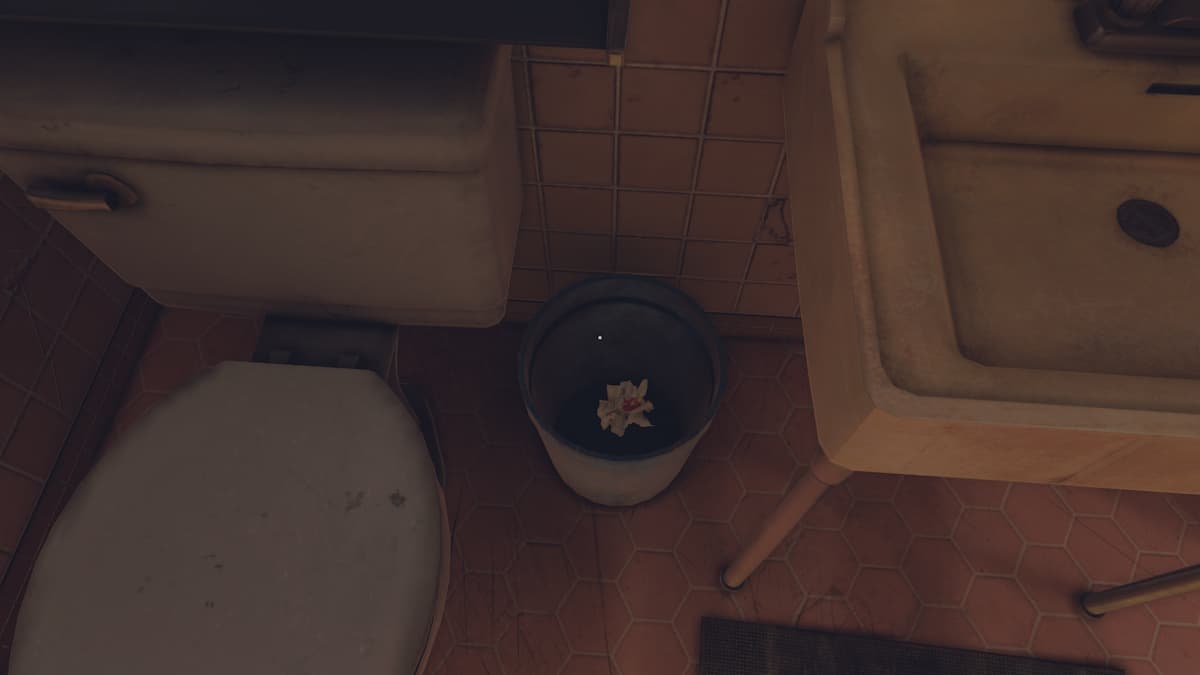
Before leaving, check the trash can to find a crumpled-up letter.
Now return to the outside area at the front of the house to go through the funky van.
Opal’s old van
The van can be opened and entered using the key found in August’s room. There are three paper items to check out, plus a glovebox to open
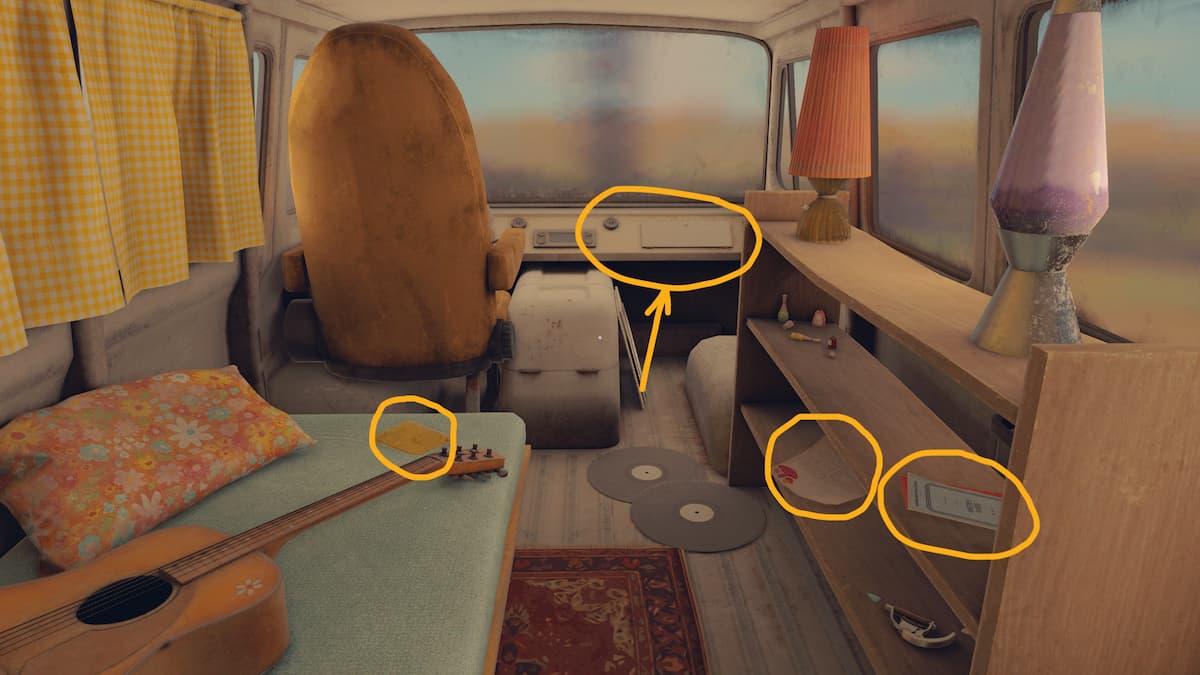
Opening the glove compartment reveals a letter from Opal’s summer fling and the needed screwdriver.
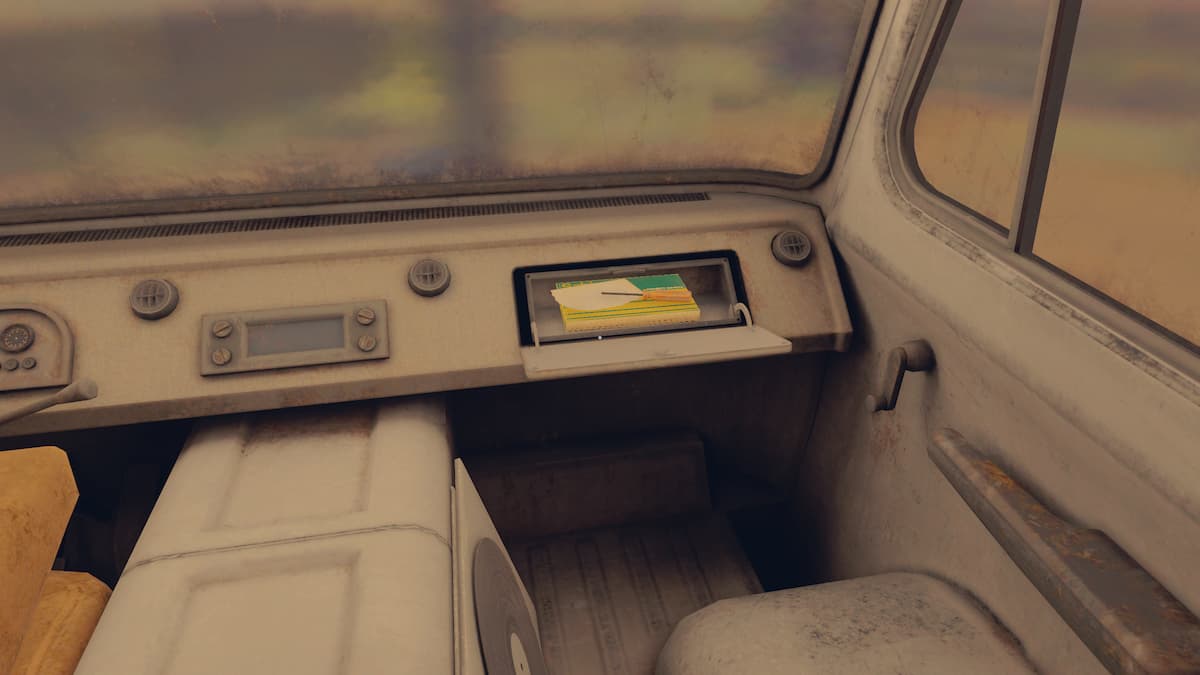
Now you’re ready to leave the van and dig up August’s treasure.
August’s buried treasure
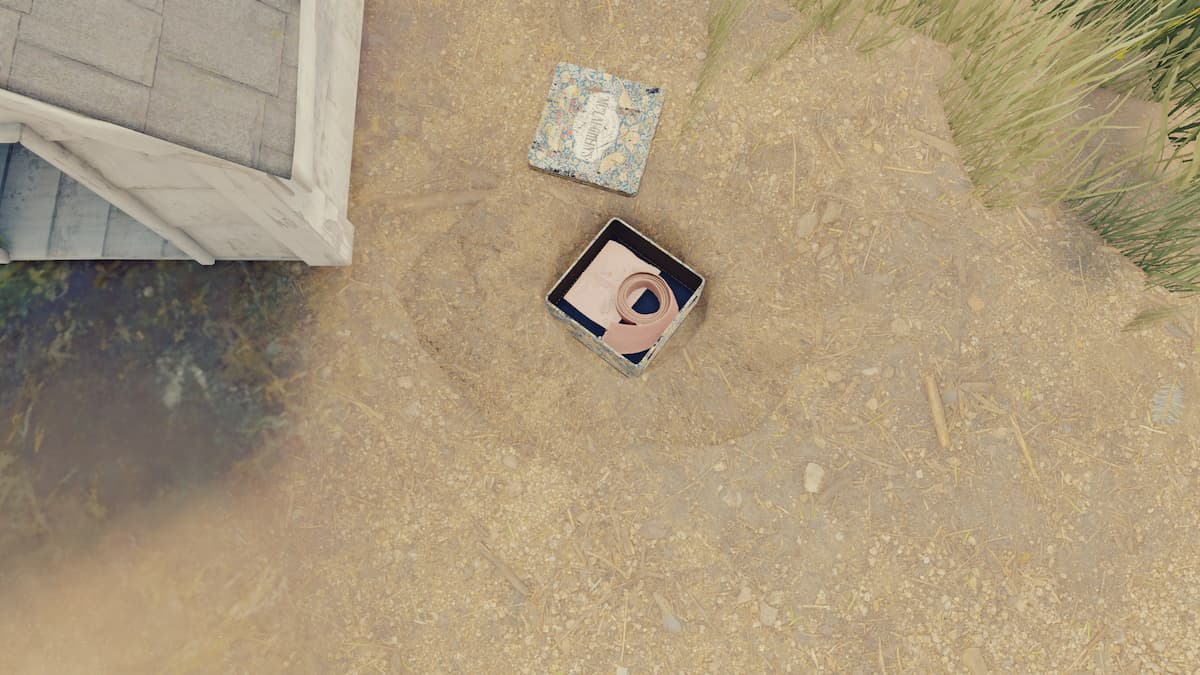
When looking at August’s map, you’ll notice that the treasure is by the doghouse. Head over there to find a suspicious mound of dirt.
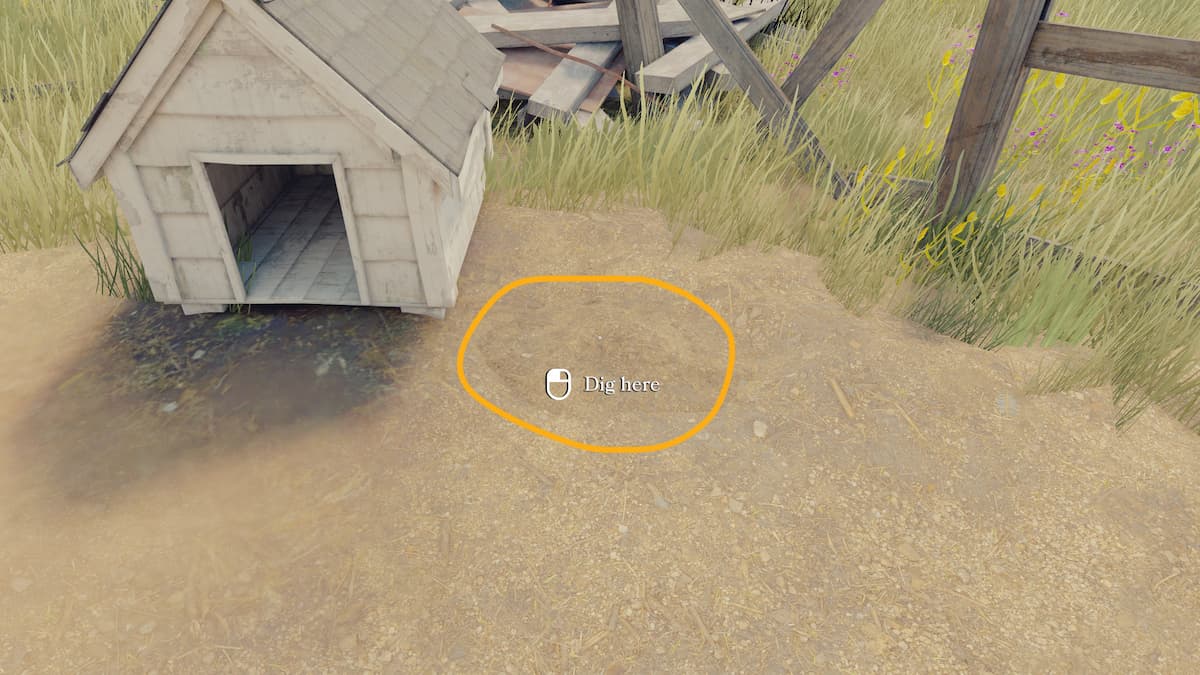
Dig it up to reveal a small, delicate box.
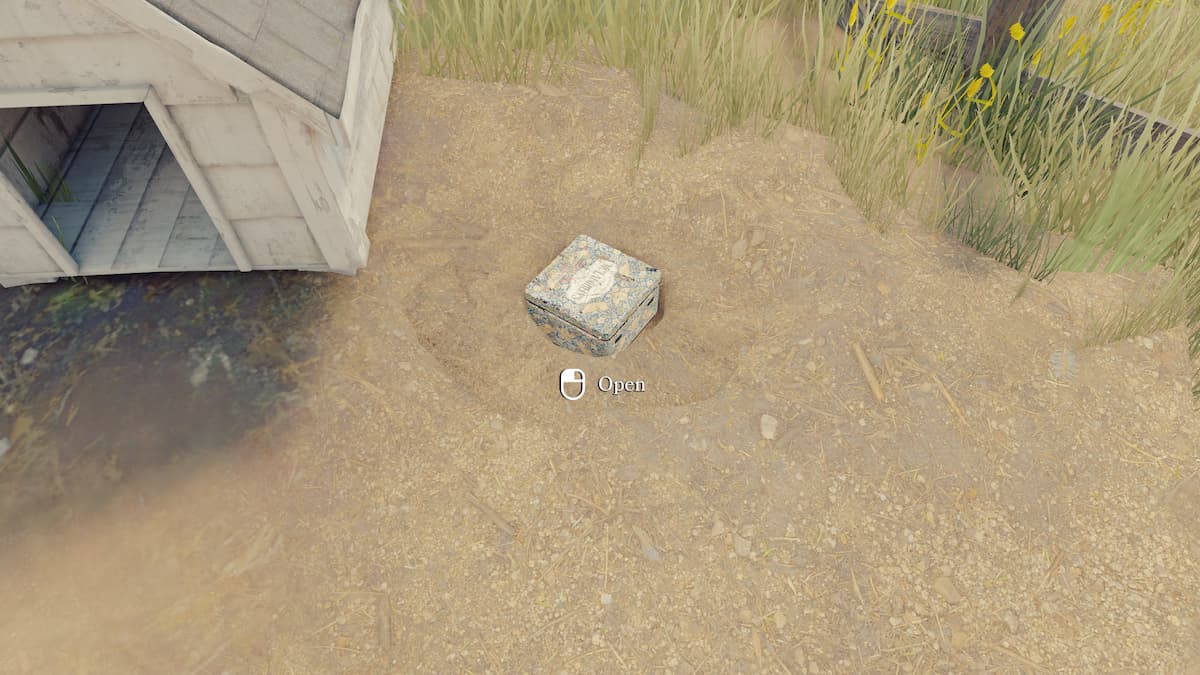
Opening it and going through the treasures gives you the “Do Not Go Gentle into That Good Night(shade)” achievement.
If you want to gather more lore, I recommend exploring the common areas of the home next. If you want to progress further in the game, skip ahead to opening the grandparent’s room.
The summer home’s common areas
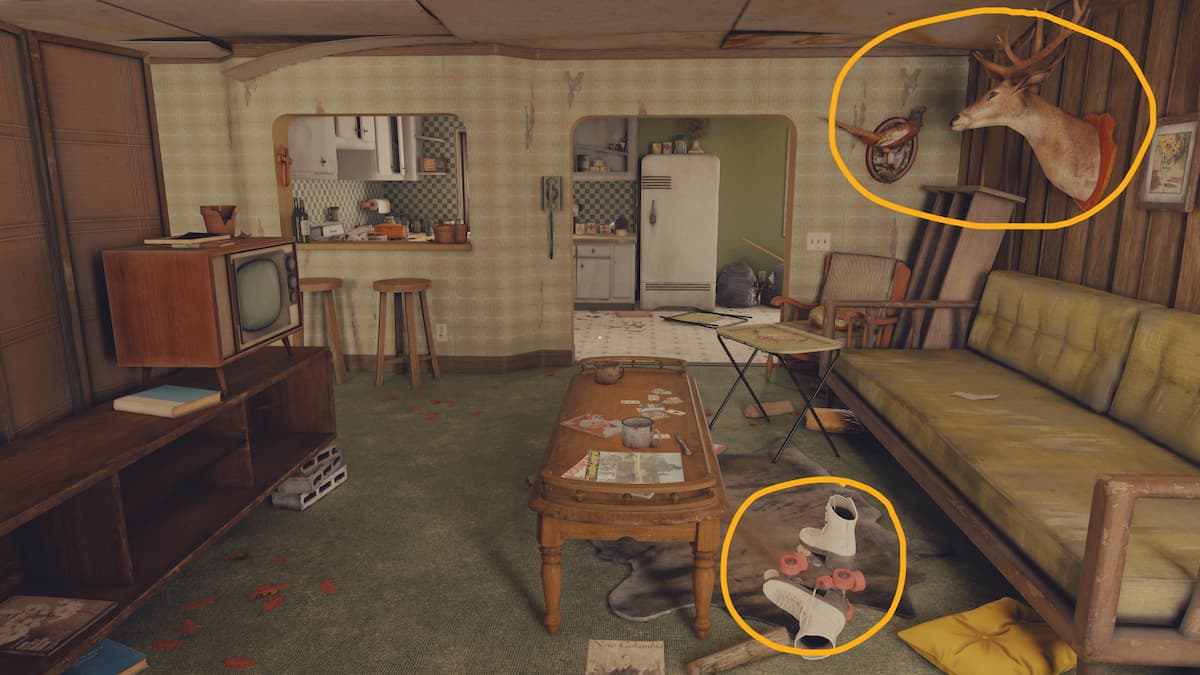
The living room’s rollerskates and deer heads will give you more background on your mom and aunt.
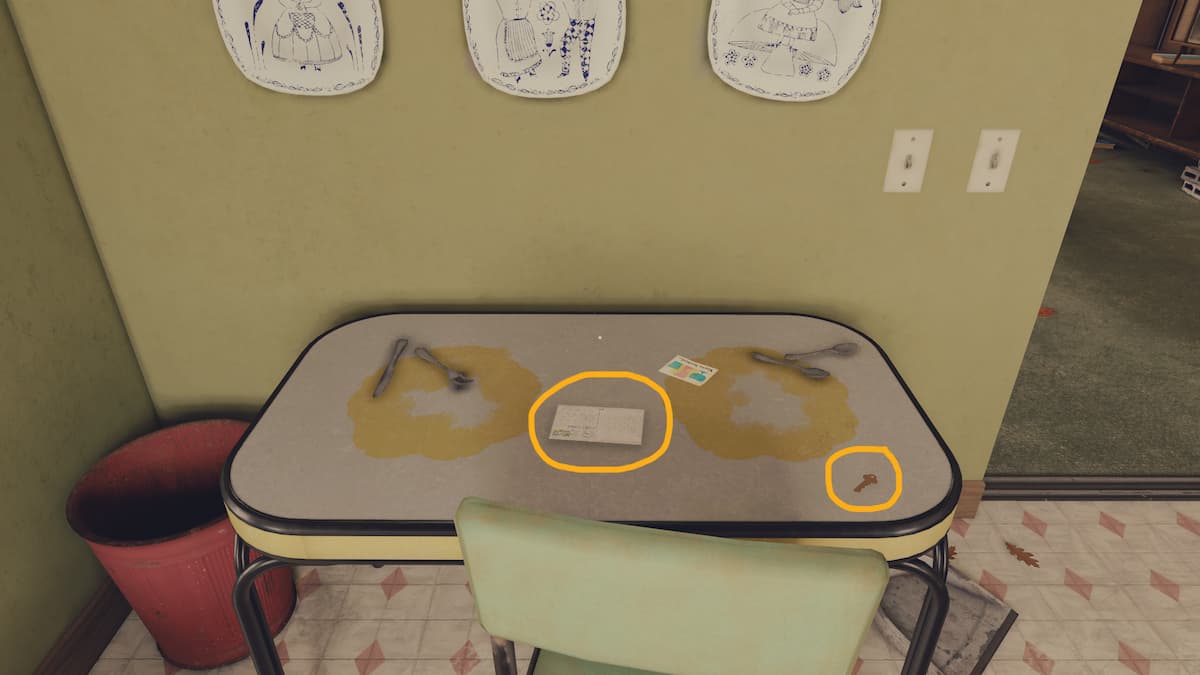
There is a small table on the right side of the kitchen. It has an important postcard and a tiny key.
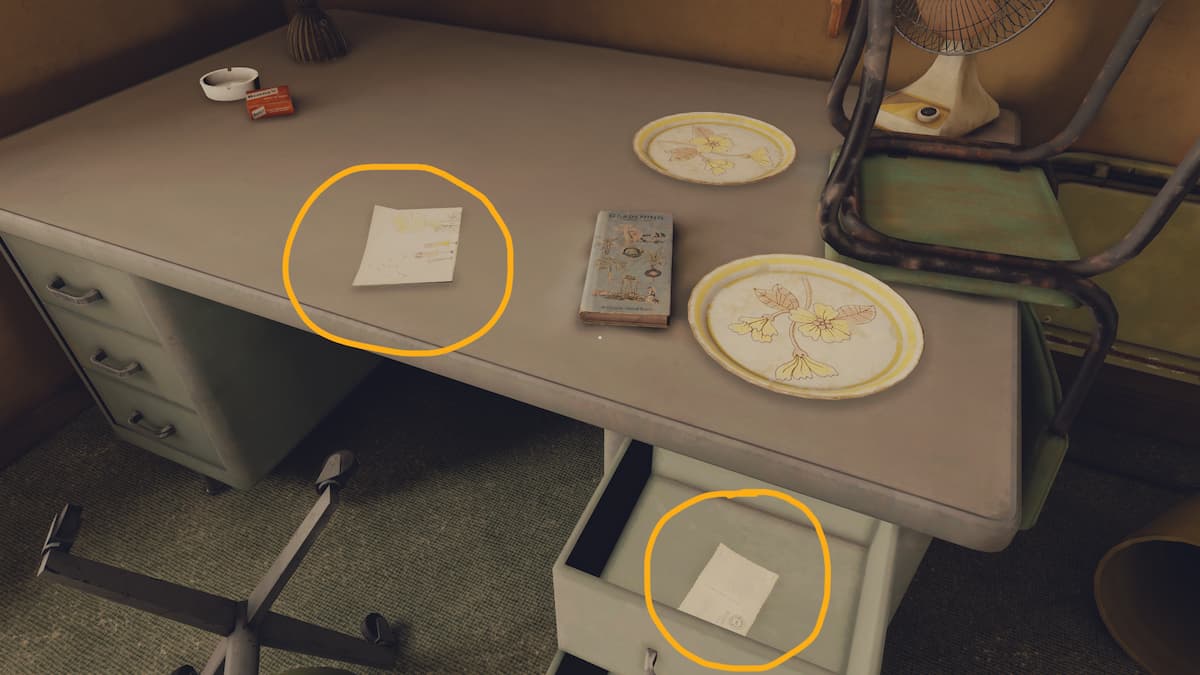
The small key is used to open the top right drawer on the desk in the next room. The postcard in the drawer and the note on the desk each initiate conversations with Tess’s mom.
After gathering these, you’ve collected all of the lore. It’s time to unlock Tess’ grandparents’ room.
Opal’s parents’ room
With the screwdriver from the van, unlock the final room in the house.
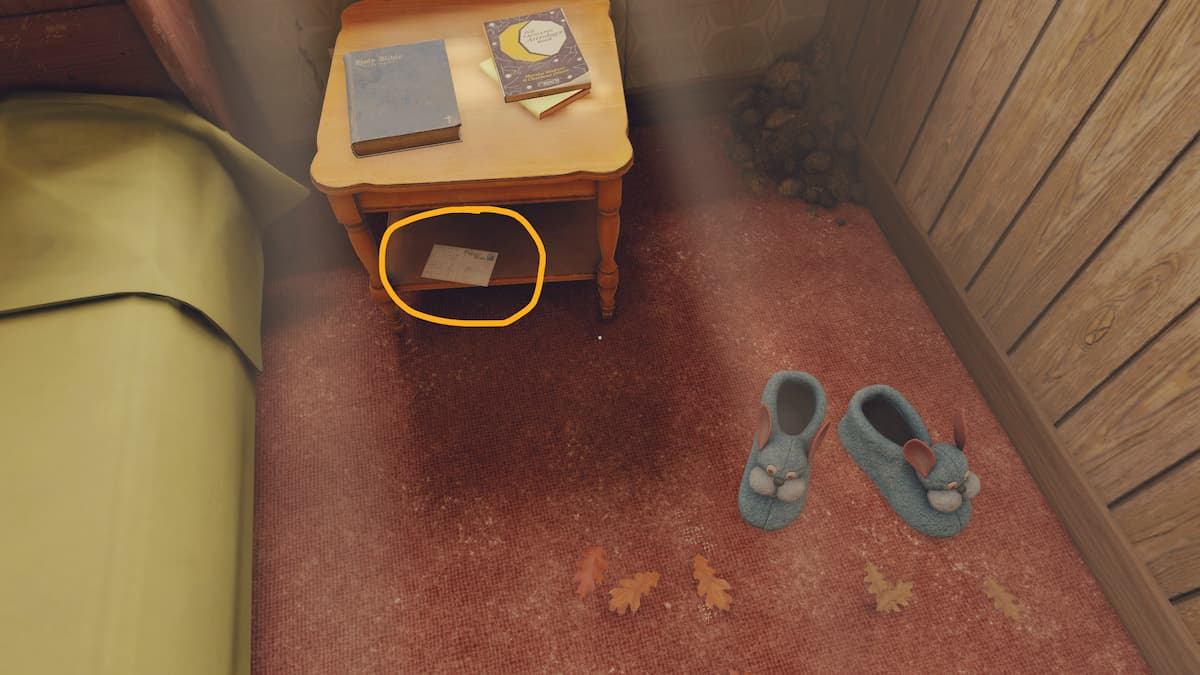
The right side of the room has bunny slippers, which Tess will talk about. It also has another postcard.
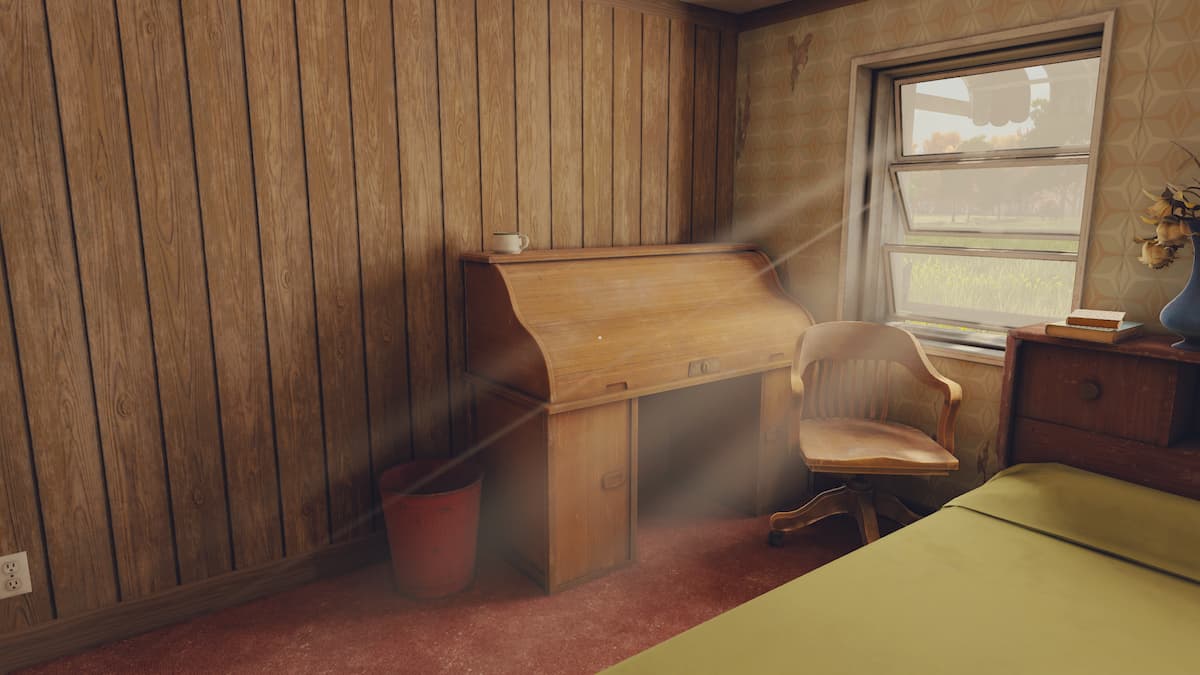
Next, turn your attention to the writing desk in the left corner.
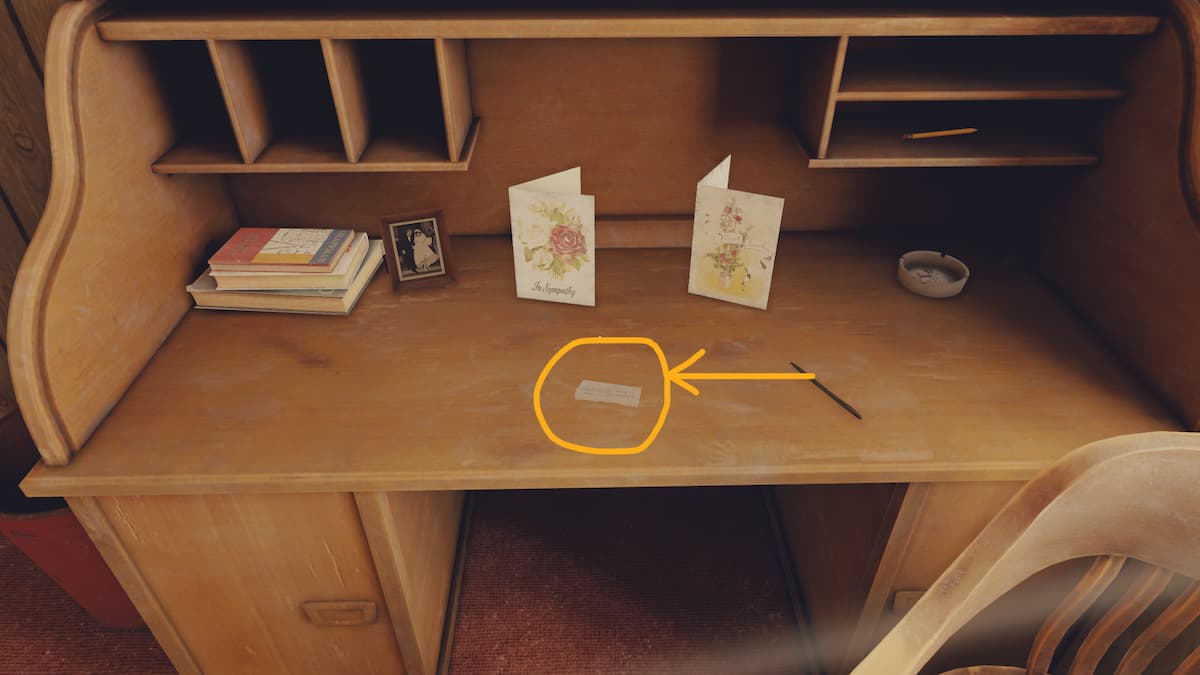
It can be opened using the key from Tess’ grandma’s diary gathered in the first chapter of the game. The only really important item here is the note in the center. Read it and flip it over to complete the summer house chapter.
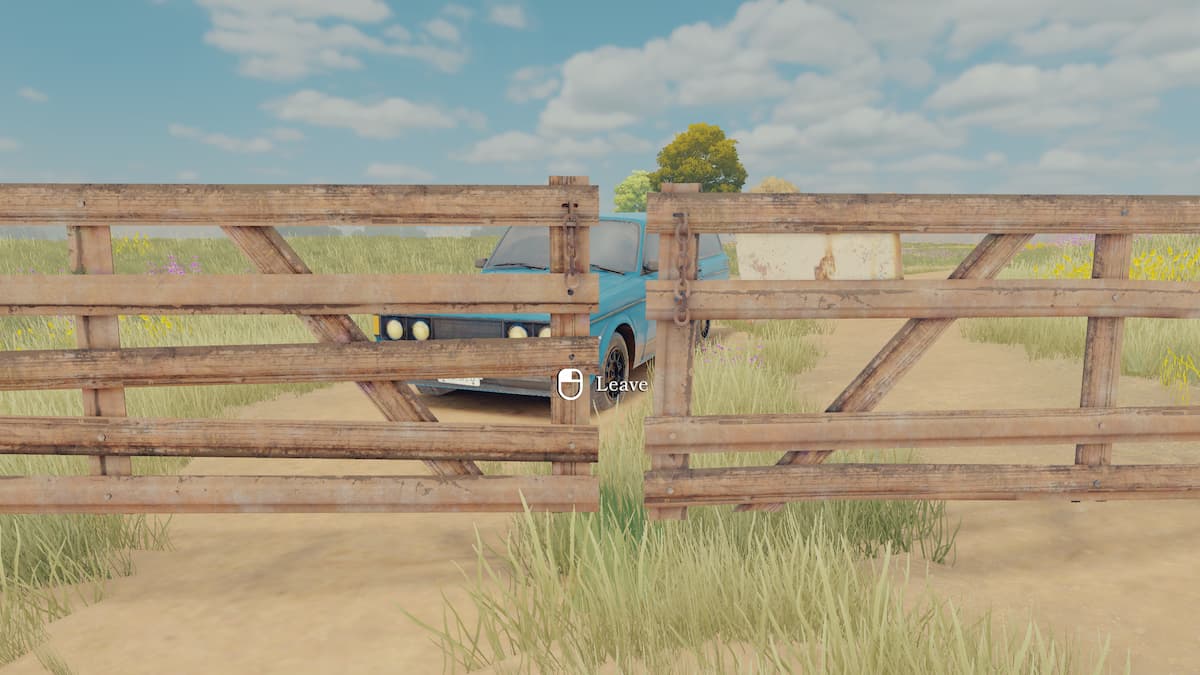
Head to the front yard. Interact with the gate in front of your car to leave and get the “Going Mobile” achievement.
Related: Complete Sea of Stars Fishing Guide – All Fishing Locations, How to fish, & more!
Open Roads Chapter 4 Motel walkthrough
The first thing to do in the hotel is grab your phone.
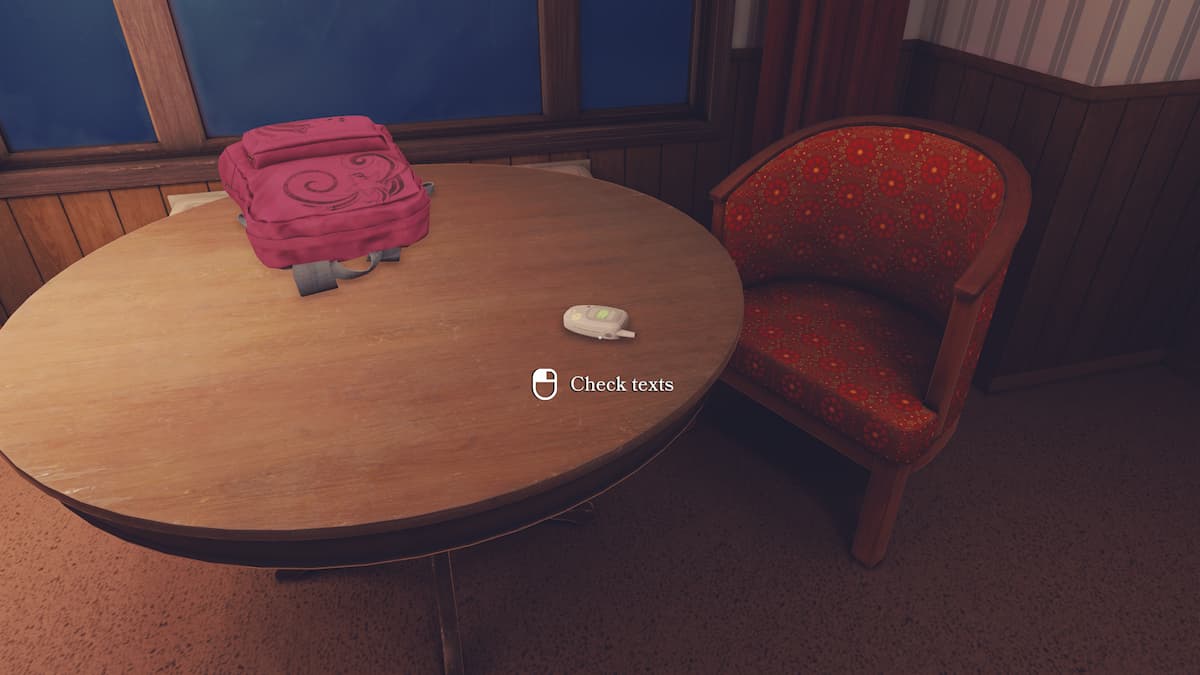
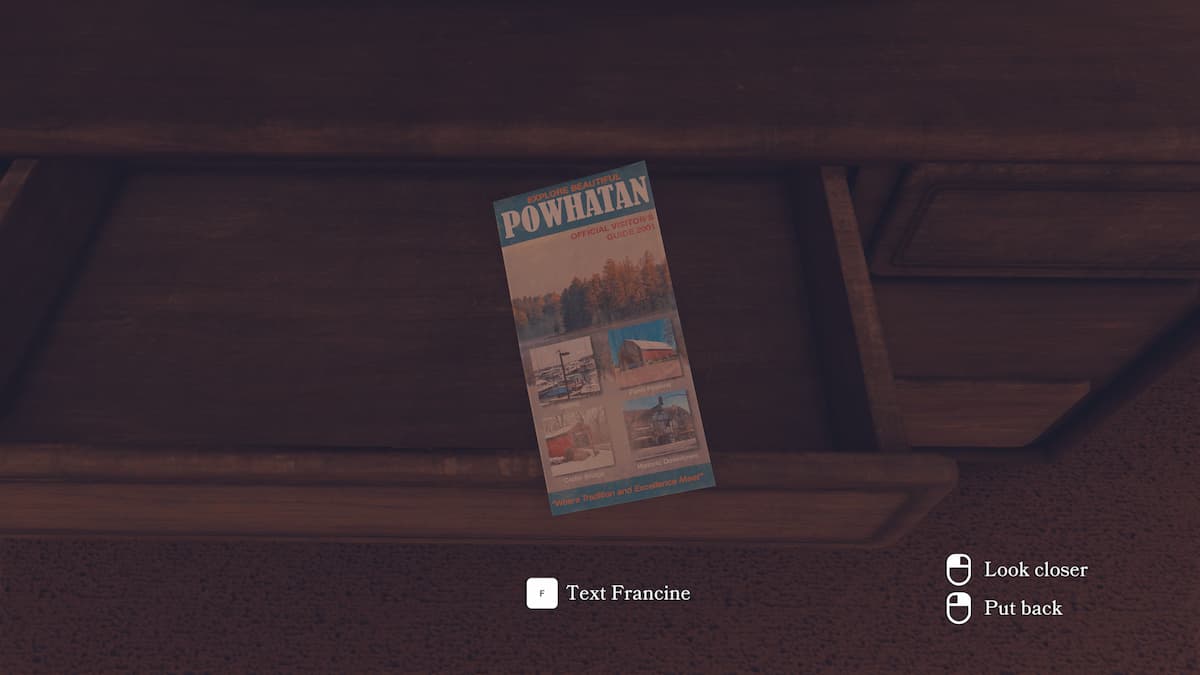
I texted both Tess’ dad and Francine, but Francine is the only one required for the next achievement. Once you’ve talked, place the phone in your pocket. The first thing you can text Francine about is the pamphlet in the top center drawer of the dresser.
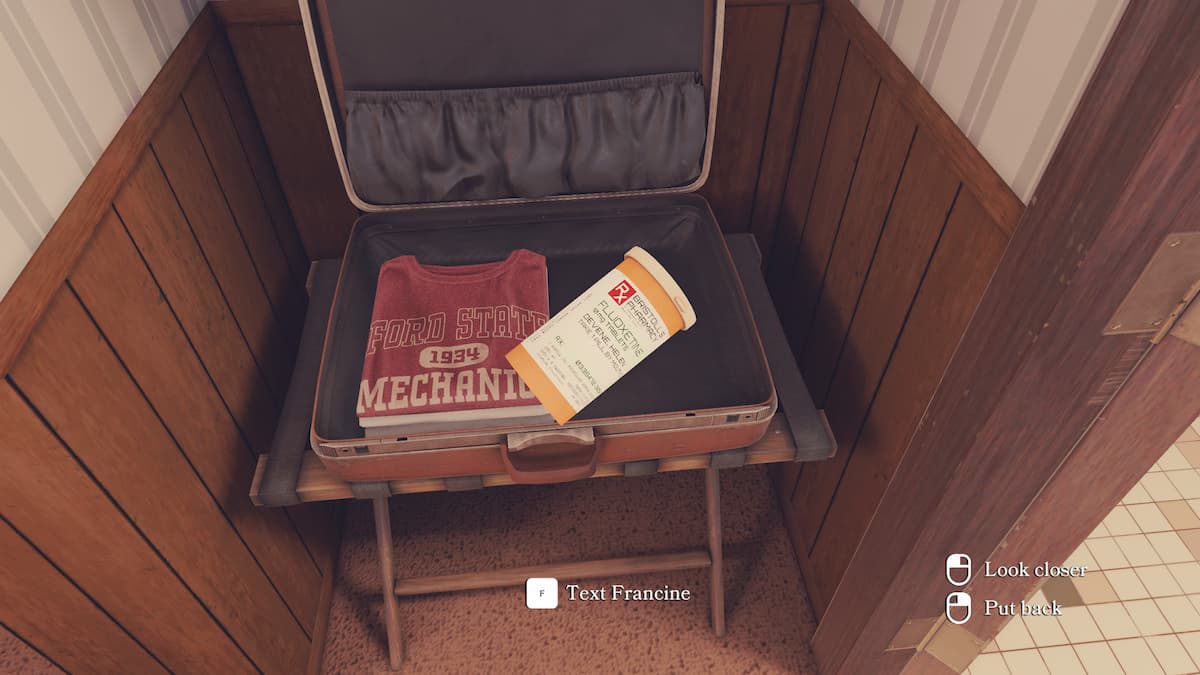
Next, walk over to Opal’s suitcase and open it. Select the bottle of pills inside and text Francine about them to get the “Mother’s Little Helper” achievement. You can also text her about Opal’s shirts on the left side of the suitcase.
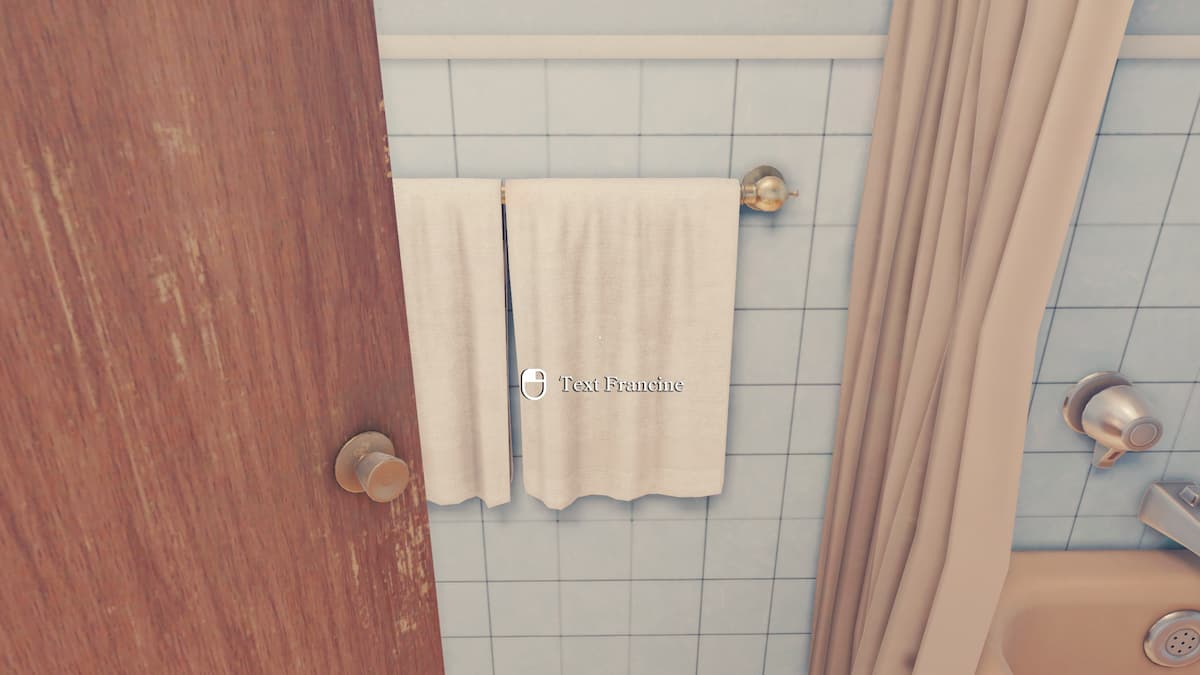
Lastly, Francine can be texted about the towels in the bathroom.
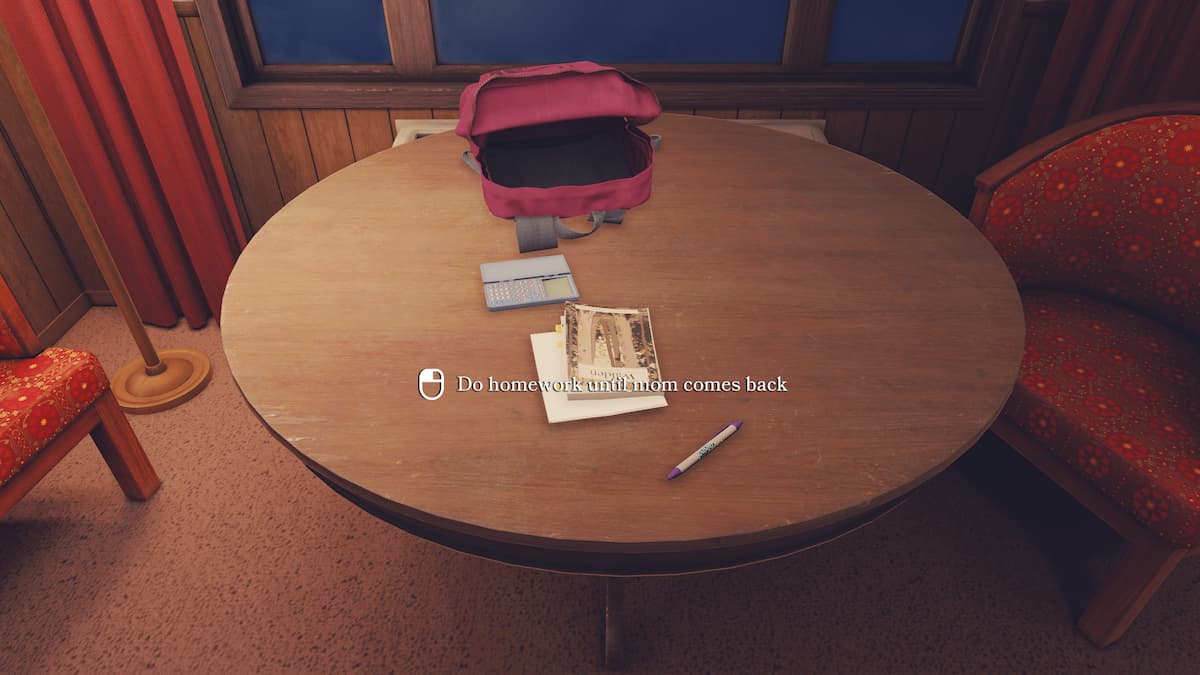
When you’re done exploring around, open Tess’ backpack and start doing homework.
Opal will return, bringing a burger for Tess. It is in a white styrofoam container next to her homework. Tap it to open it.
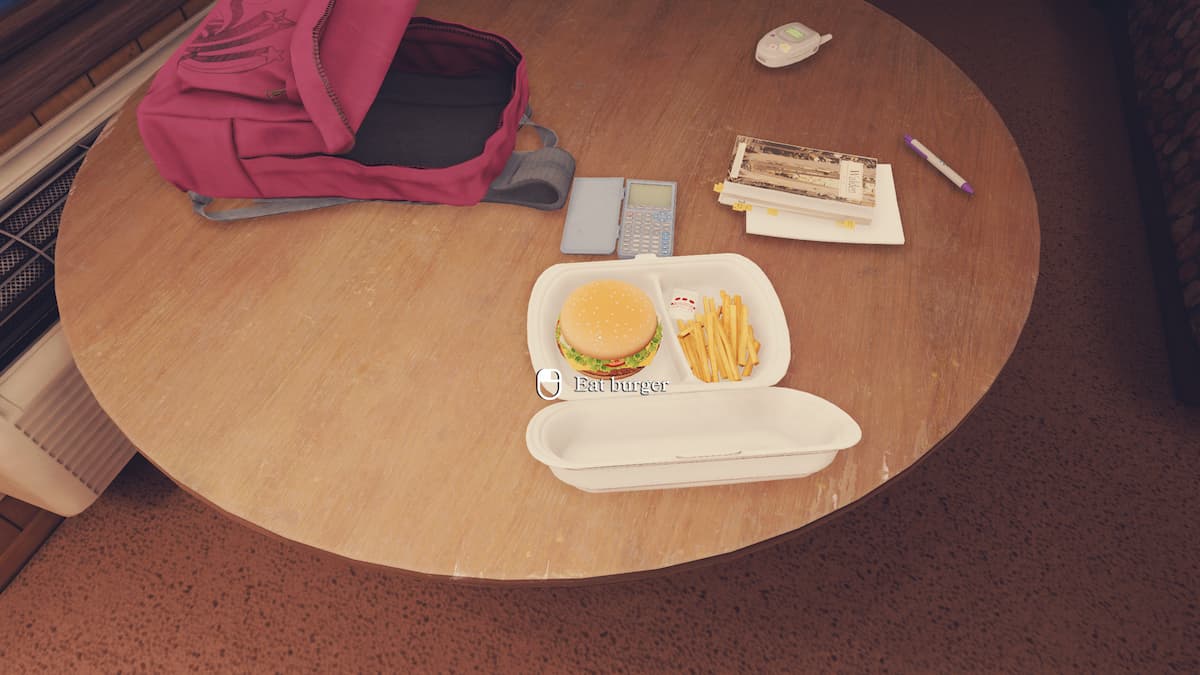
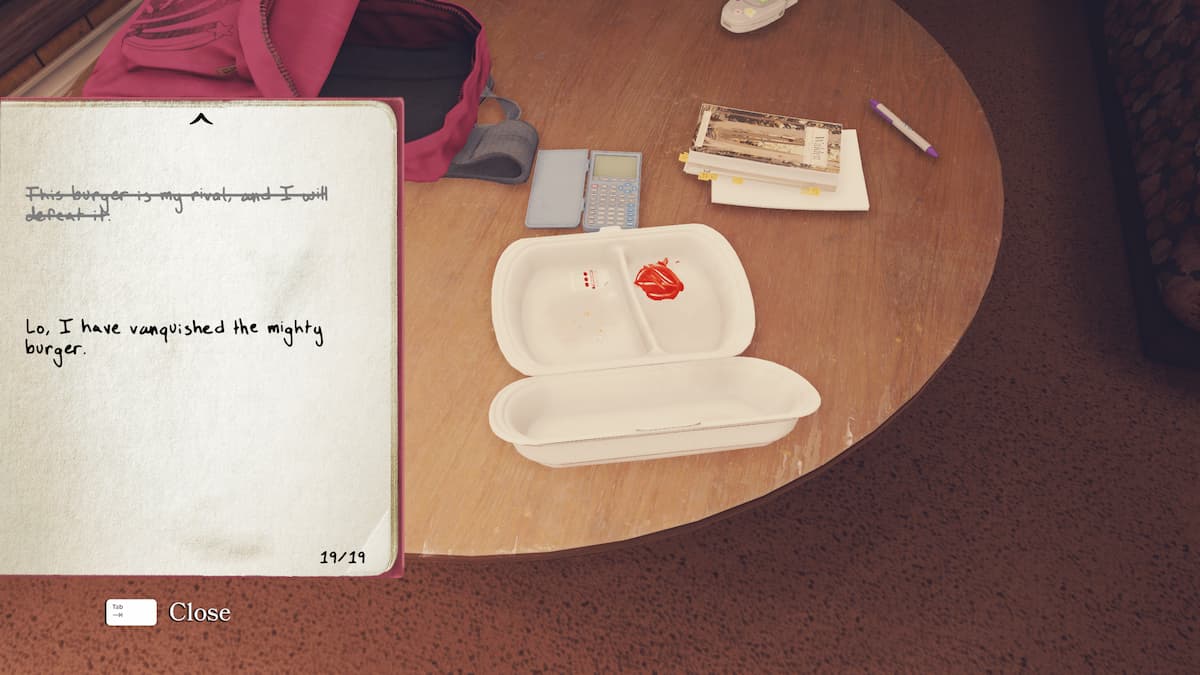
Interact with the burger four or five times to eat it. It is a satisfying experience that gives you the “Clean Plate Club” achievement.
If you want to finish texting Francine, start by grabbing your phone again. There will be a message from her saying goodnight. However, you can text her one more time about the cocktail napkin Tess’ mom left on the TV stand.
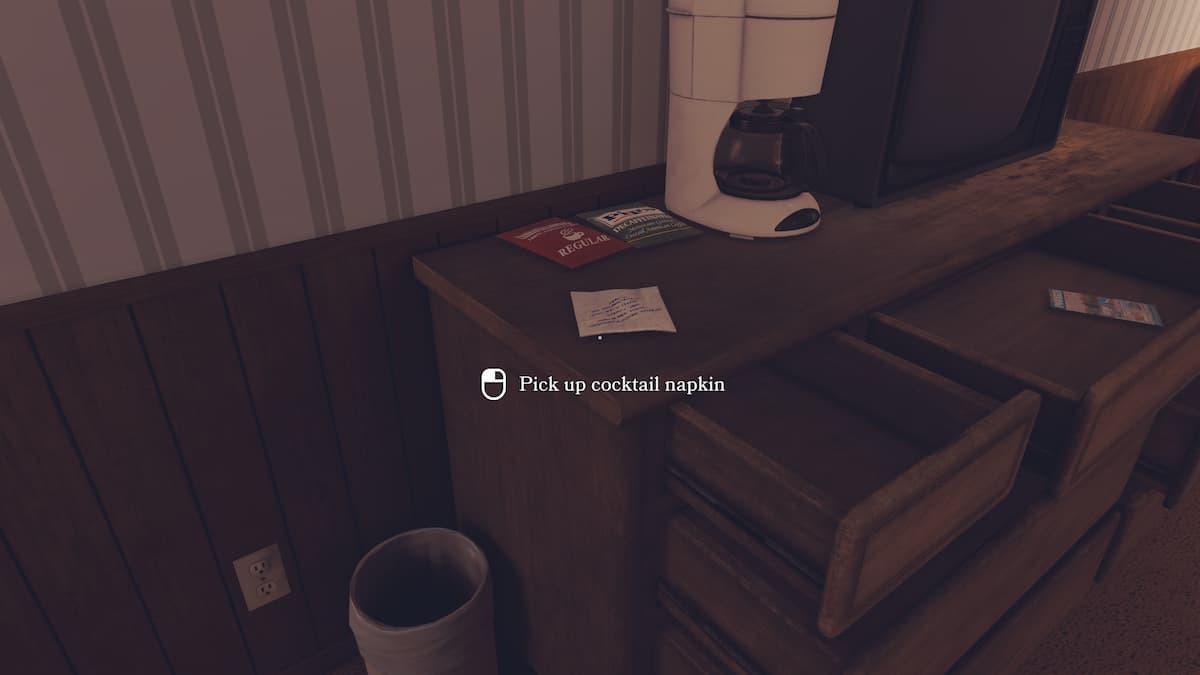
Once you’ve texted Francine all of the weird things, the only thing left to do is finish Tess’ homework. This will lead you into a conversation with Aunt August. When the conversation is over, face the left bed and head to sleep to get the “Room Service” achievement.
Open Roads Chapter 5 Crossing Borders walkthrough
The second part of the road trip begins with Tess wanting her phone. First, check her backpack in the backseat for it.
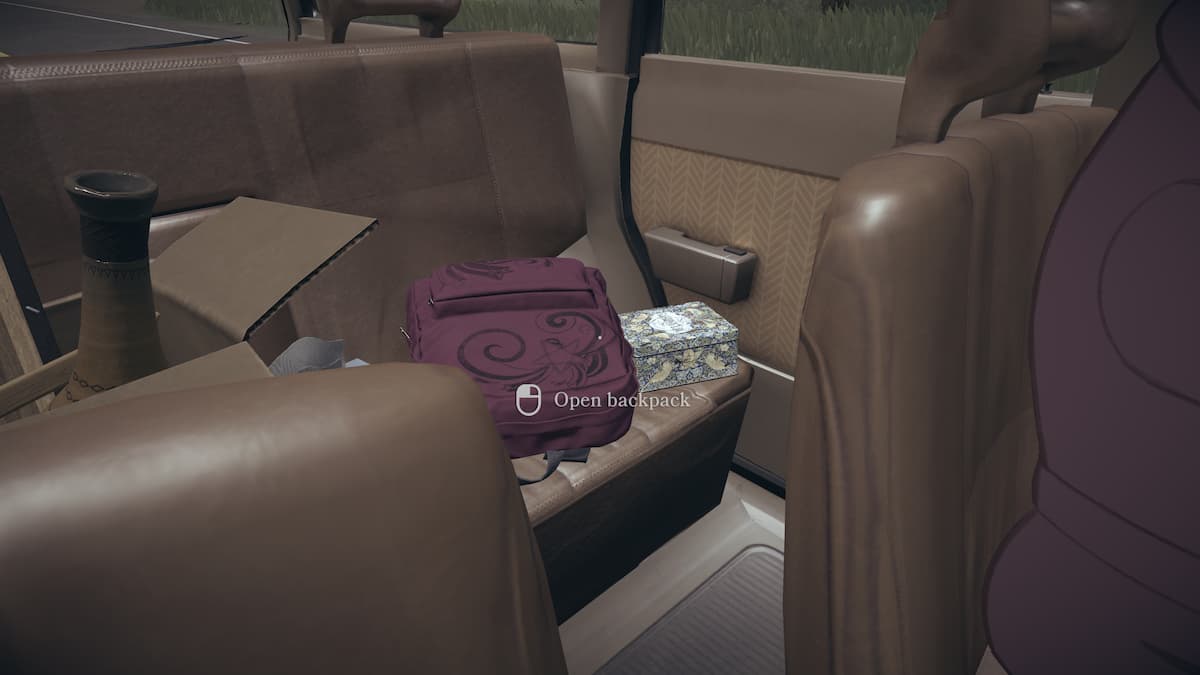
Then check the glove box.
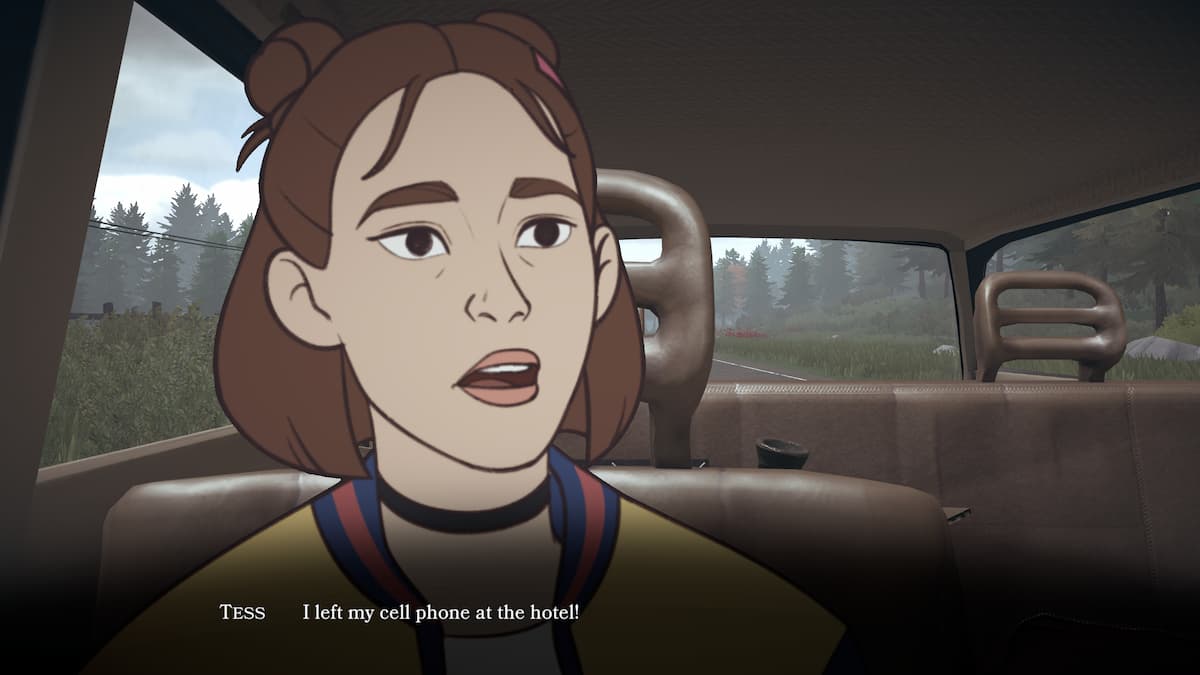
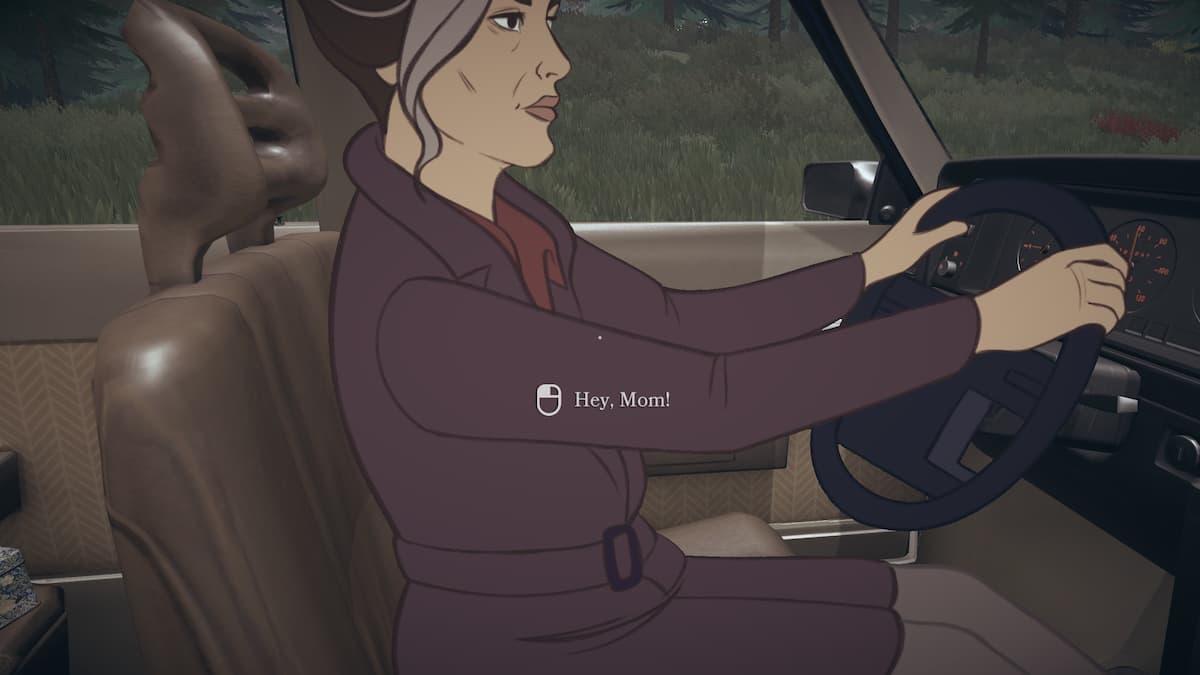
This leads to a long conversation between Tess and her mom ending in a fight. When you interact with Opal the first time after, nothing will happen. Try to talk to her a second time to end the car scene. This will give you the “Road Warrior” achievement and start the next chapter.
Open Roads Chapter 6 Houseboat walkthrough
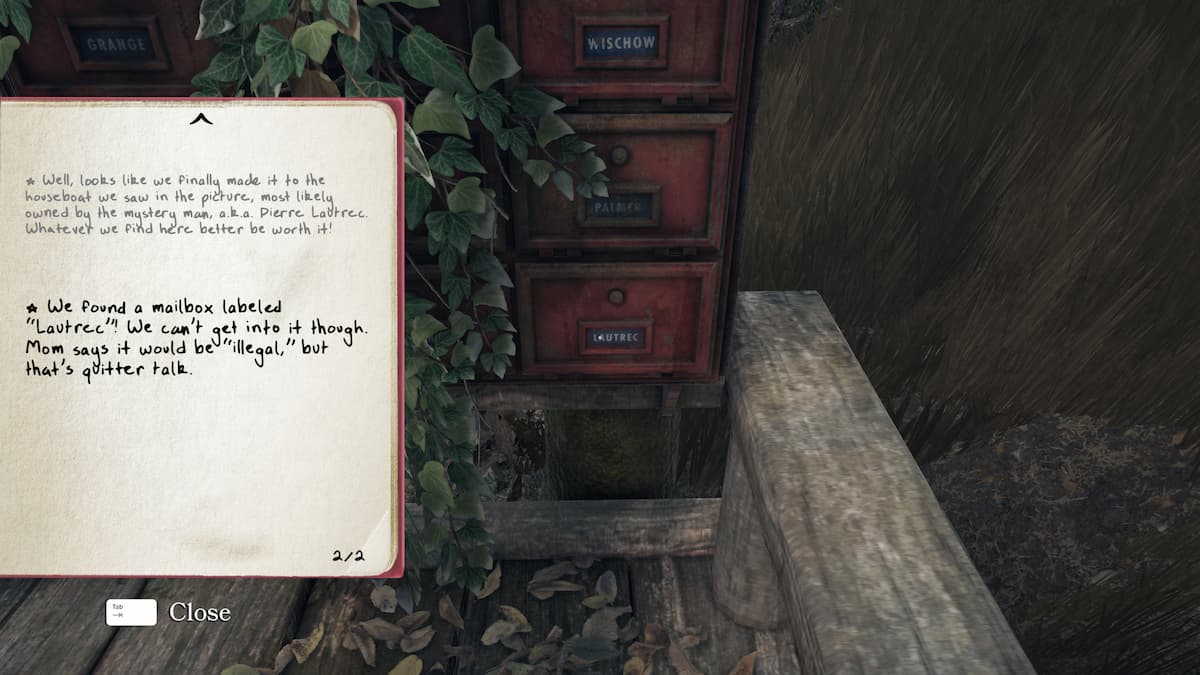
When you first walk down the pier, you’ll see a set of mailboxes. The one in the bottom right corner will start a short scene between Tess and Opal.
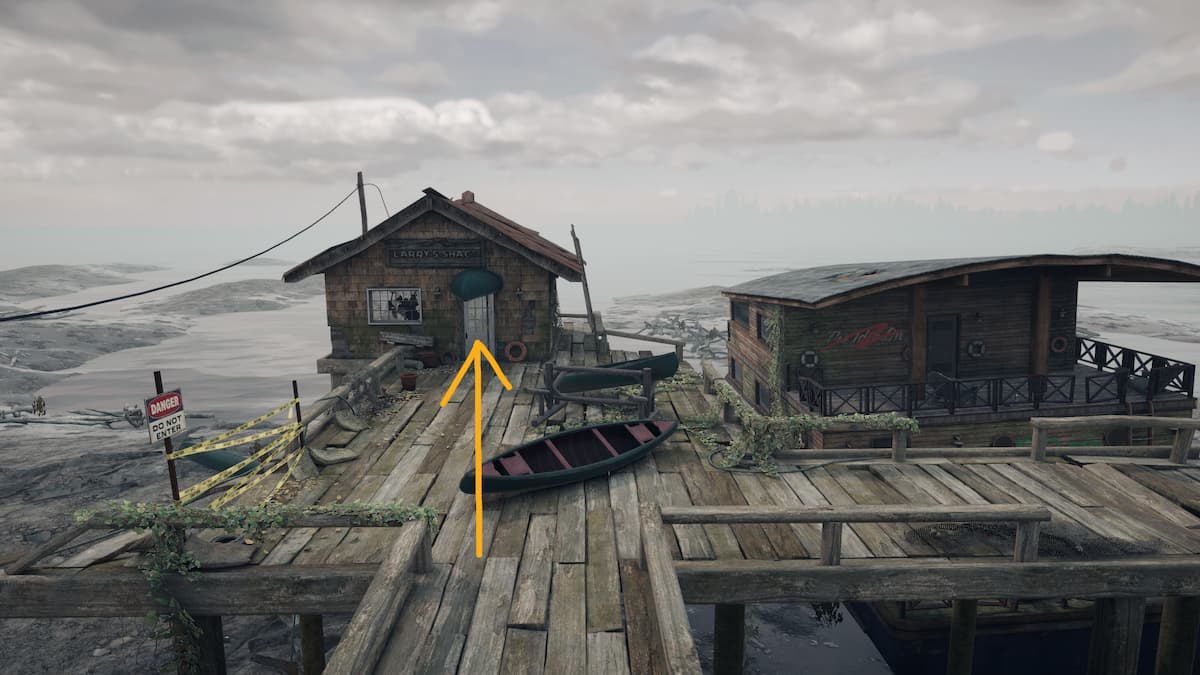
Afterward, head to the fishing shack.
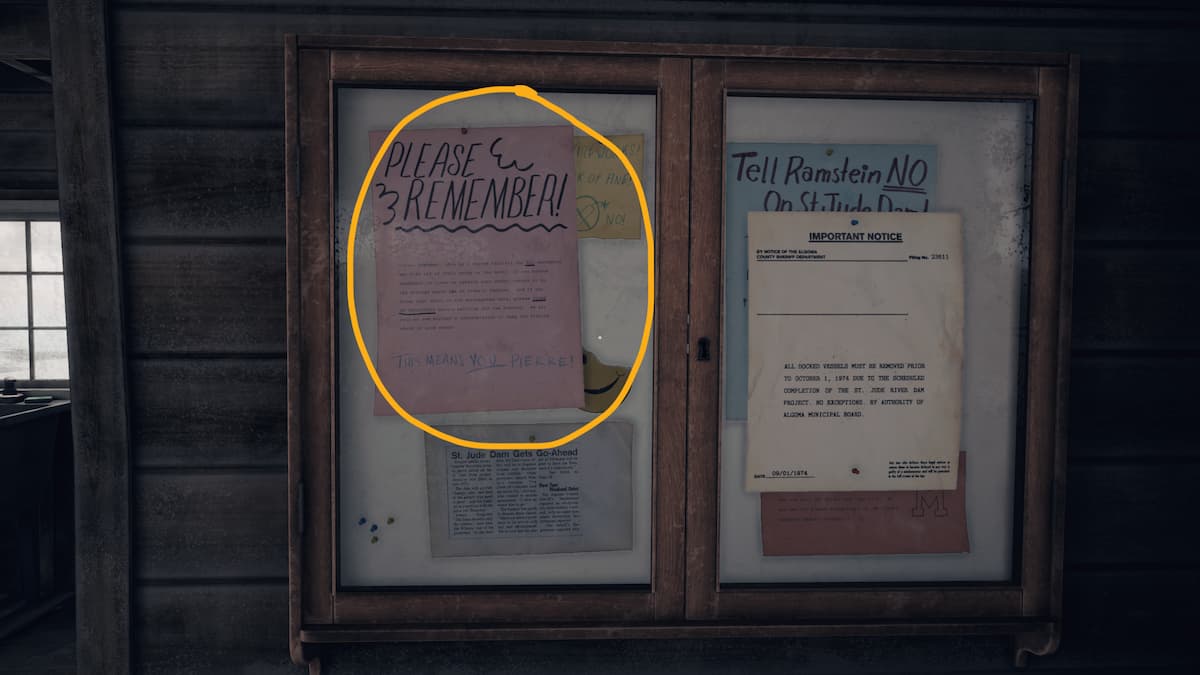
When you enter, there is a pink poster on the wall that can be read and talked about with Opal.
Leave the shack. To enter the houseboat, you need to cross a wide gap. Start by mentioning the gap to Opal.
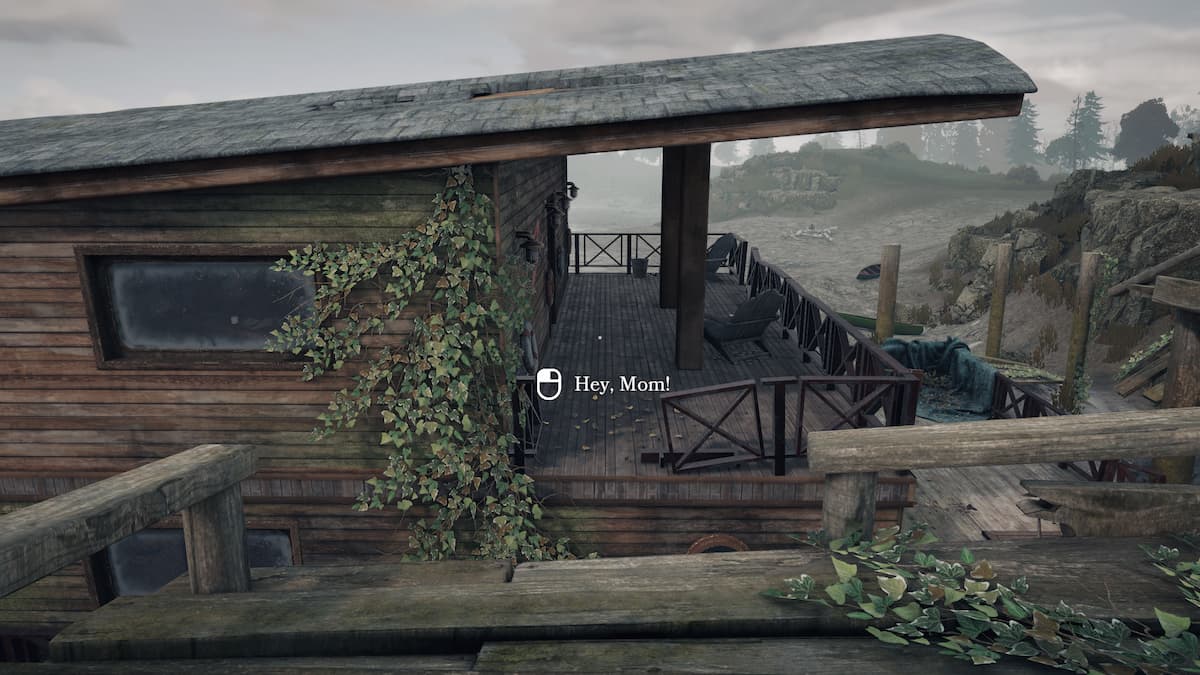
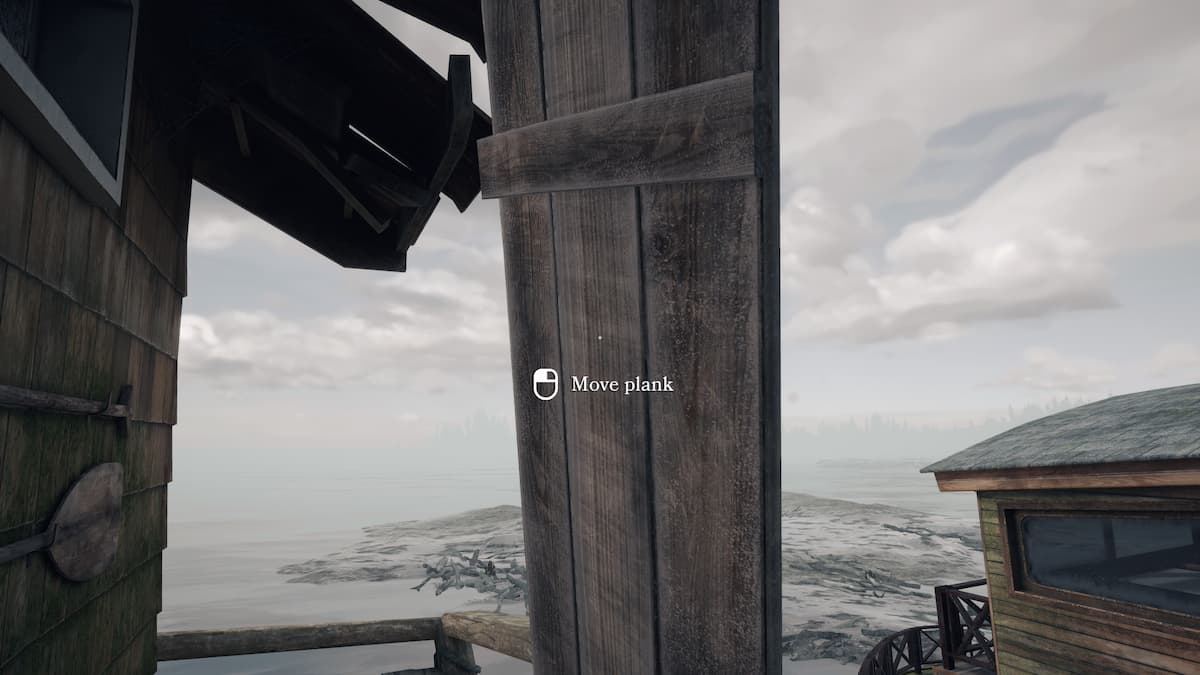
Luckily, there is a large plank on the right side of the shack that can be used as a bridge.
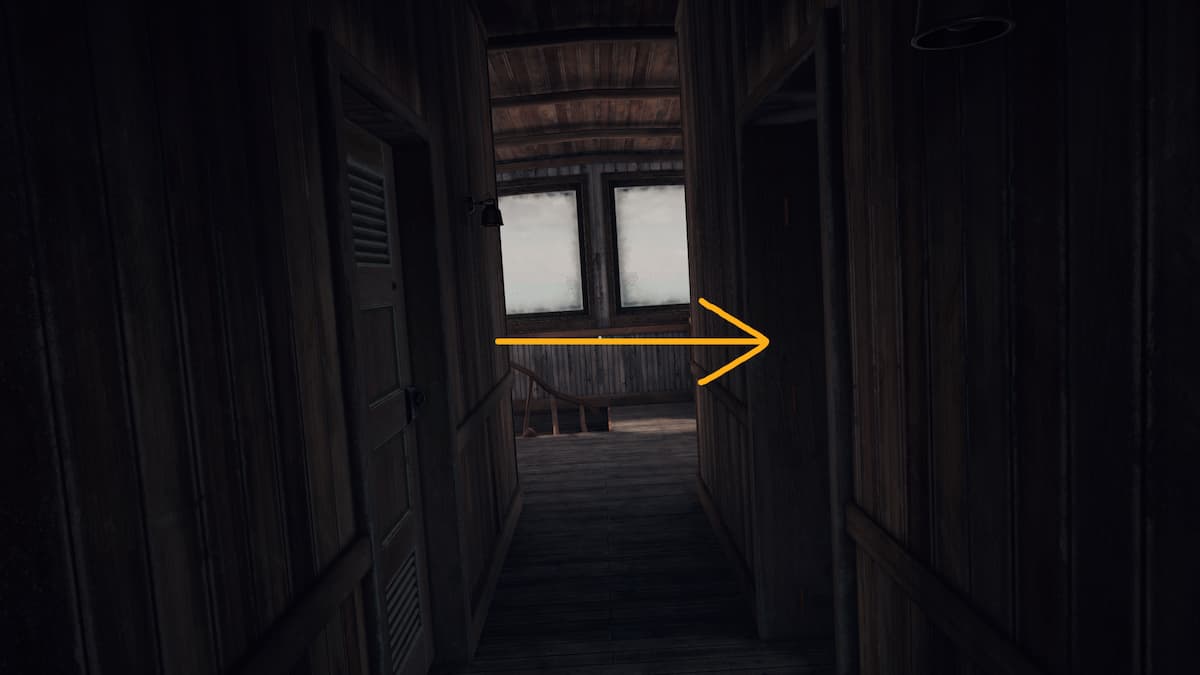
When you cross onto the houseboat, open the first door you see. It will lead into a small hallway with two doors. We’ll start with the room on the right, as the one on the left is locked.
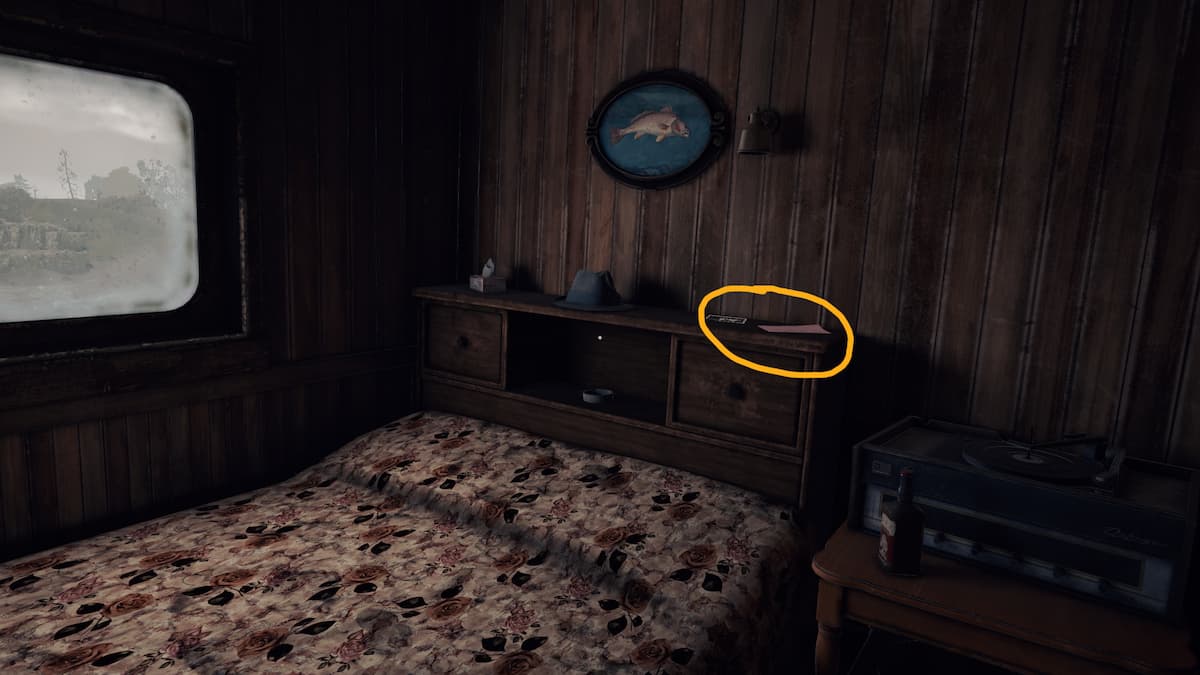
There is a photograph of Tess’ grandmother on the headboard as well as a letter written by her.
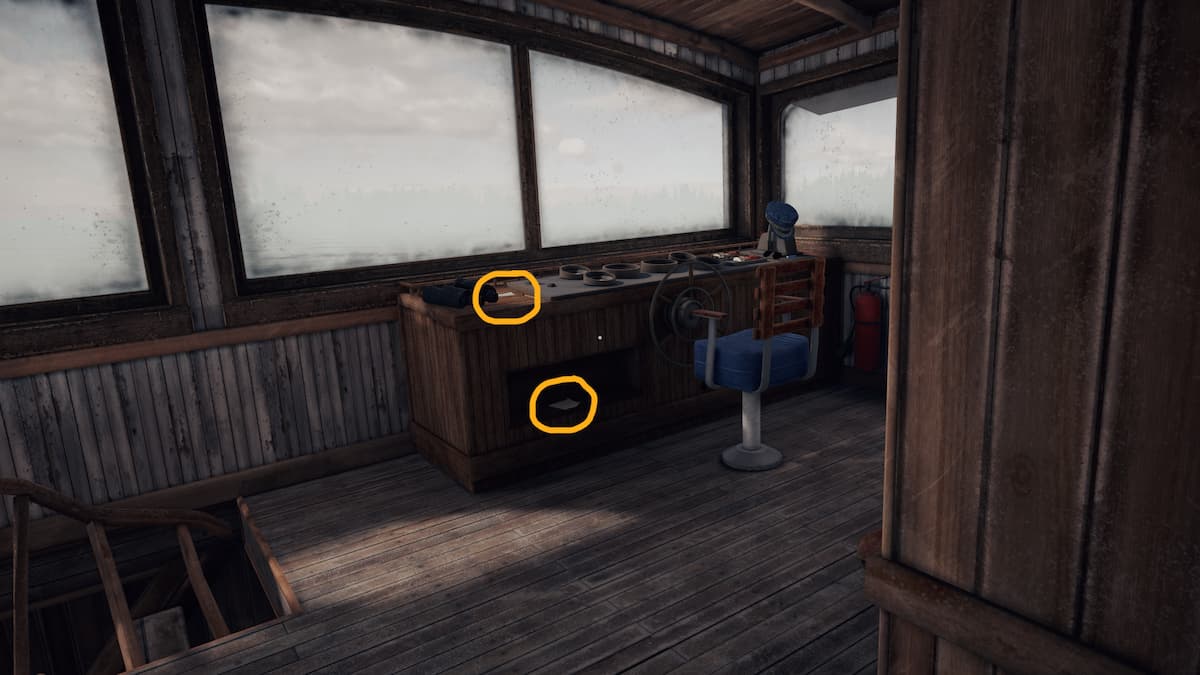
The navigation area of the ship is further down the hallway. It contains two notes to share with Opal.
Related: How to get the True Ending in Sea of Stars
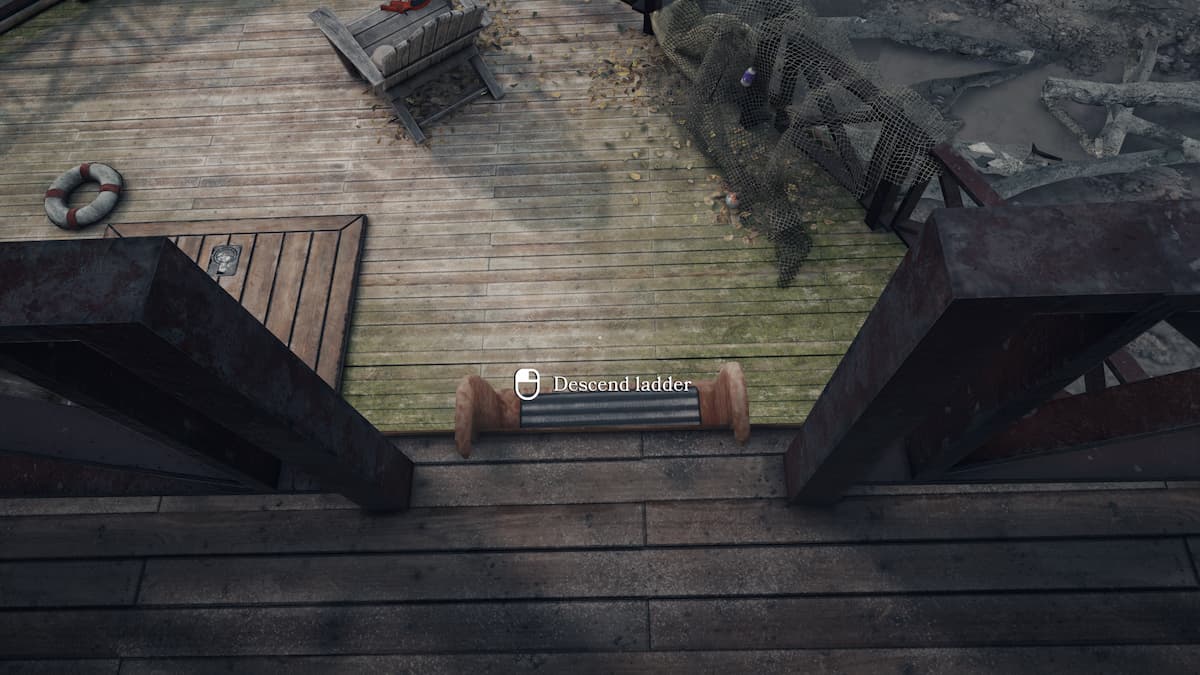
The stairs in this room are broken. You’ll have to exit the houseboat using the door you entered from and walk around its cabin to take a ladder to the lower levels.
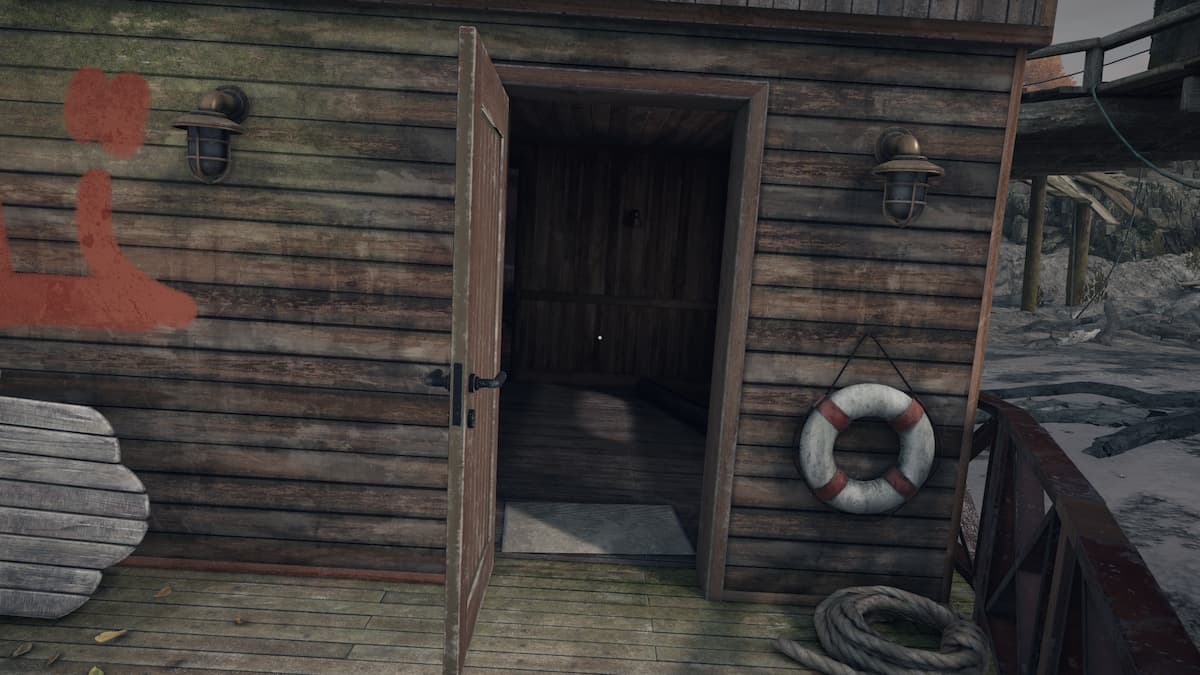
Enter the doorway on the right side of this lower level.
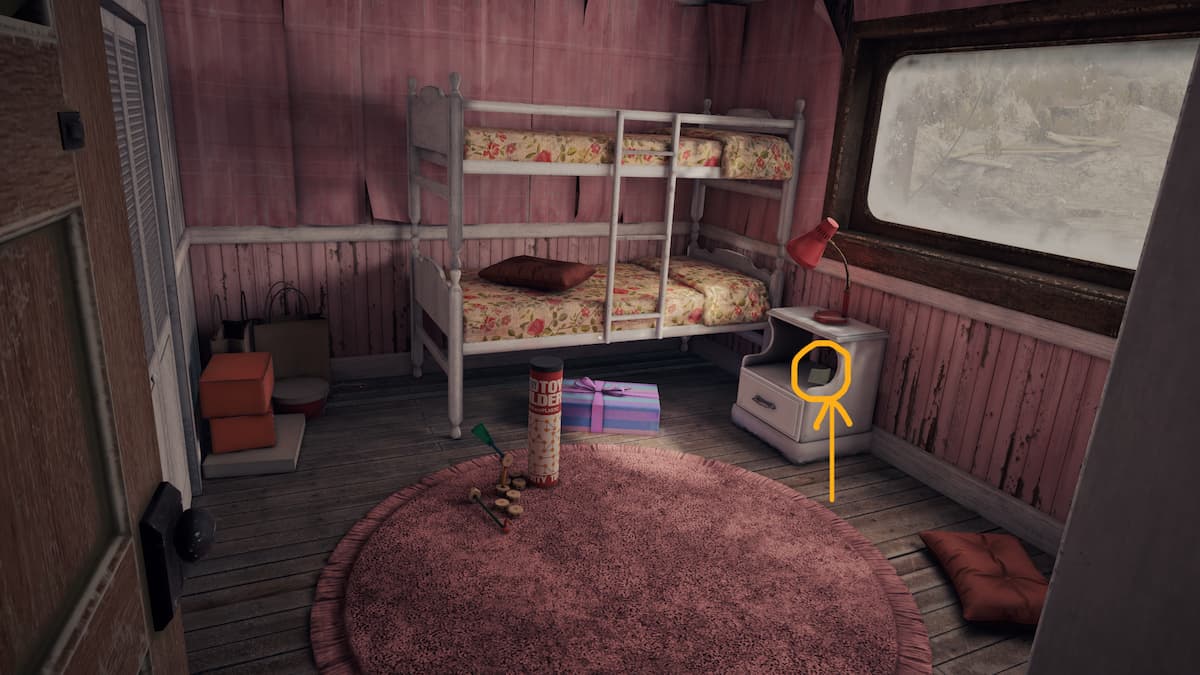
The first room on this level contains a single letter on the nightstand.
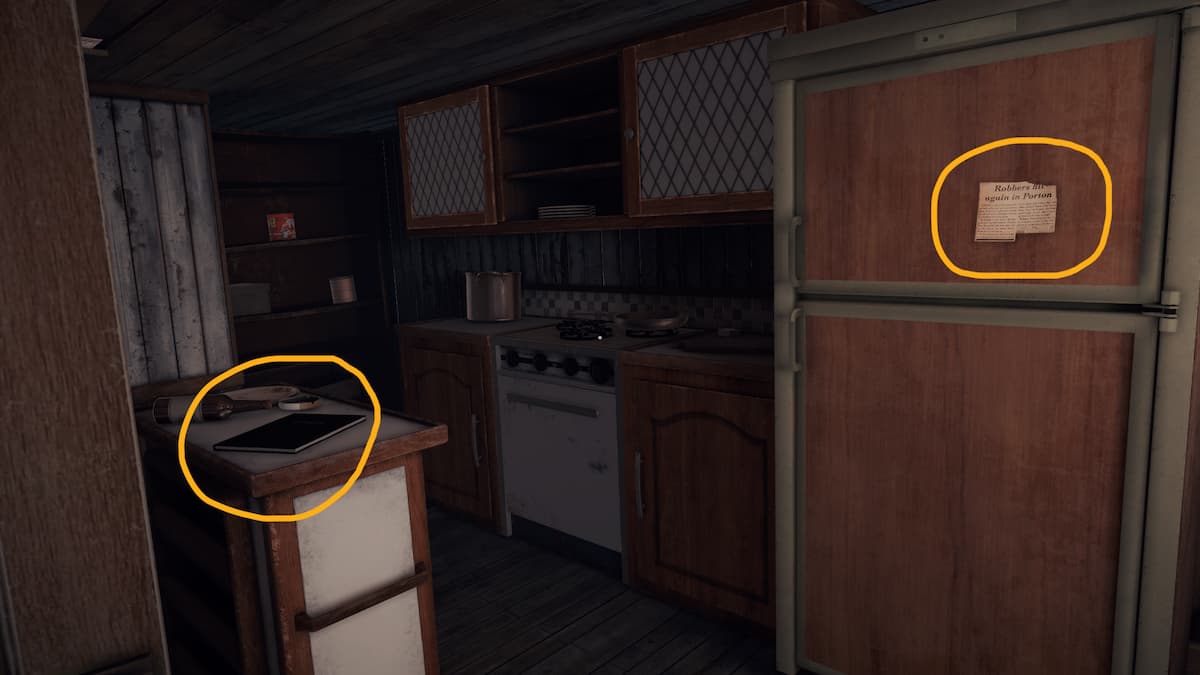
Exit this room and head down the hallway. The boat’s kitchen will be the first door on the left.
There is a ledger on the counter and a newspaper clipping on the fridge.
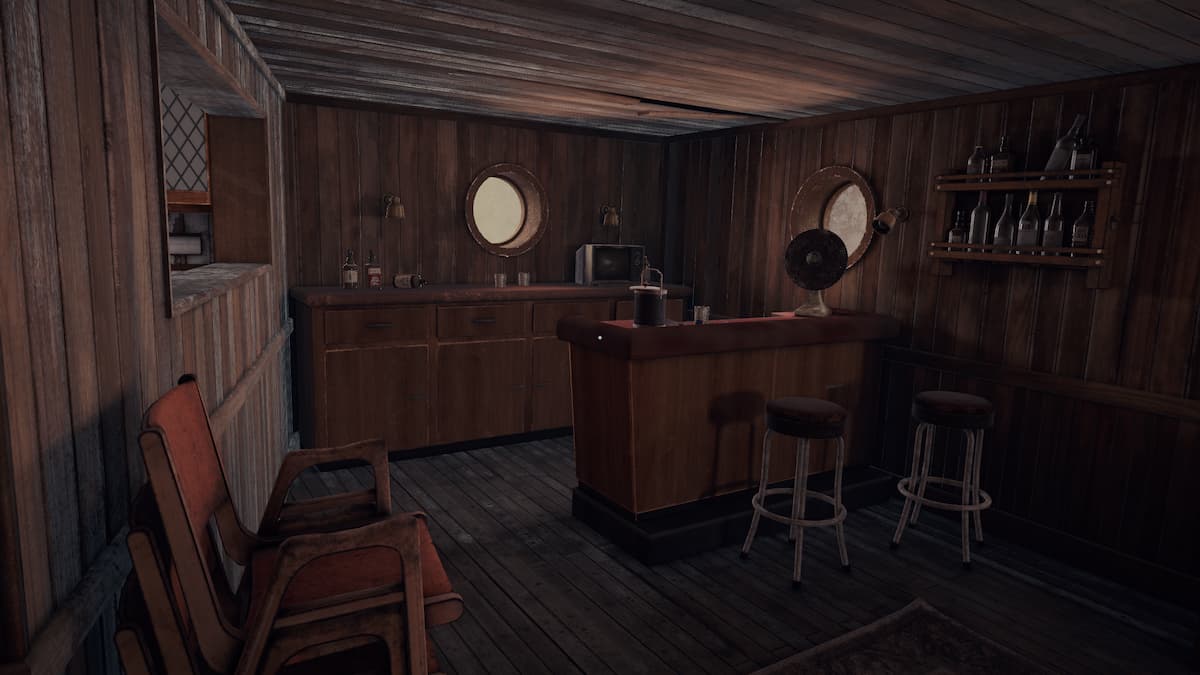
After leaving the kitchen, exit the hallway and turn left to the bar.
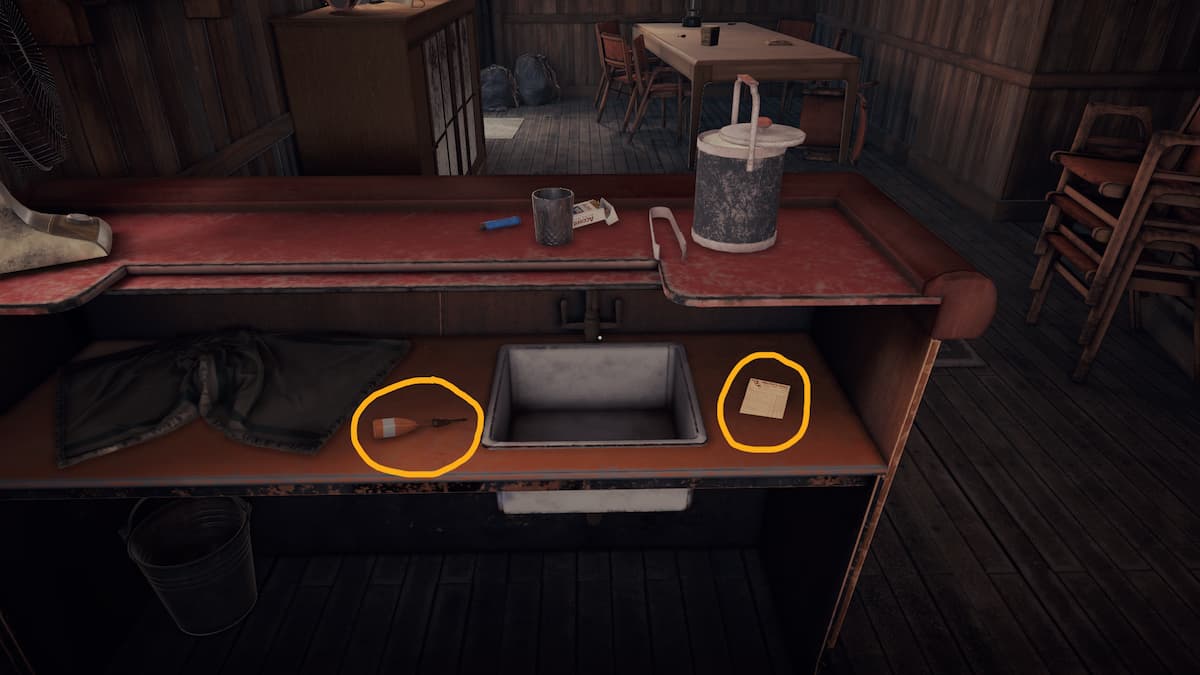
There will be a receipt and a set of keys on the counter.
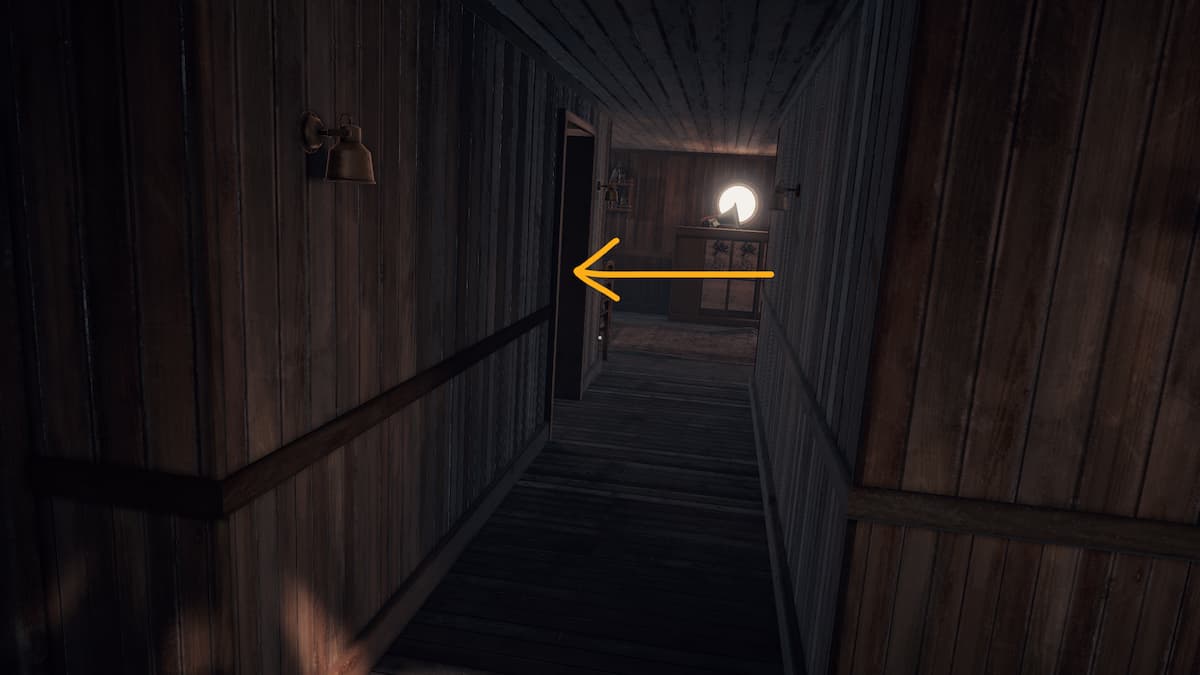
With these keys, head through the nearby door and return to the second floor.
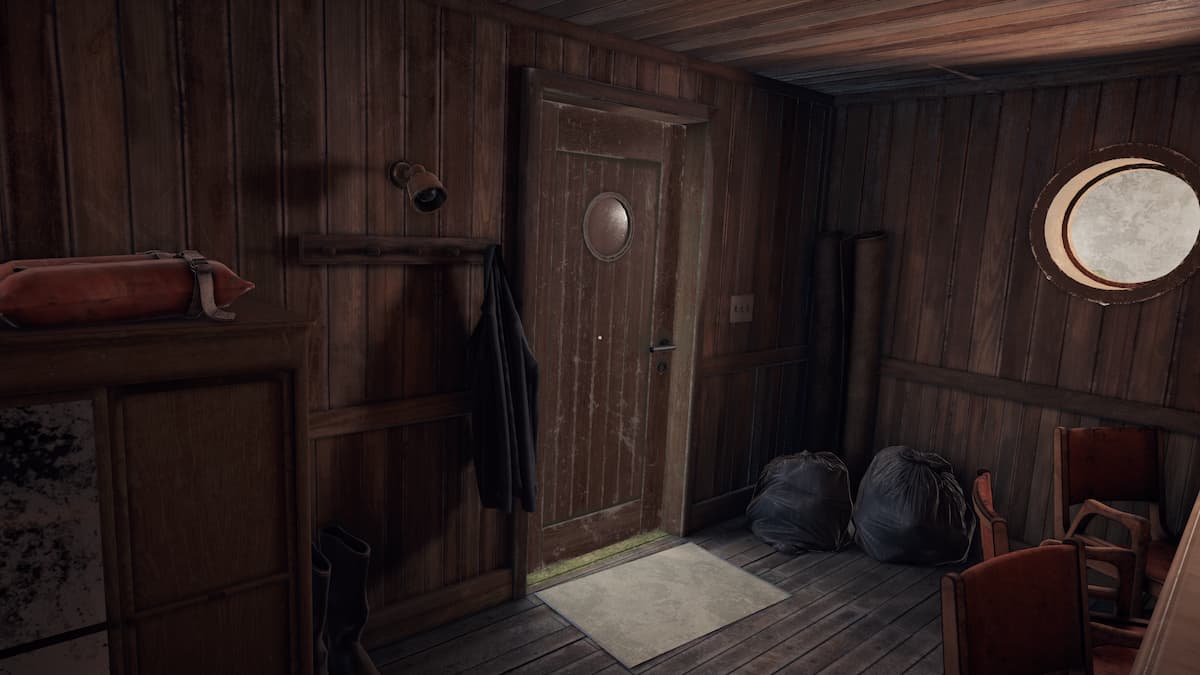
Use the keys to open the locked door in the upstairs hallway.
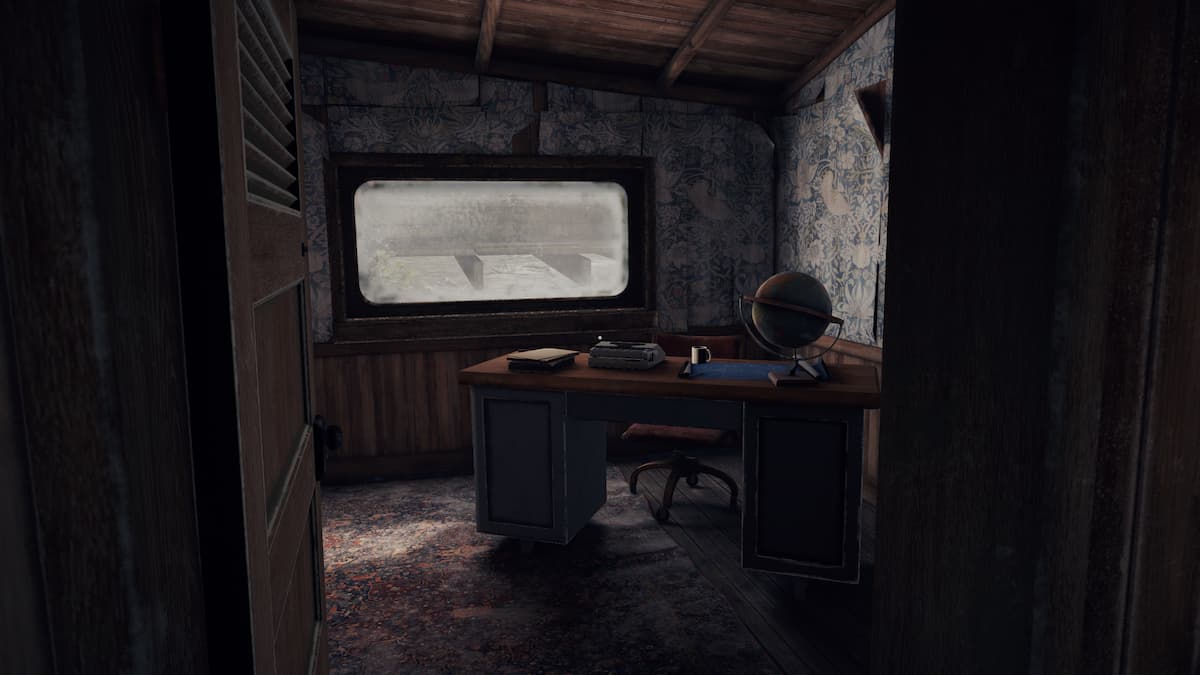
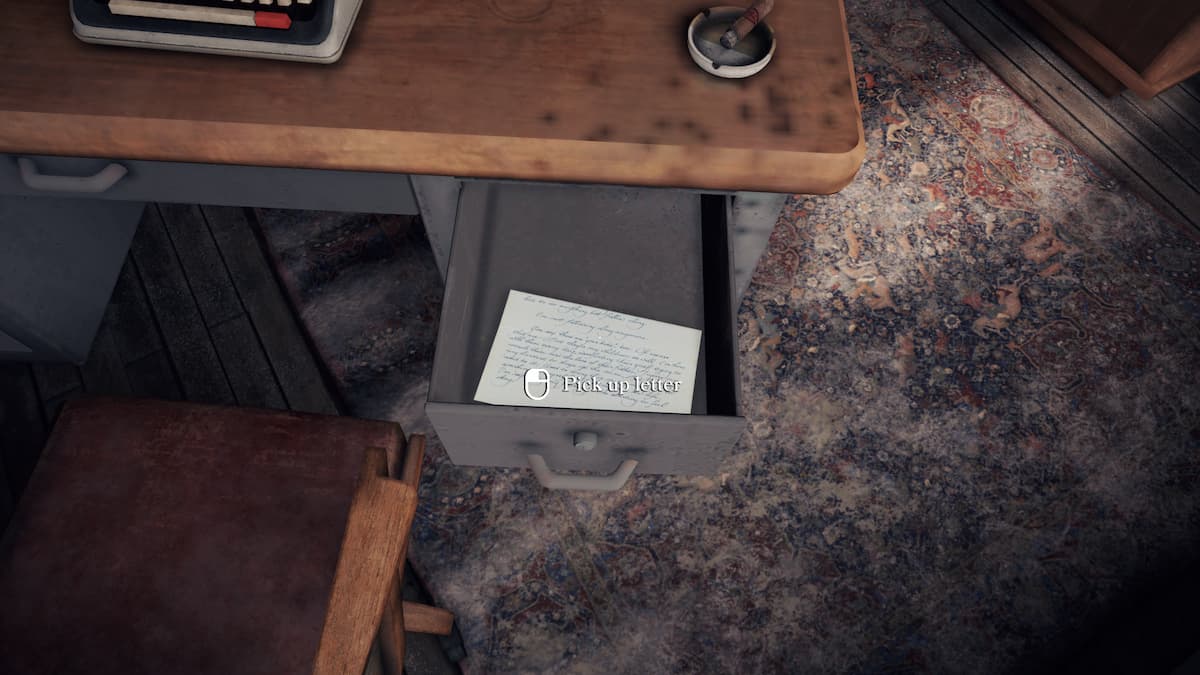
Open the top right drawer of the desk in this room. It will first give you a letter explaining the end of Pierre’s relationship with Helen.
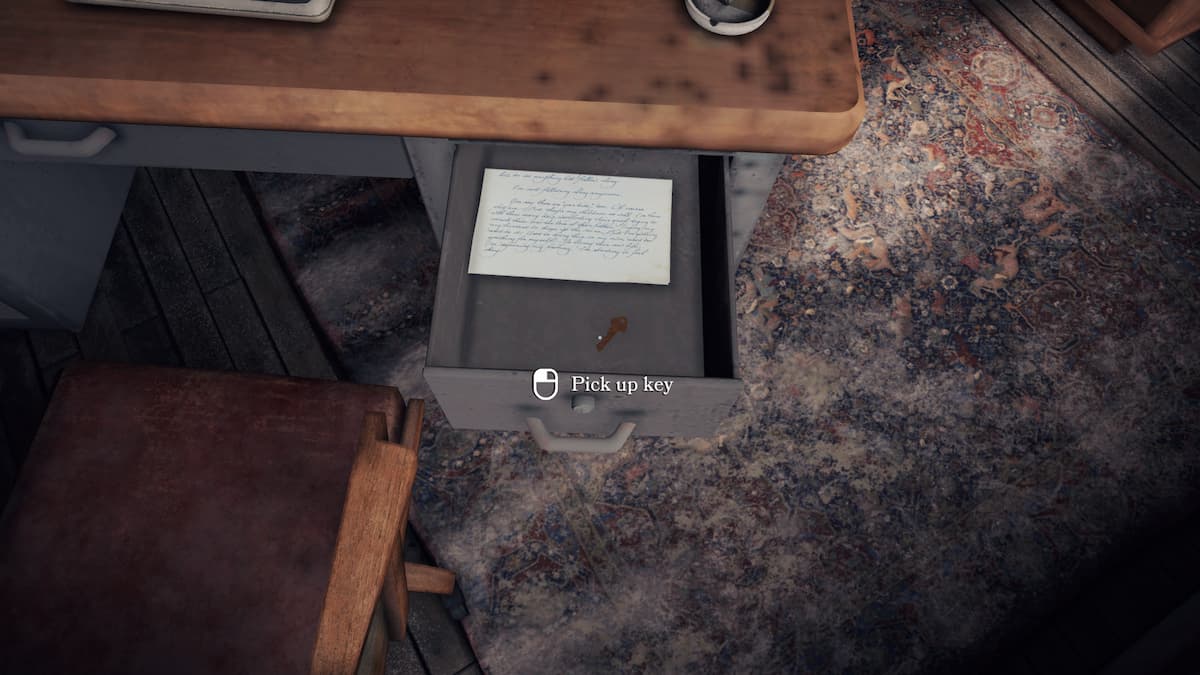
Beneath the letter, you’ll find a small mailbox key.
Return to the set of mailboxes found at the beginning of the pier. As we discovered previously, the one belonging to Pierre is at the bottom right.
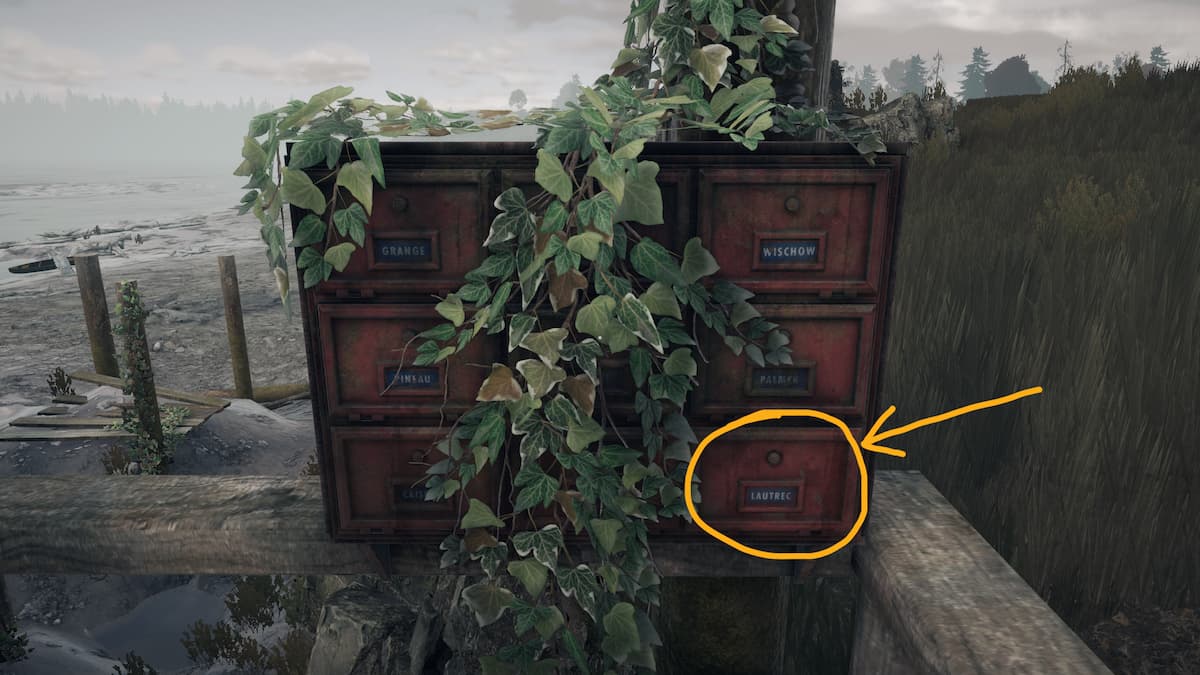
Opening it grants you access to a few letters.
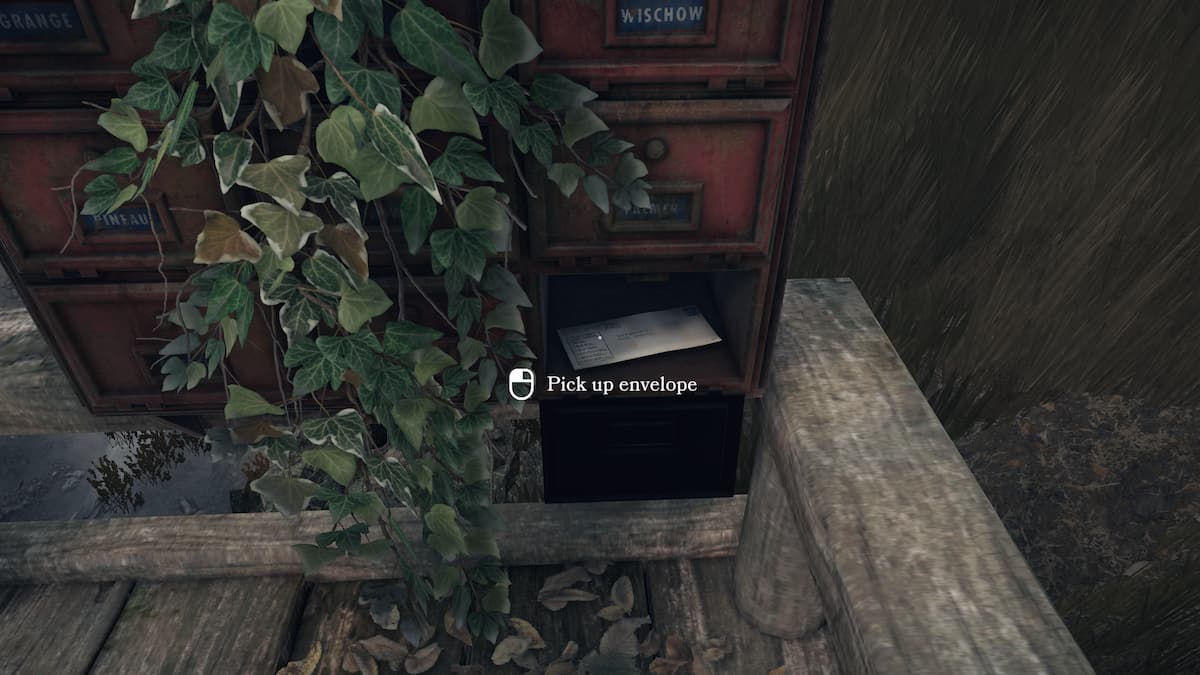
Reading these letters reveals the truth behind Pierre and gives you the “Pier Pressure” achievement. It also places you into the car for the last time.
Open Roads Chapter 7 The Way Home walkthrough
If you’ve looked over everything in the car previously, all that’s left is a final talk with Opal.
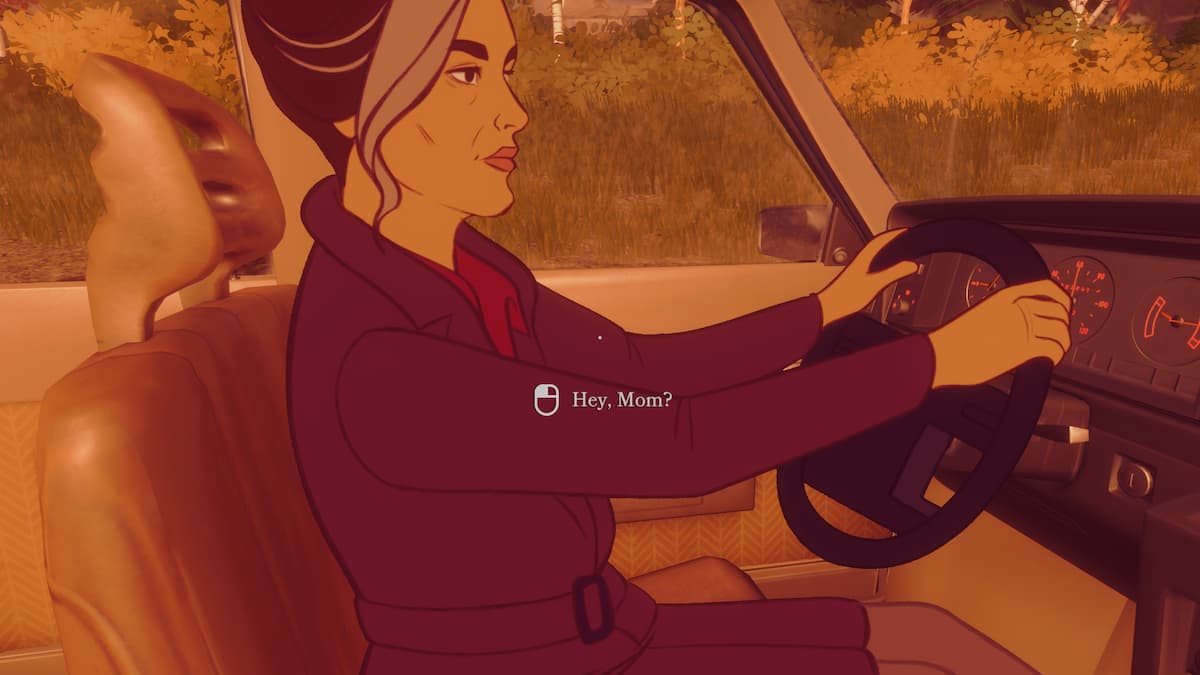
Completing this talk gives you the final achievement, “Road Less Traveled”, and ends the game.
Looking for a new cozy game to play? Check out our list of the Best Cozy Nintendo Switch Games of 2023 here on Pro Game Guides.


