")
There aren’t that many games that I enjoy completing, but there’s nothing more fun than discovering all of the secrets of Senua’s world. If you want to get everything, check out the full Senua’s Saga: Hellblade II walkthrough below.
Full Walkthrough of Senua’s Saga: Hellblade 2 (with Secret Ending)
Chapter 1 Reykjanesta – Senua’s Saga: Hellblade II
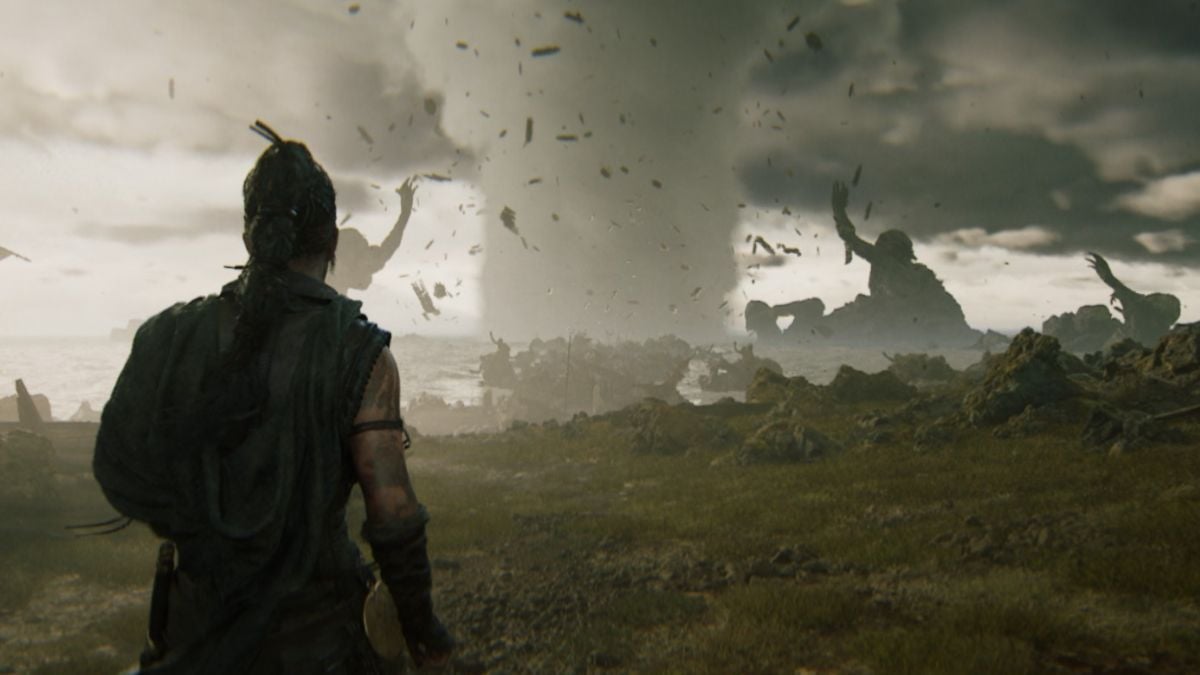
Landfall
Once the cutscene ends, interact with the first stone ledge to climb and start Senua’s journey. This part is very linear, all you have to do is keep going. When you’re climbing, make sure to keep holding the button to move, as Senua will stop unless you are (a mechanic I’ve enjoyed very much in the game).
Once you hear the voice from the past (Senua’s father), she will be able to move more freely so you can start running. There isn’t anything collectible here just yet, so don’t stress about it.
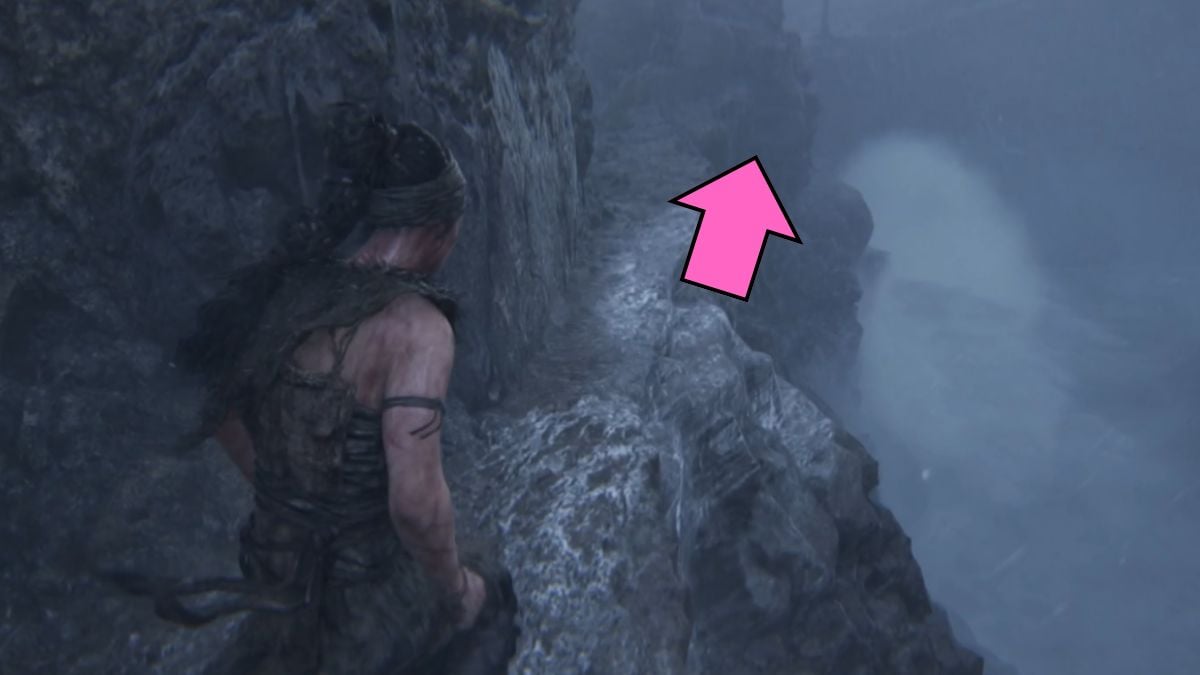
You’ll reach a cliff and you’ll have to walk on the tiny ledge to the left in order to cross above the sea, all while listening to your father try to convince you that the ocean wants you back. Not today!
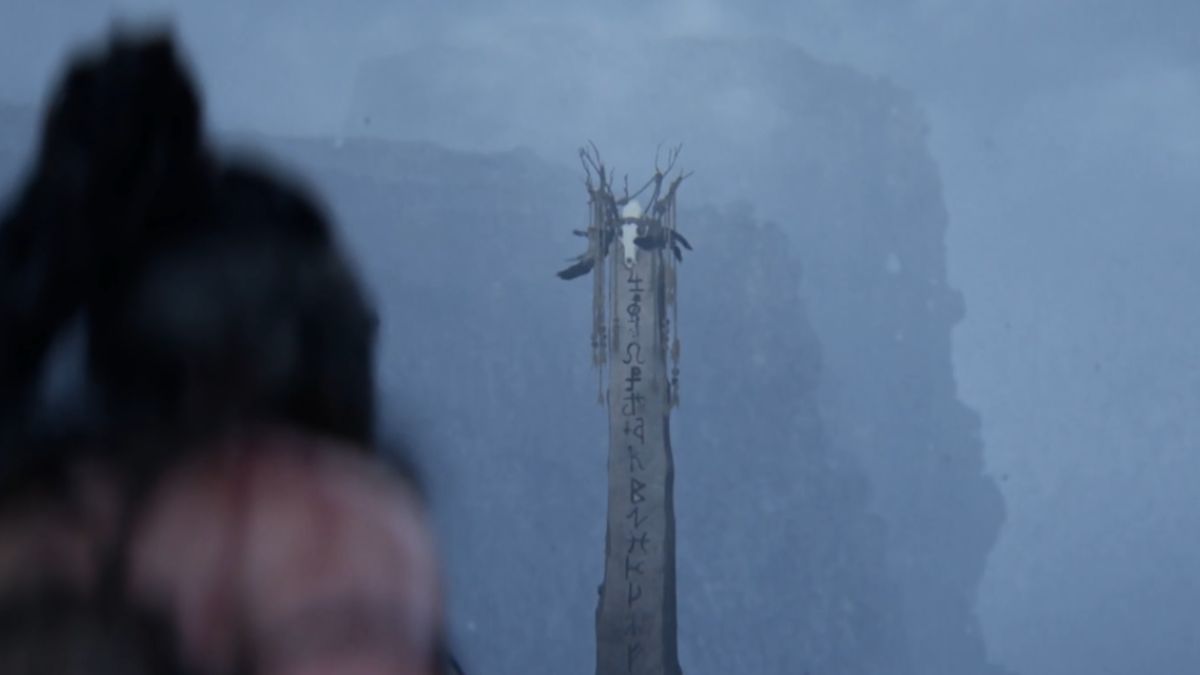
Keep heading down and you’ll run into the first Lorestone on the right. Get close and focus on it to hear stories from Druth about this new land. Make sure you collect all of the stones to reveal special lore at the end of the game.
After the stone, go down the path to the left. You’ll run into one of the slavers. The Furies will tell you to follow him. Once you get close, they will tell you to stop so he doesn’t see you. When he attacks a woman, start running but you won’t be able to save her. Another soul to weigh down on Senua.
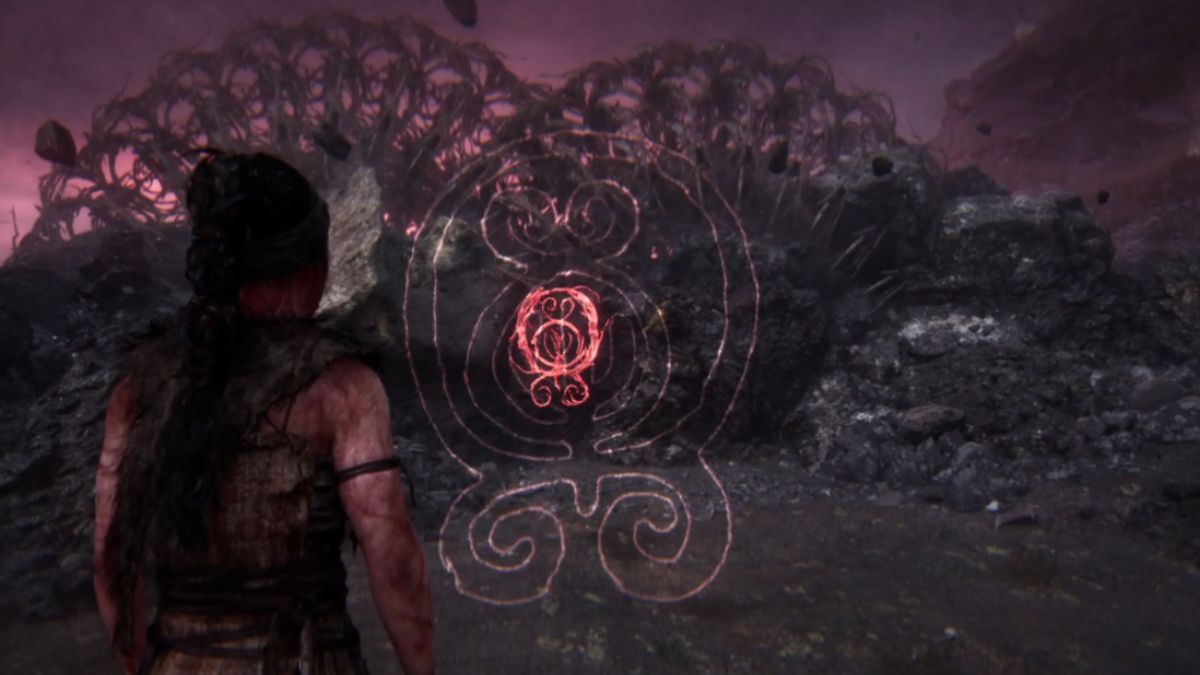
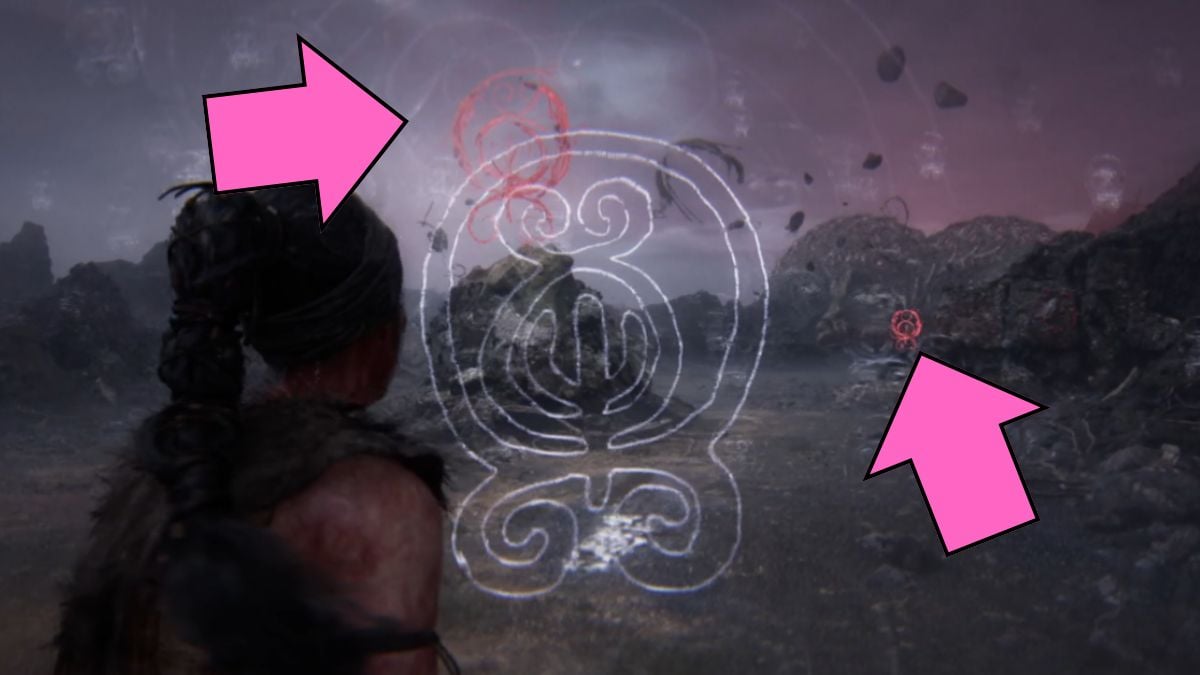
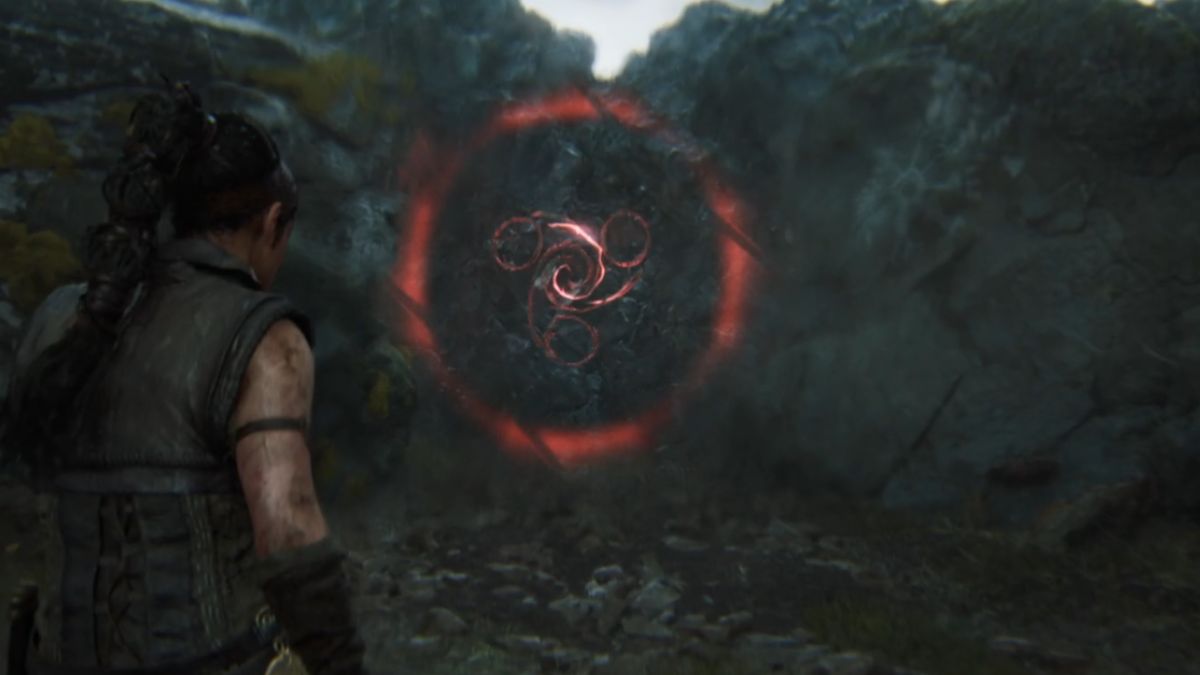
Follow the path down to the beach until you reach a section that is blocked off by a rune door. You’ll have to find the rune in the area in order to progress. There is only one part to this puzzle, so it isn’t too difficult to find.
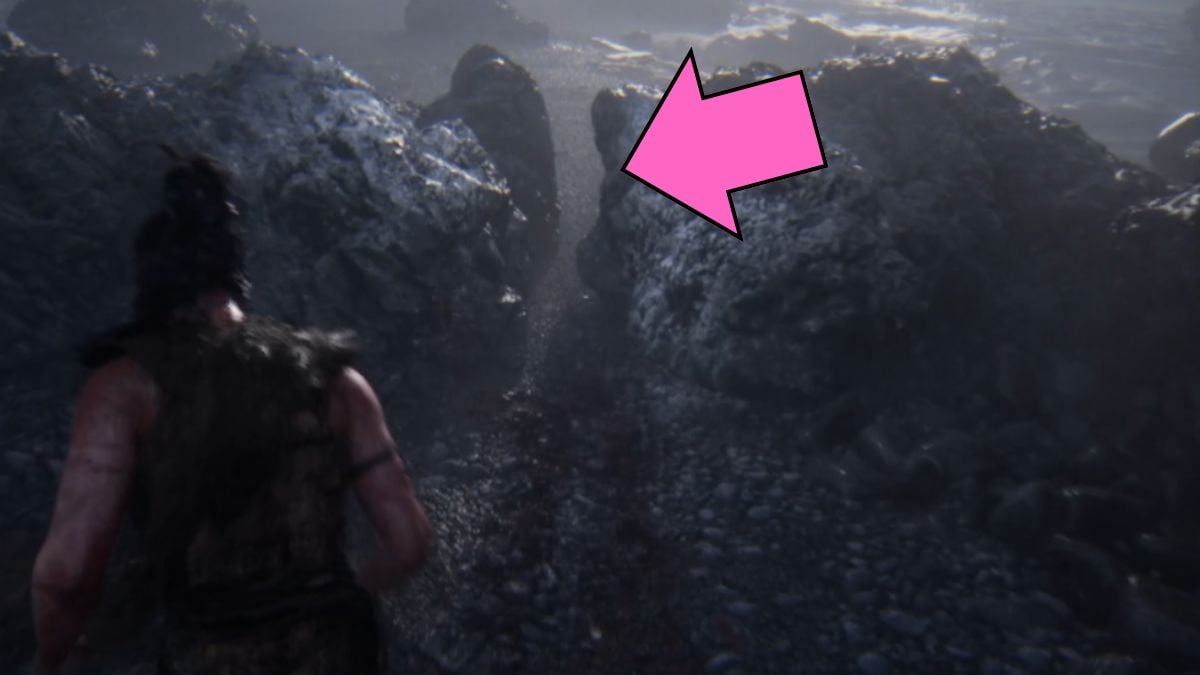
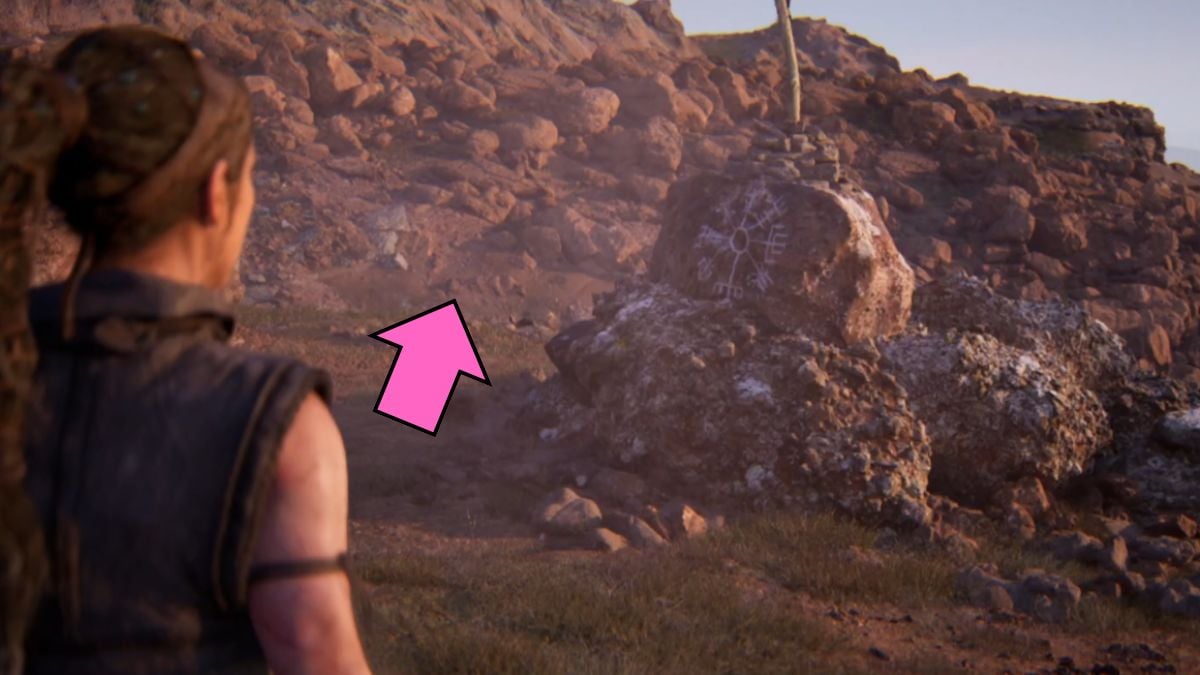
Head back to the stone in the middle of the clearing. Right above it, you’ll find the correct pattern. Focus on it to remove the rune door. Once you do, squeeze through the stone cracks and make your way to the shore.
Shore of Slaves
You’ll have a pretty clear path on the beach until you reach a crack between two stones that you have to squeeze through. You’ll get attacked by a slaver right as you pass through, but you won’t have to fight just yet; Senua will just kill him.
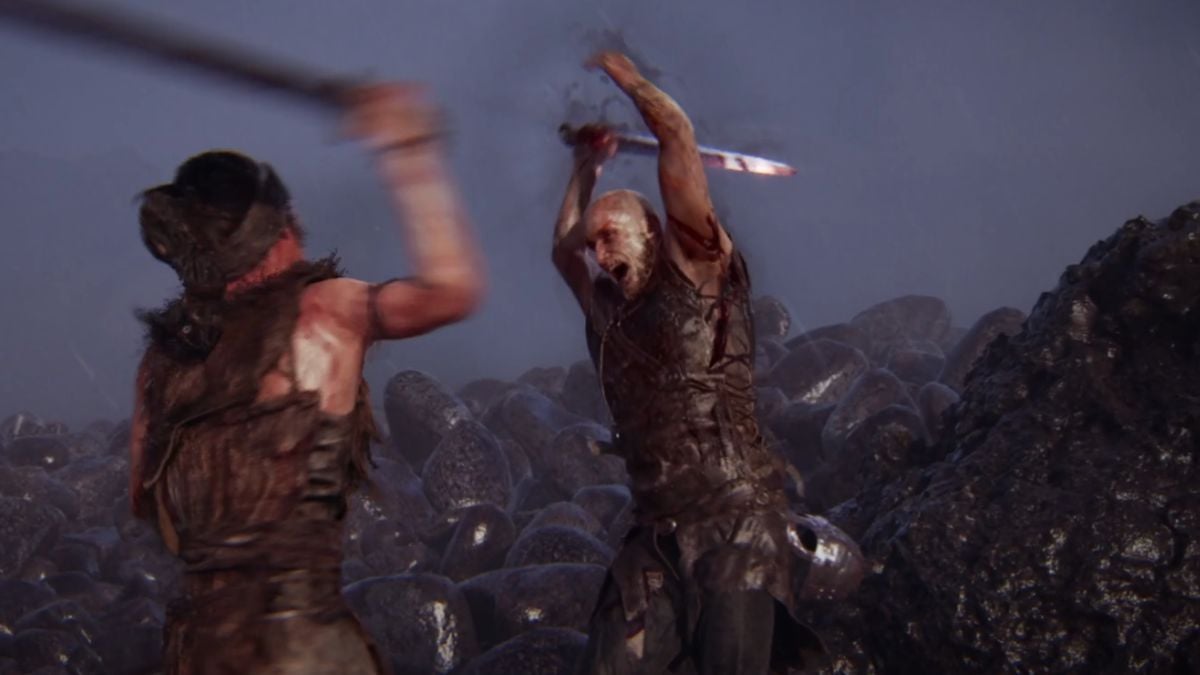
However, as you keep going, you’ll encounter a second slaver; this time you’ll have to fight. There are several things to keep in mind in this section as you keep fighting three slavers:
- Keep dodging.
- You can block any attack, but if the enemy and the world glow red, that attack will make you stumble.
- Blocking just before the enemy attack connects will trigger a counter-attack.
- Switch between fast and heavy attacks to make the enemy stumble.
Capsized Ship
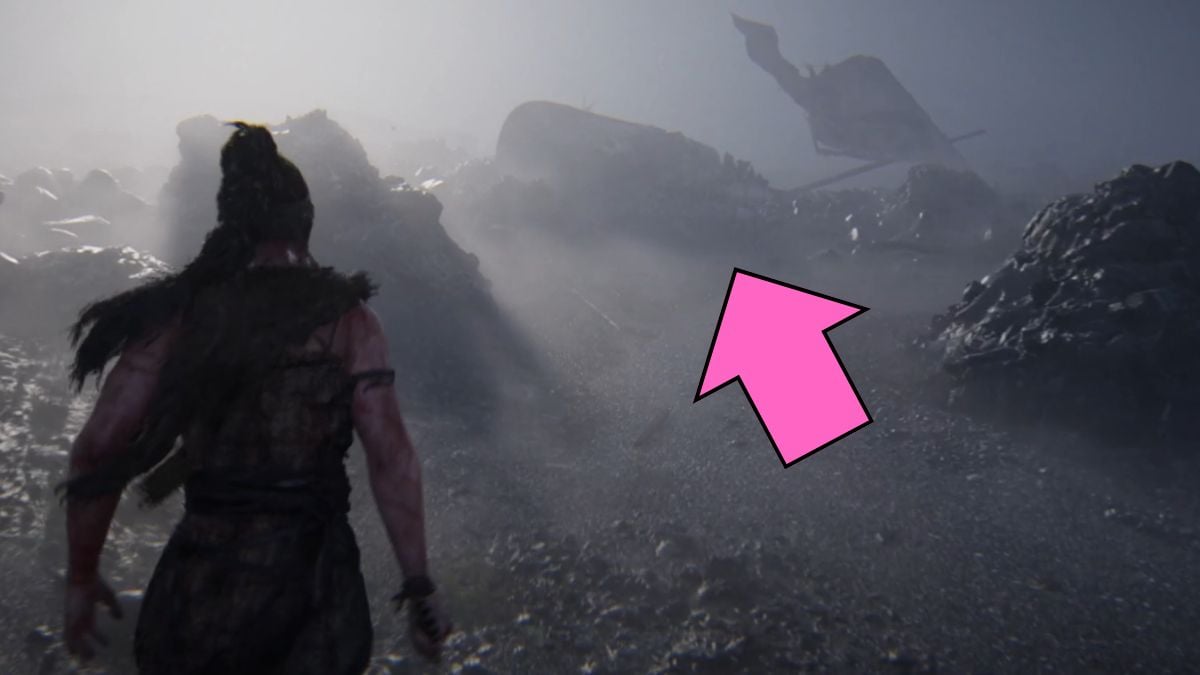
Once you finish off the third slaver, go to the capsized ship. There aren’t any survivors, but you still need to crawl through. Hold the button to move forward as well as to interact when there is an obstacle you need to push out of the way.
As you keep going, you’ll get attacked by two more slavers (individually). They love chaining two attacks, so keep that in mind when dodging or blocking.
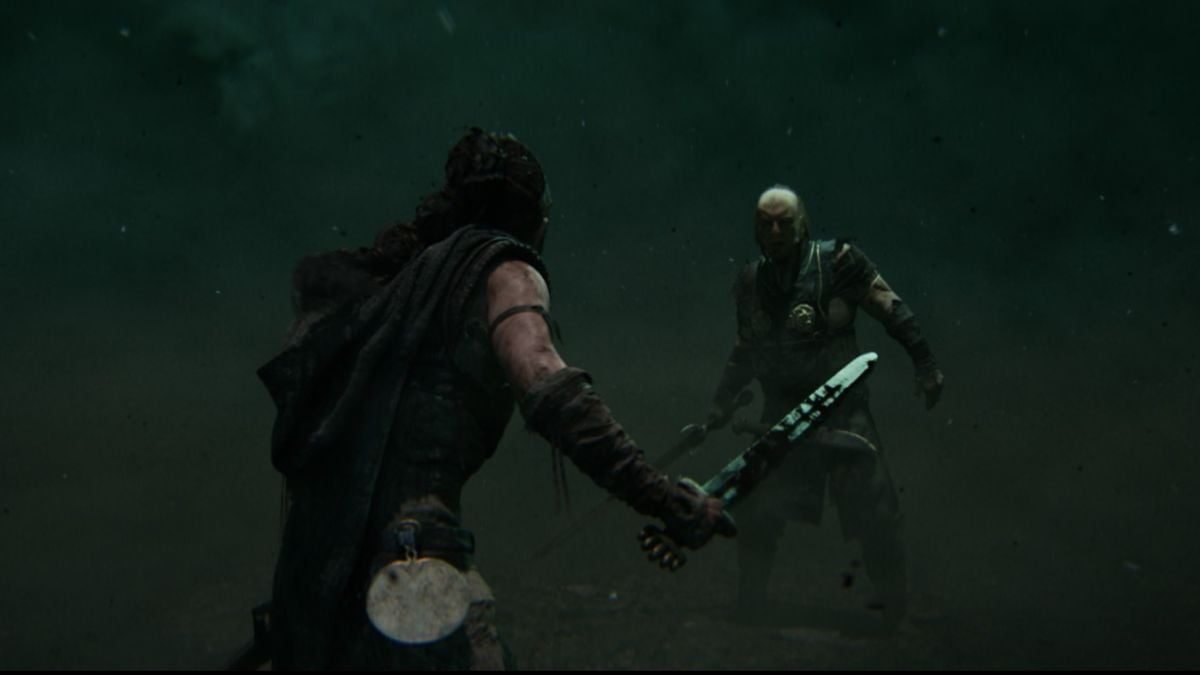
Slavemaster Found
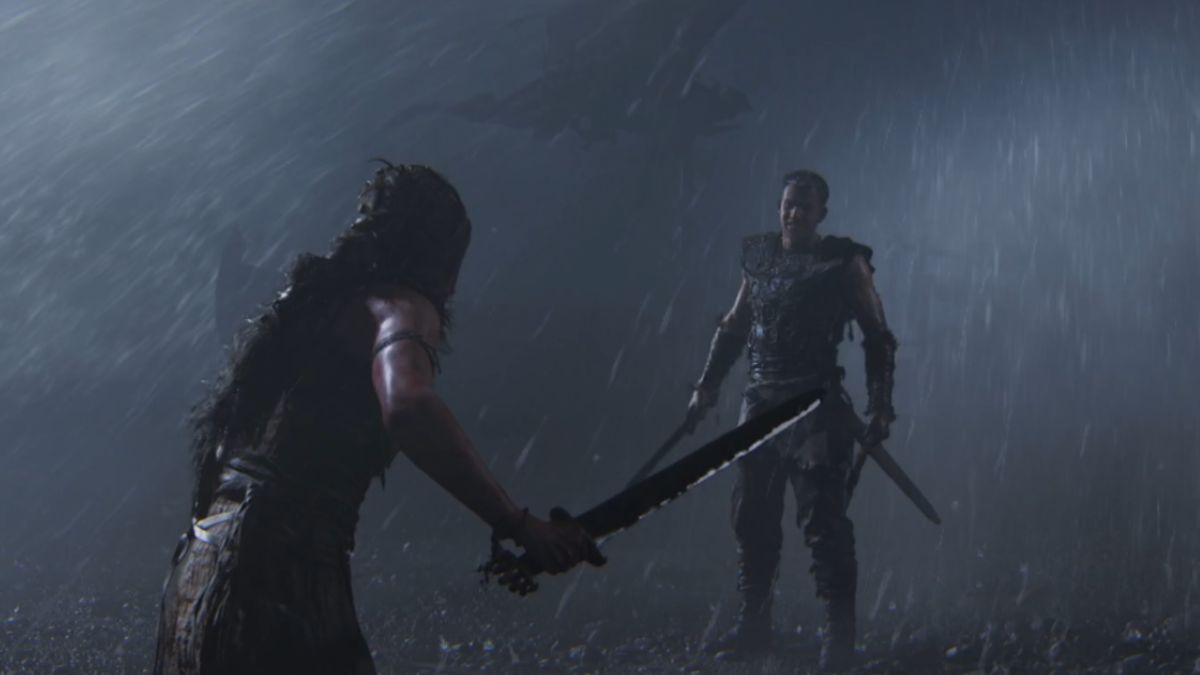
After you fight off a hallucination, the Slavemaster will find you. You need to fight him in order to help your people. He will keep knocking you down, but that’s part of the game (and not because you are really bad at fighting, as I kept consoling myself).
Senua will defeat him but decides not to kill him once she sees the rot taking over the Slaver’s body. Instead, she forces him to take her to where the slaves (her people) are.
Chapter 2 Freyslaug – Senua’s Saga: Hellblade II
Freyslaug Sighted
As you are forcing Thorgestr to walk, you will see a couple of huts to the right of you. There is a Lorestone right behind them, so head that way. Once you get it, keep walking.
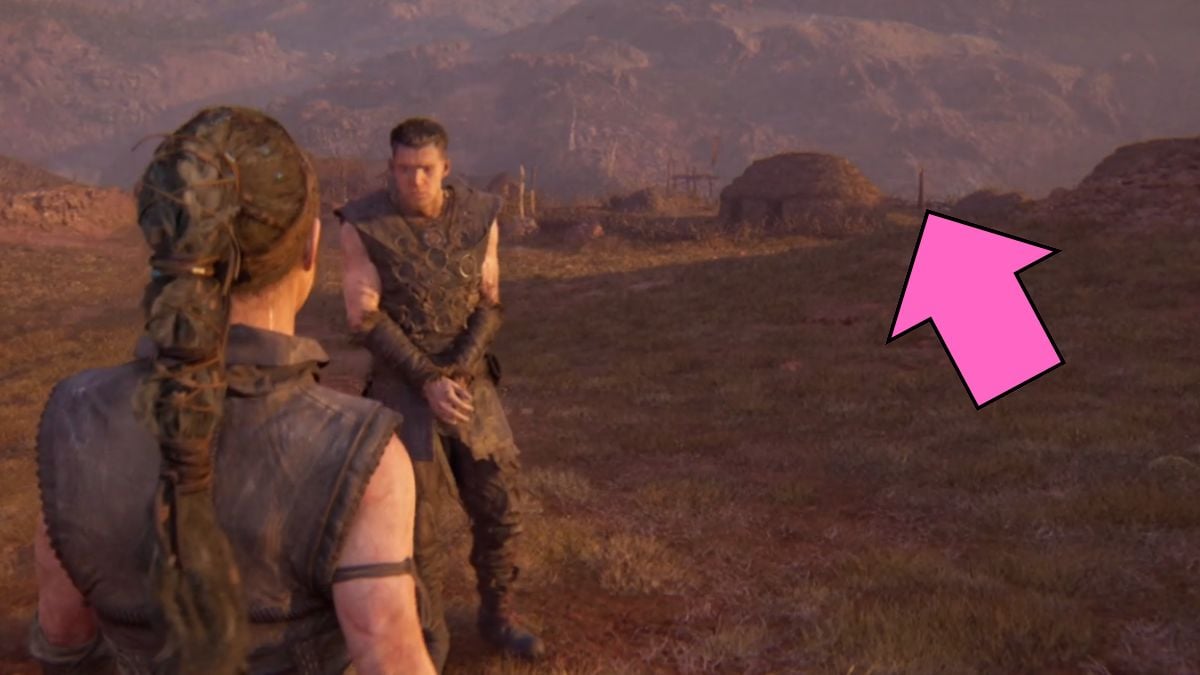
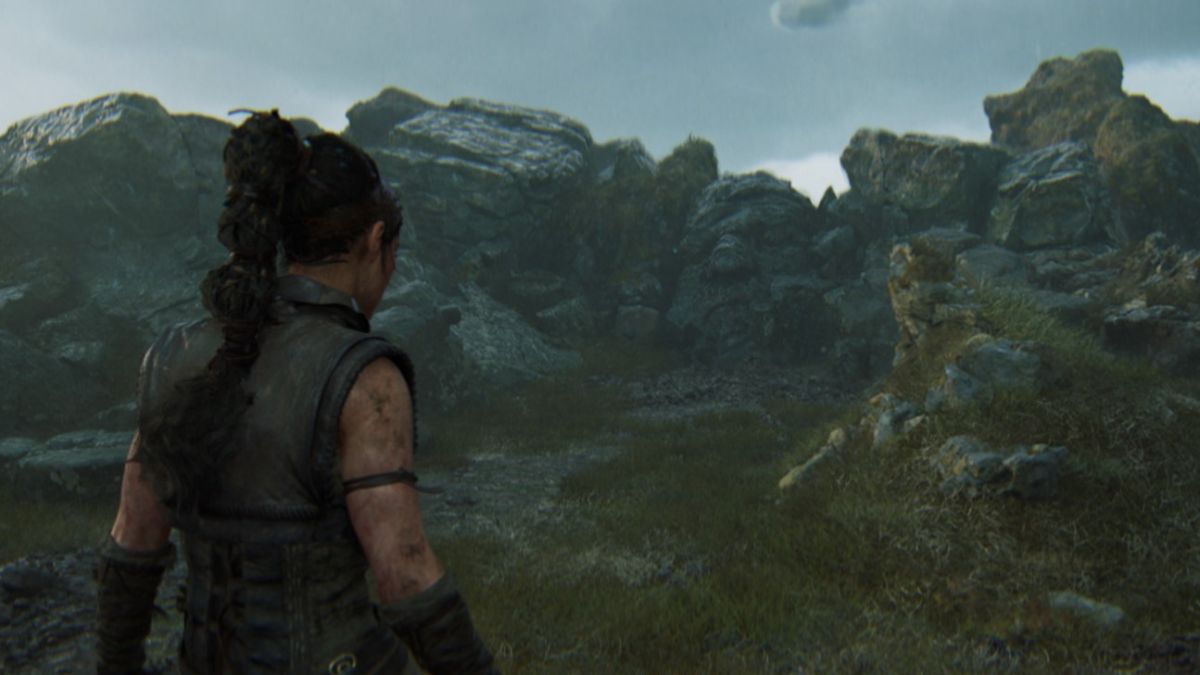
The path to enter the Freyslaug is destroyed, so you’ll have to head to the right instead. You’ll pass through mounds of graves until you reach the other entrance.
Settlement Entrance
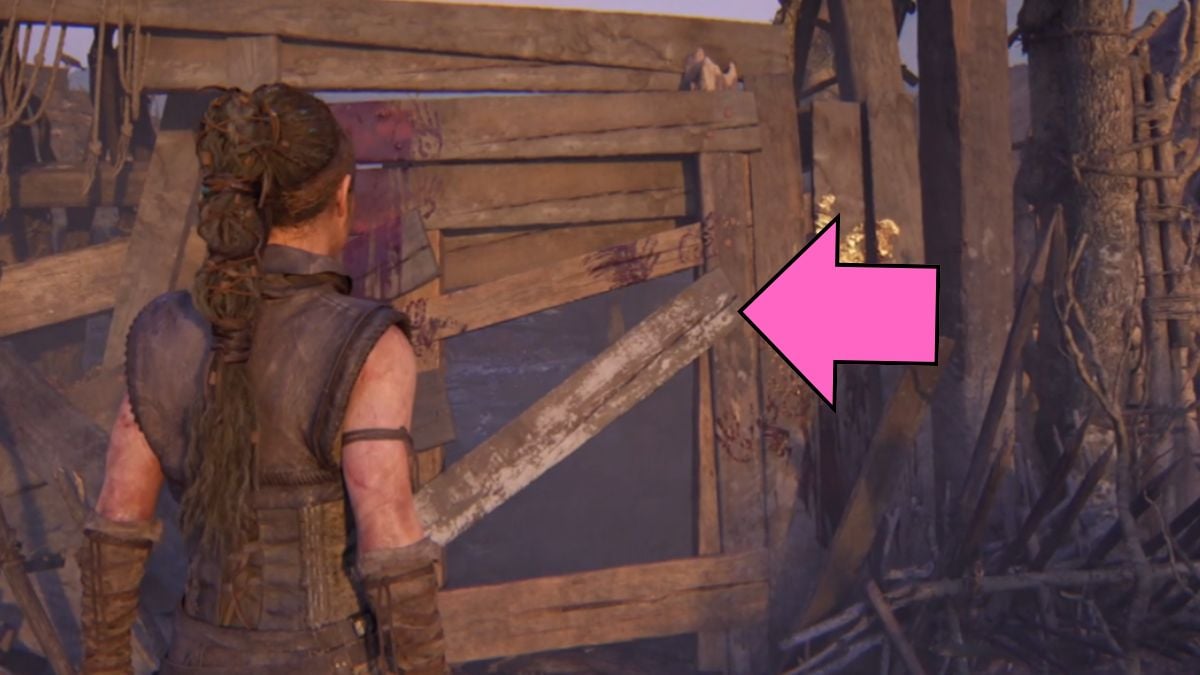
Approach the settlement entrance and interact with the plank to take it off and enter the village. Everything is covered in blood.
Enter the house to the left so that you can pass through its other door and further into the village. Keep going down the main path until it gets blocked off by a rune door. This time, you have to find three separate parts of the pattern.
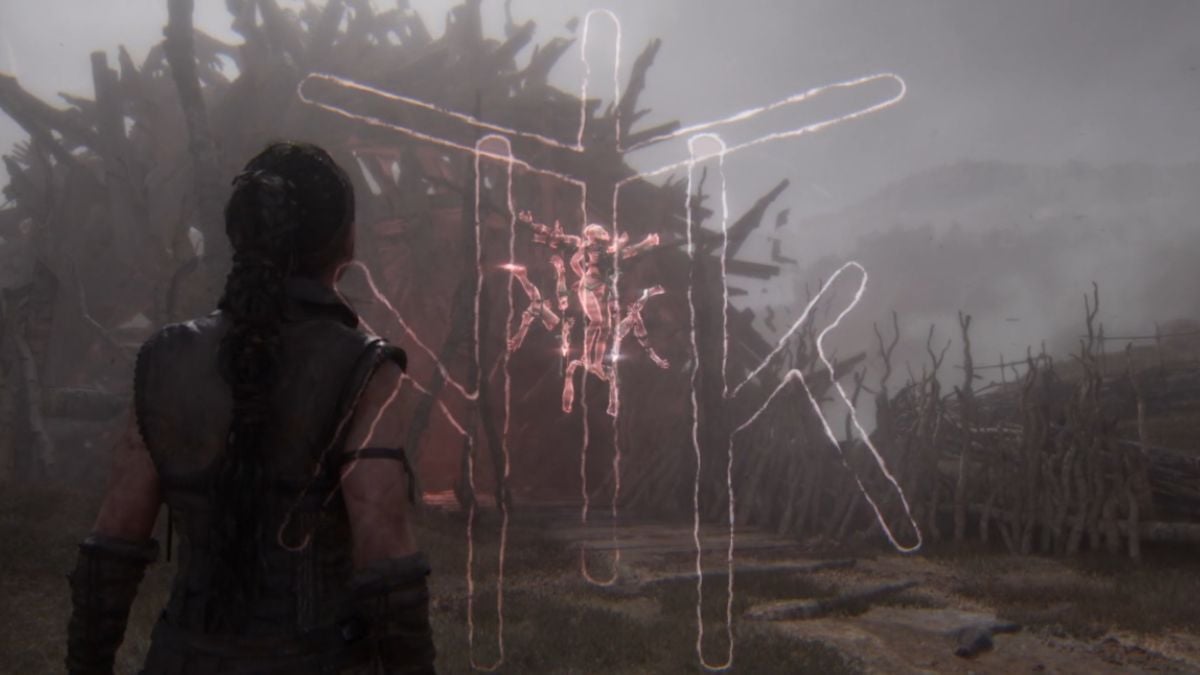
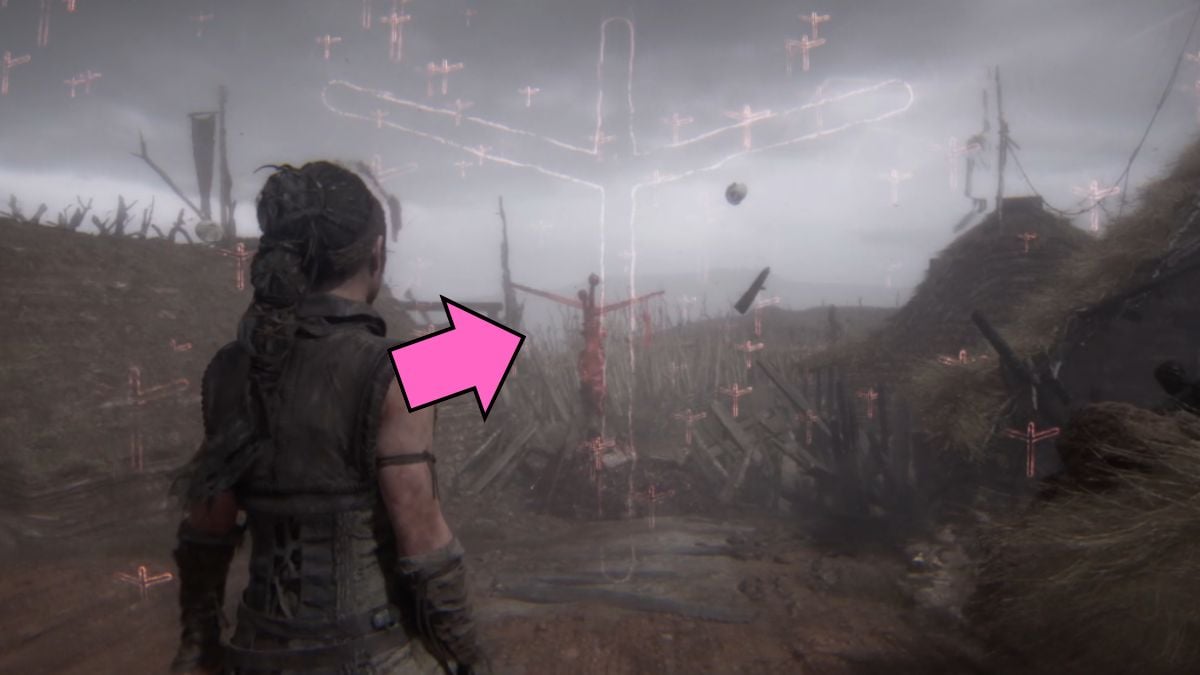
For the first one, head all the way down the path and back to the one person who’s been impaled. This is your first pattern.


Now, run back all the way to the rune door and head around the last house to the left. You’ll find an opening in the wall to go through. Enter and then climb up the ladder for the second pattern. You’ll find the second pattern in the sticks to the left.


For the third pattern, go into the house where the mother and the baby are screaming. There is another door you can exit through to a backyard area. Climb to the house on the hill to the left and go through the hole in the wall. Keep going right until you get to the ledge overlooking the area. You’ll find the last pattern in the bloody sticks there. Jump down from this path and return to the symbol.
Return Home
Unblocking your path will take you home to your village. Follow the light until you reach your house and hear your mother. In this area, you’ll find the mirror that will be extremely useful in battles. In fact, there is one battle right after you pick it up.
There will be four creatures that attack you in your memories. You can keep hitting them, but they won’t die. The only way to kill them is through your mirror attack. Hit them until you charge up the mirror, then use it to get rid of the four enemies. This will bring you back to your village. Keep walking until the cutscene ends and you are back in Freyslaug.
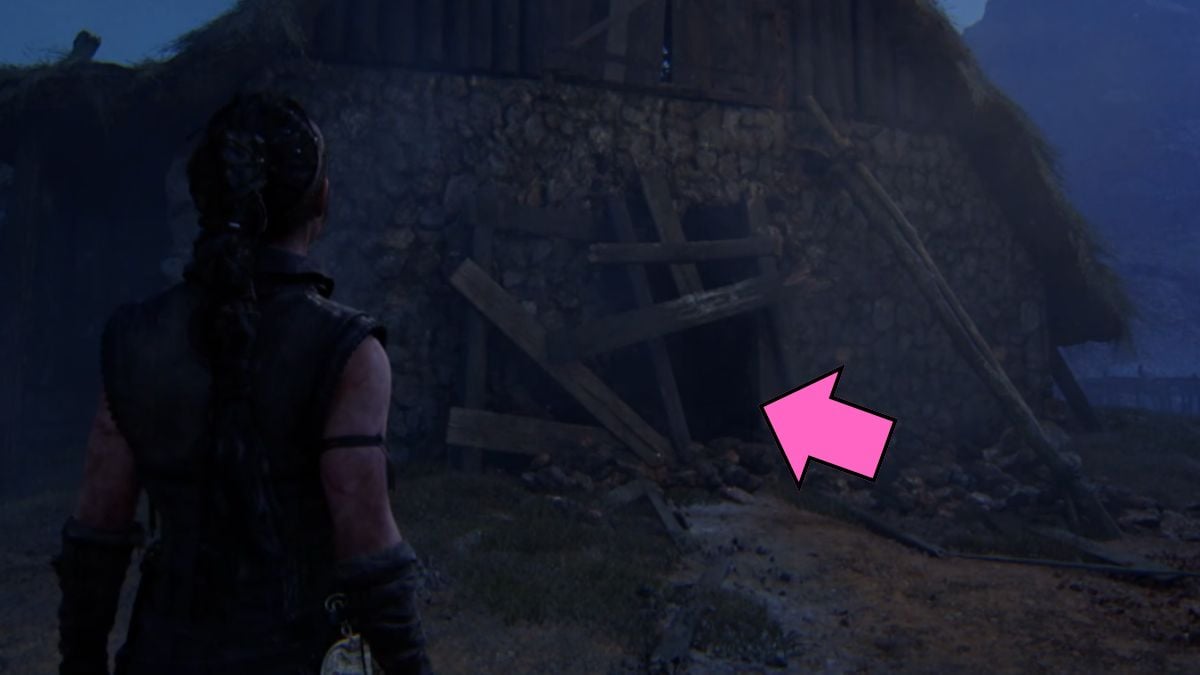
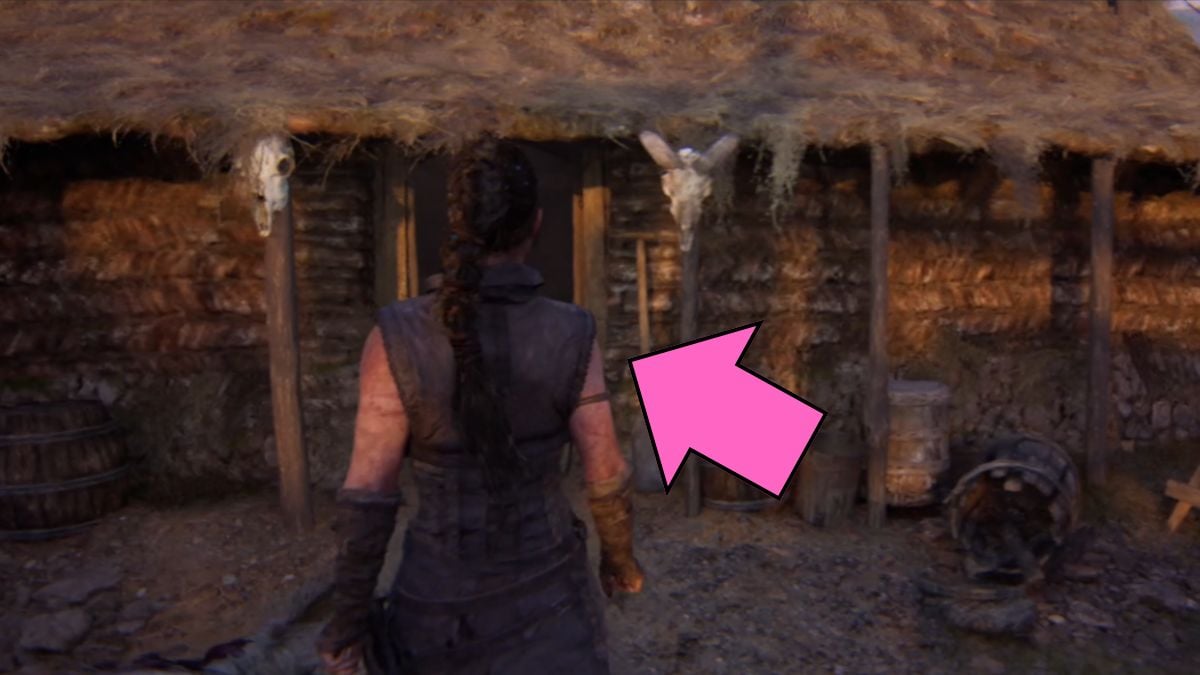
Make your way across the bridge and to the next area. It was a little dark for me so it took me a while to find which way to go. At the side of the house, there is a crack you can squeeze through and go in. Pass through the house and through the door on the right.


Once you exit it, go immediately down the path to the left of the house. You will find a crawlspace underneath some wood in the fenced-up area. Crawl under and you’ll reach the second Lorestone of the chapter.


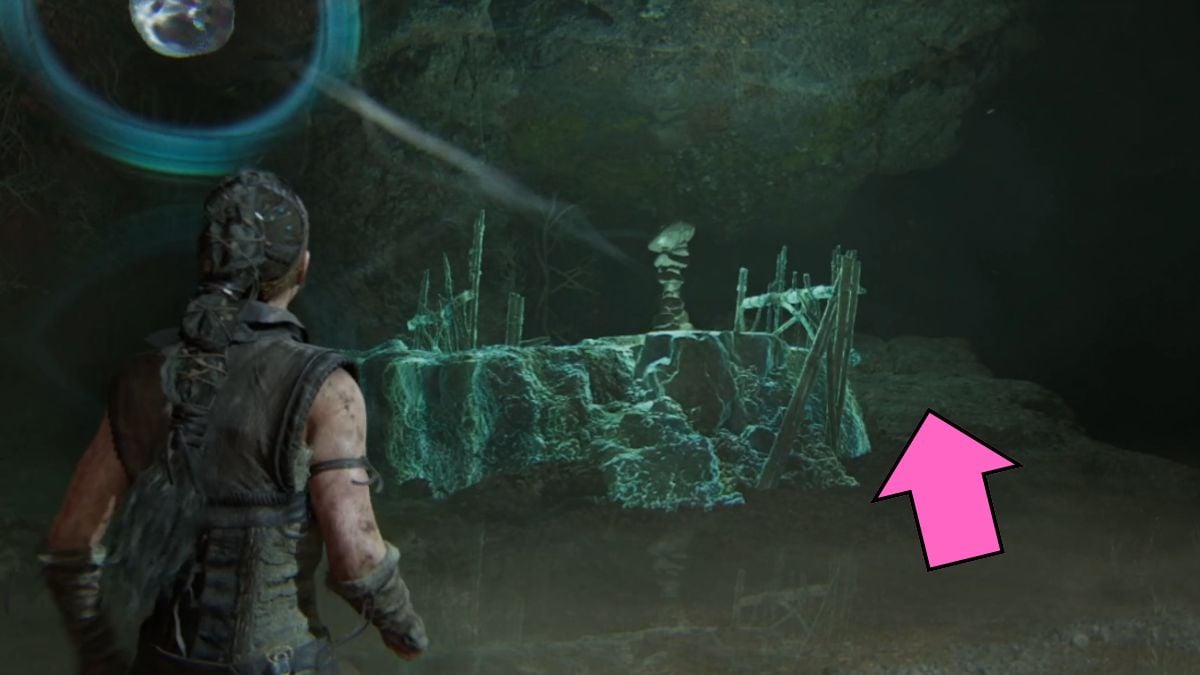
Now, head towards the torch, and you’ll find another secret of Hellblade II: hidden faces in stone. This one is to the right of the lit torch. When you focus on it, you reveal a secret path to the tree of life, according to the Furies, that will also reveal lore to you. Once you have listened to it, head down the wooden path towards the fiery skies and the Draugar ceremony.
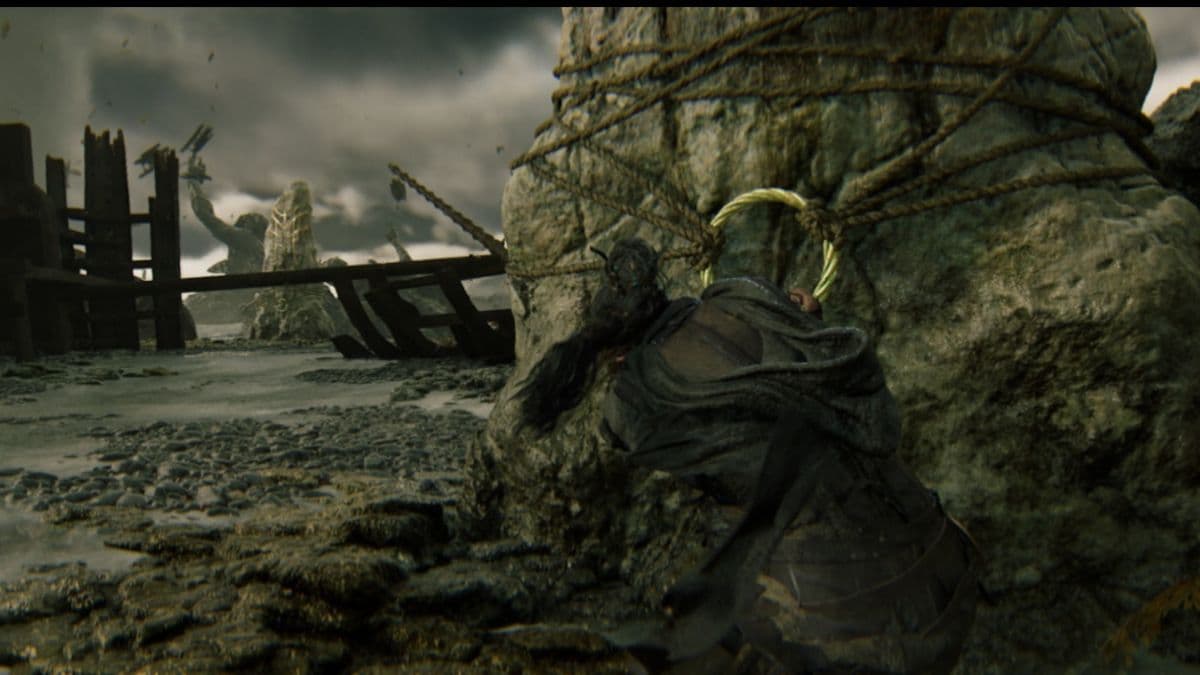
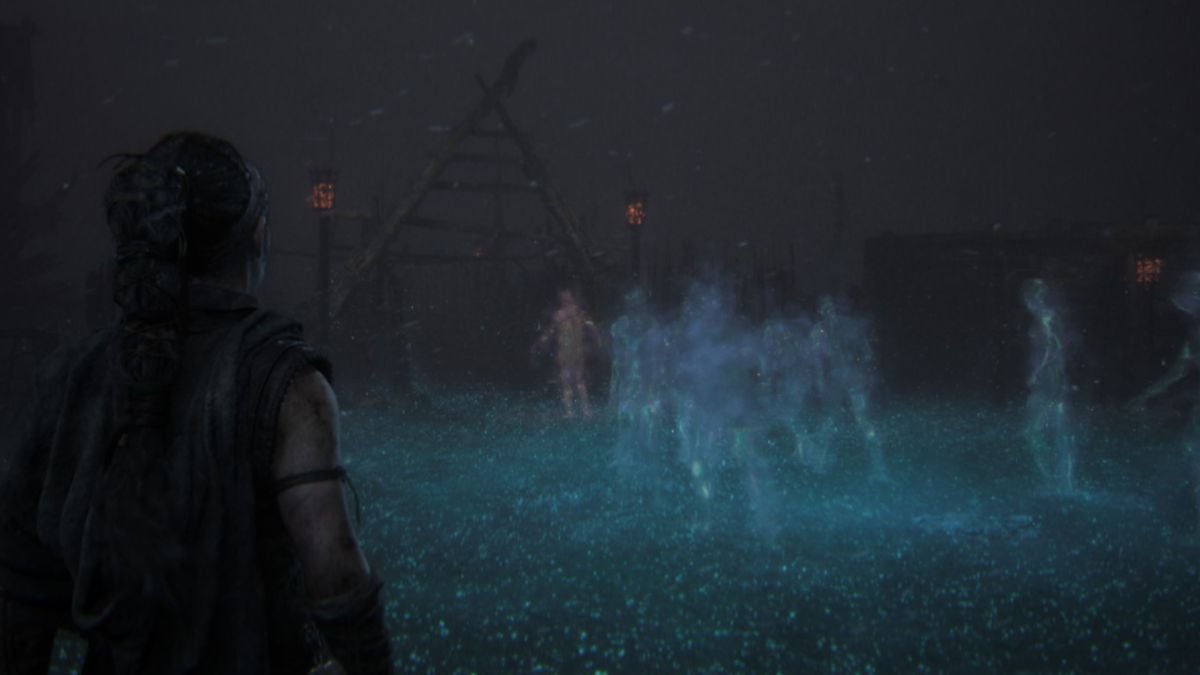
Draugar Ceremony
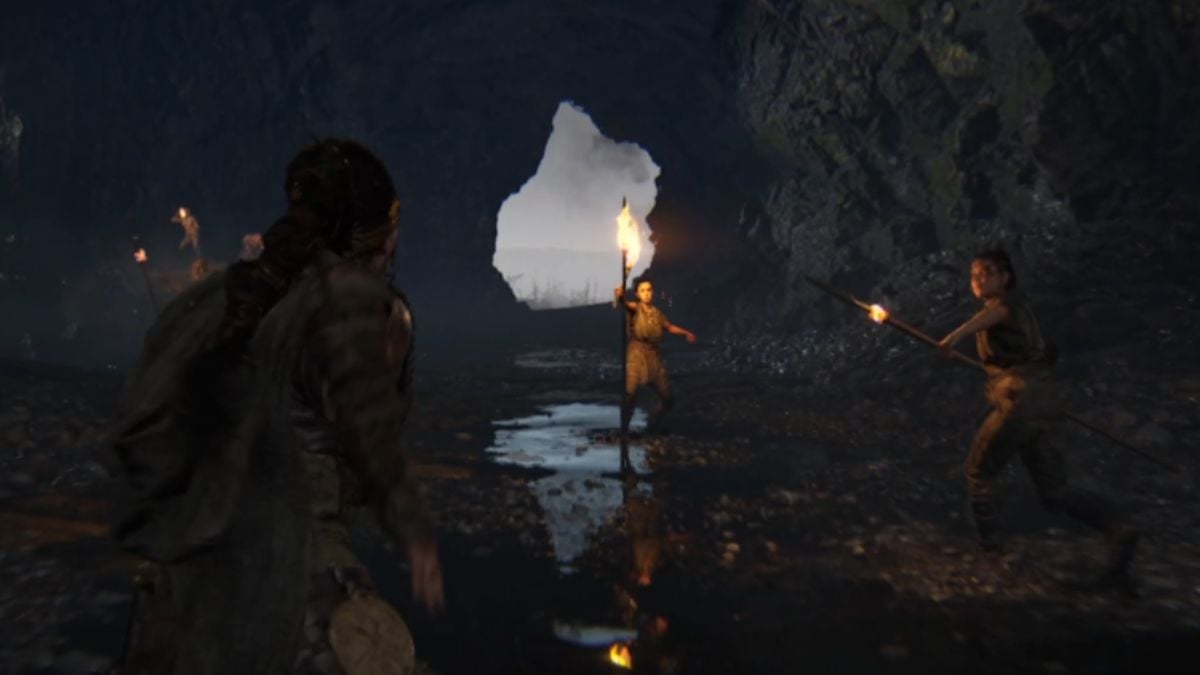
When the cutscene ends, you’ll have to go slowly through the Draugar Ceremony so that they don’t notice you. Climb up the path until you see the stranger tied up in the middle of it. You have to save him.
Head to the left and across the ledge as the Furies panic about you being seen. Drop down closer to the ceremony. Don’t worry, the Draugar can’t really see you; I walked right past a Draugar killing a person and did not trigger anything. It was quite a hilarious scene with Senua sneaking by as if she is hidden and not in plain sight.


Climb up the ladder that is behind you. Go to the rocks and cross the stone fence to reach the third Lorestone. When you have the stone, go back down the ladder and to the left, squeezing through the wooden structure.
Sneak until you reach a wooden path that you have to crawl under. Keep moving and ignore everything happening above you. You’ll reach the stranger once you crawl out, but the Draugar as well.
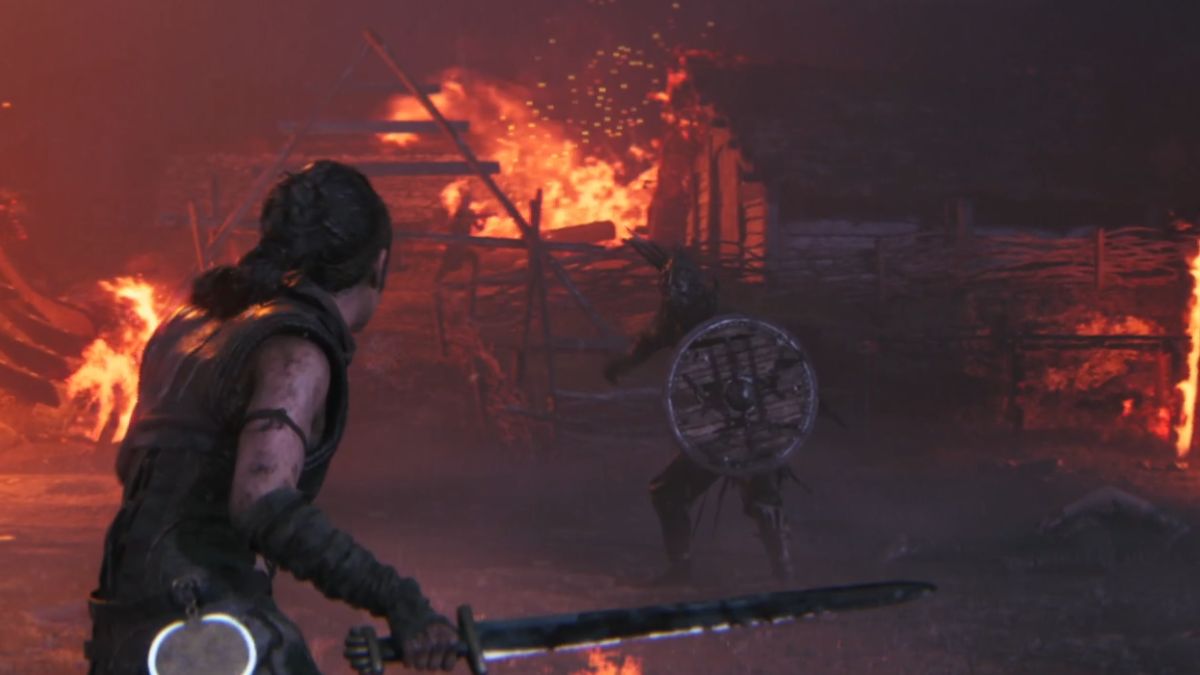
Draugar Battle


There will be four types of Draugar attacking you during the battle:
- Sword Draugar – fast slashes, usually chaining two attacks.
- Axe Draugar – slashes at you with his axe as well as throws it at you. I suggest dodging this kind of attack instead of blocking as it will make you stumble.
- Mace Draugar – tends to deal a lot of heavy attacks. Keep dodging and attacking with quick slashes until you build up your mirror attack and can finish him off.
- Firebreathing Draugar – the most annoying of them all, this Draugar will attack you with fire. The attacks can be dodged, but it is difficult, and you’ll probably spend a lot of time during this battle on fire. I tend to save up my mirror attacks just for when this type shows up so that I can deal with them quickly.
Keep in mind the same strategies as before: dodge when the attack is red; parry when the weapon is glowing. These enemies will chain two to three attacks now, which is something to keep in mind. Dodge until you figure out their pattern, then take them out. Make sure to use the mirror for a swift end. If you are down, the mirror will also get you up quicker.
Meeting the Stranger
After you defeat all Draugar enemies, you’ll save the stranger, Fargrim. You’ll walk with him as he explains what happened to the lands. When you get to the broken wooden path, head to the left instead of following him. You’ll find a hidden face in the stone and the tree here. Once you grab it, go back to following Fargrimr.


When you reach a stick with black fabric tied around it, Fargrimr will go right, so you should go left first. You’ll find the fourth and last Lorestone of this chapter. After you grab it, run back up and keep following your new guide. You’ll reach the slaver, and the three of you will head towards Fargrimr’s village.
Chapter 3 Raudholar – Senua’s Saga: Hellblade 2
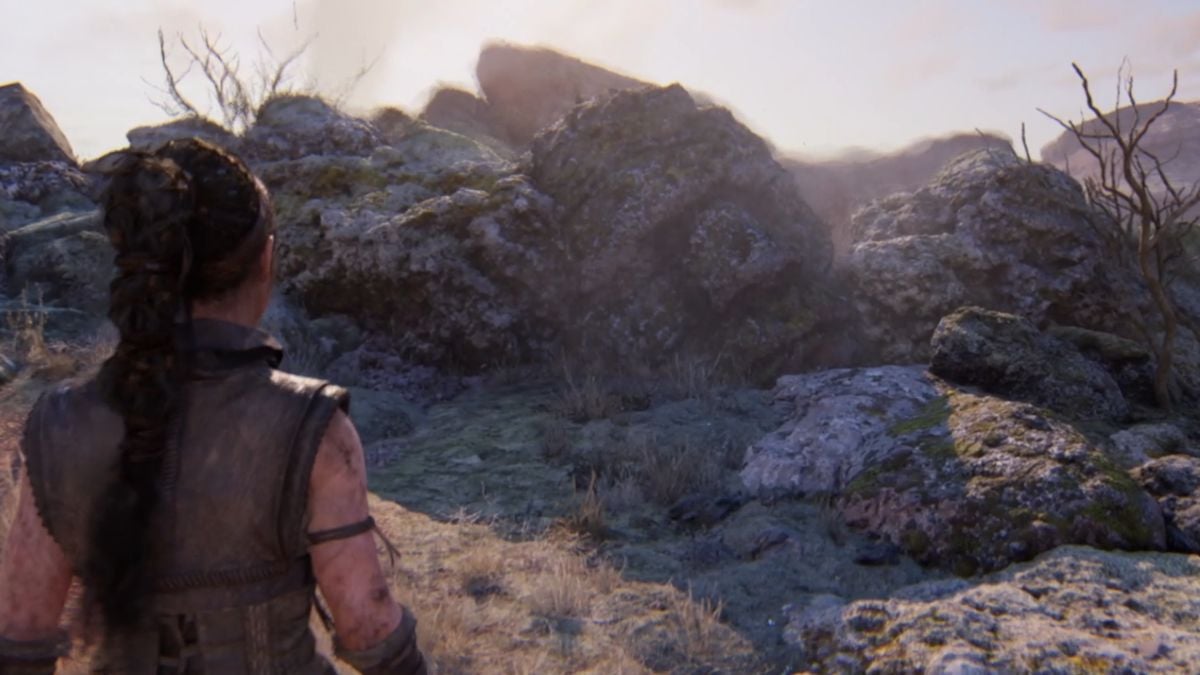
Red Hills
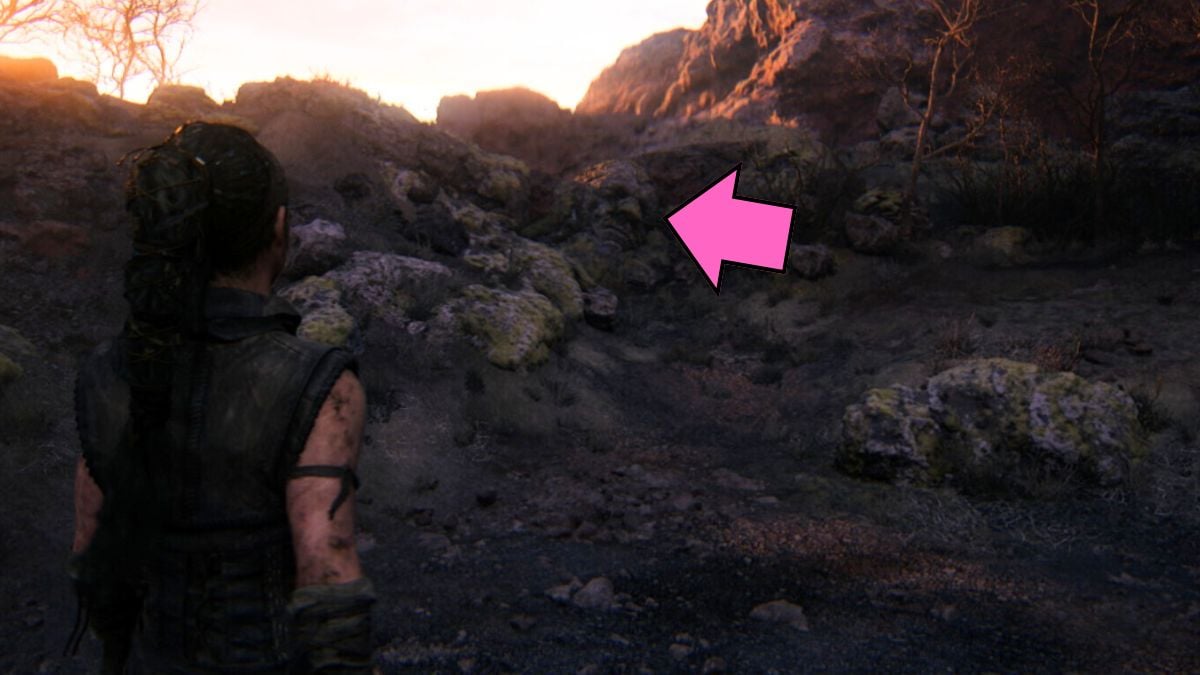
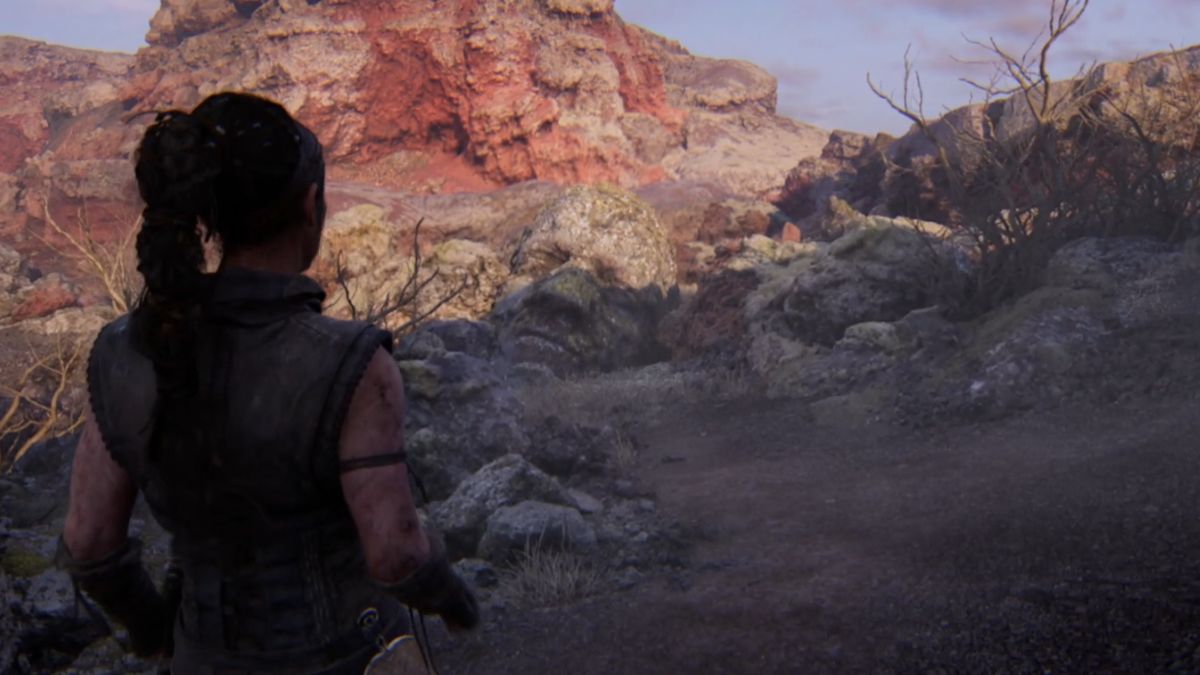
Keep walking on the hills, following Thorgerst and Fargrimr. When you reach a stone with a stick and a black cloth around it, there are secrets around. Approach the crack in the ground and you’ll have the voices talk to you about them.


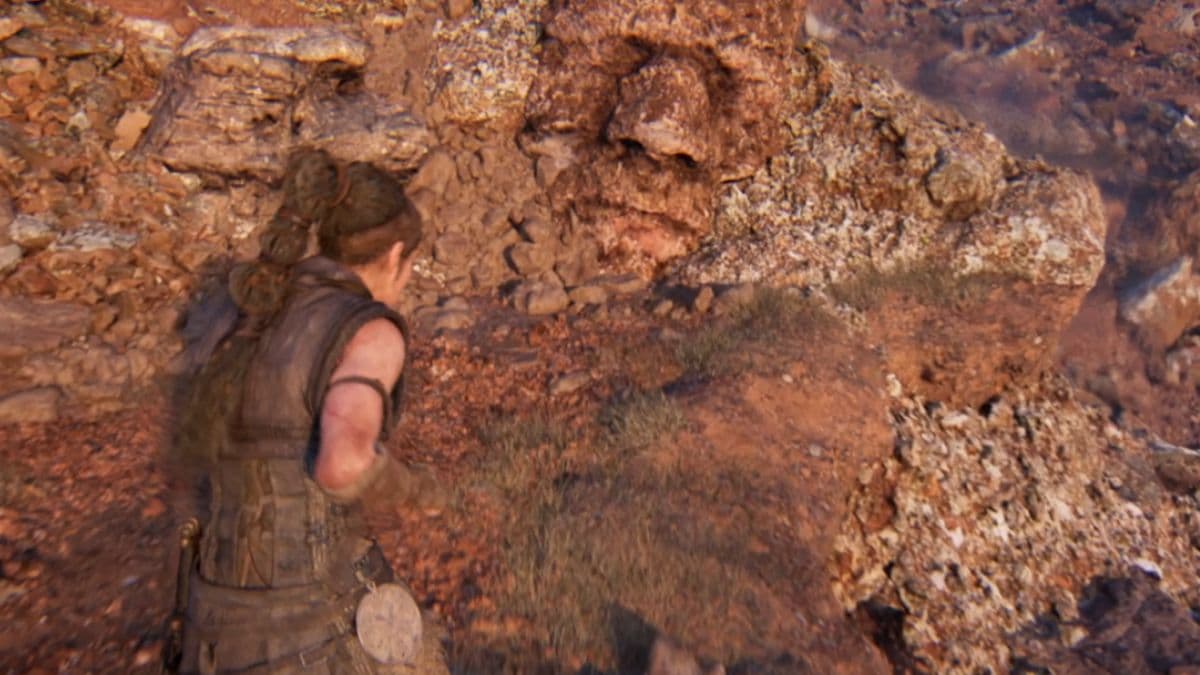
Go down this path until you reach the hidden face in stone and the first face of the chapter. Right across the face is the first Lorestone of the chapter as well, so make sure to grab them both.
When you collect all the items on the left side, make sure to go to the right side of the path as well. Keep going until you reach another hidden face in the stone. I originally missed this one because I didn’t expect so many collectibles to be in one area.
However, Illtauga is coming so you need to run. If you stop, she will get you so you have to keep going. The path ahead will keep getting blocked, so make sure you are keeping an eye on where to go.
Illtauga
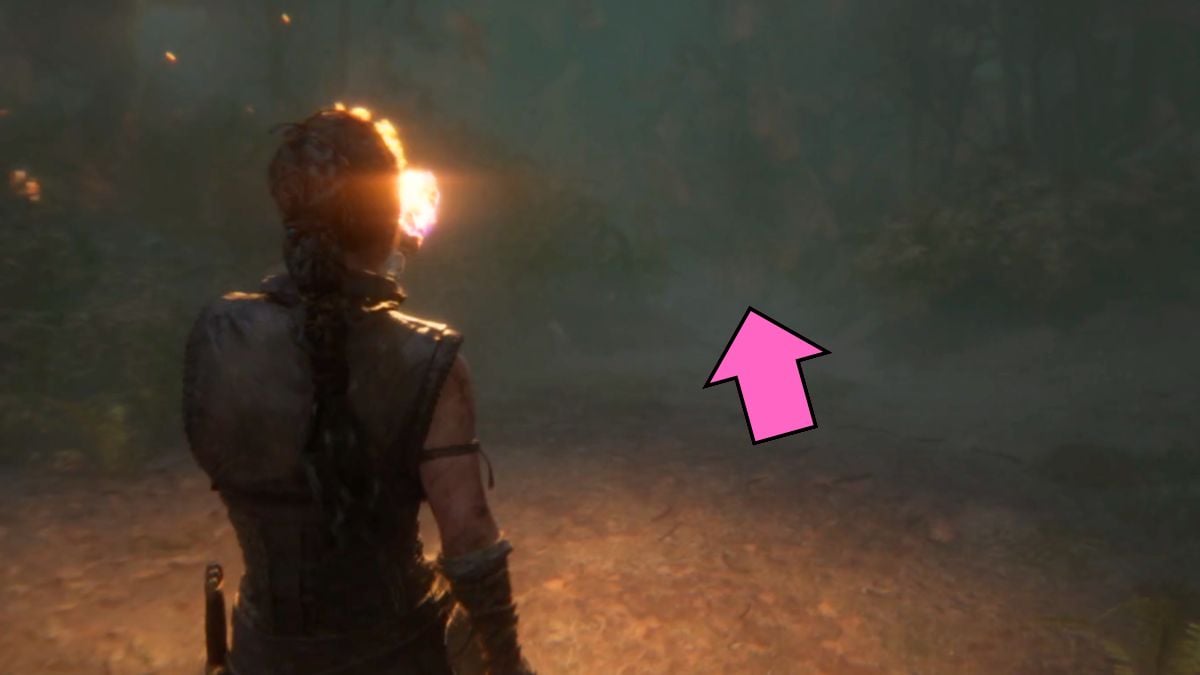
Once you climb up the hill, Senua’s father starts badgering her and teleports you to a new area which is pretty dark and can get confusing. Go down the path until you see the shadow of Senua’s father. This is the only time in this section when you can go towards the red glow and not die.


The path in front of you will be blocked, so head to the right instead through a crack between two stones. Head forward until you reach a torch. Grab it and head to the right to drop down in the previous section. Go to the blocked-off path, which will clear now that you have a light.
In the following section, you’ll encounter three paths. At the end of the left and right path, you’ll encounter Senua’s father. If you keep going, you will die. Instead, head down the middle path, which doesn’t have her father lurking in the shadows.
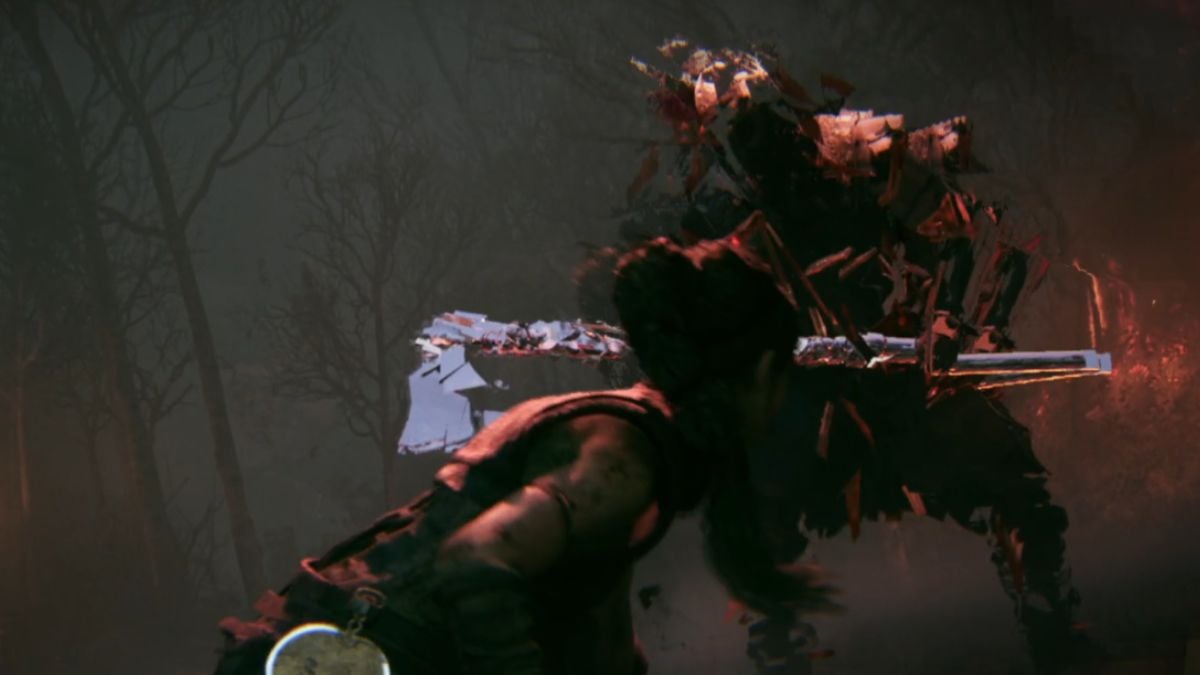
Drop down into the clearing, and you’ll get attacked by the shadowy enemies your father creates. Remember, you can only kill them with the mirror attacks. The sword creature has a long range so I suggest blocking as many of his attacks. The axe creature, on the other hand, can summon spikes by stomping on the ground, so the best tactic against him is dodge.
Once you dispose of the enemies, pick up the light and head down the middle path again, as it is the only safe one. Keep going until the light gets extinguished. Don’t be scared; all you have to do is move forward, and you’ll reach a new light. However, that also means new shadow enemies.
Pick up the torch again and head down the middle path. Approach the pyre and watch Senua as she frees herself from her father’s torture.
On the Hill
Back on the Hill, Fargrimr explains to Senua that there are Hiddenfolk with powers that could destroy the giant Illtauga. Before heading down to find them, first explore the hill.


Head to the right and past the hole you climbed up from. Go up the hill until you reach two people talking about outsiders. Near them is a Lorestone that you need to grab. Keep going to the right and drop down next to the wooden path. That’s where you need to go.
Luckily, it is still sunlight, so Illtauga hides. Go down the path until you reach a hidden face in stone on the left side. Once you collect it, head back up to the path and you’ll reach the first test from the Hiddenfolk. You need to find a stone offering and place it on the platform in the middle.


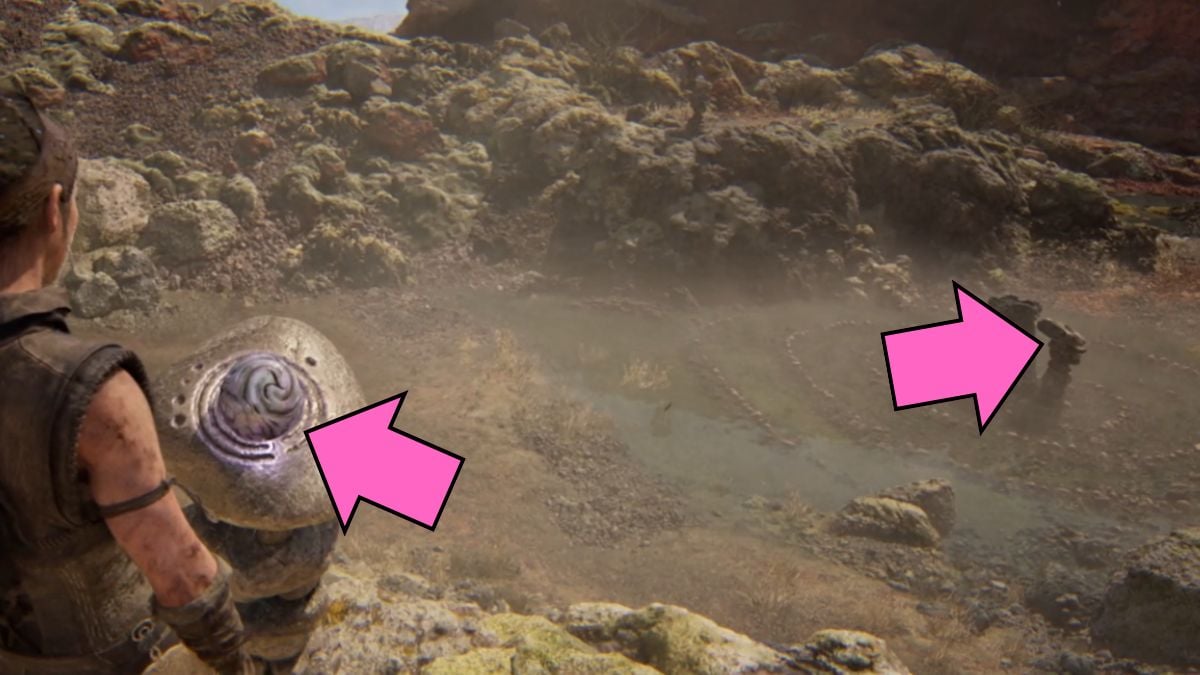
Go up the path to the left and grab the offering stone. The world will become mirrored, but all you have to do is go back to the platform and put the stone inside the hole. This will bring up a second platform that you need to find a stone for.


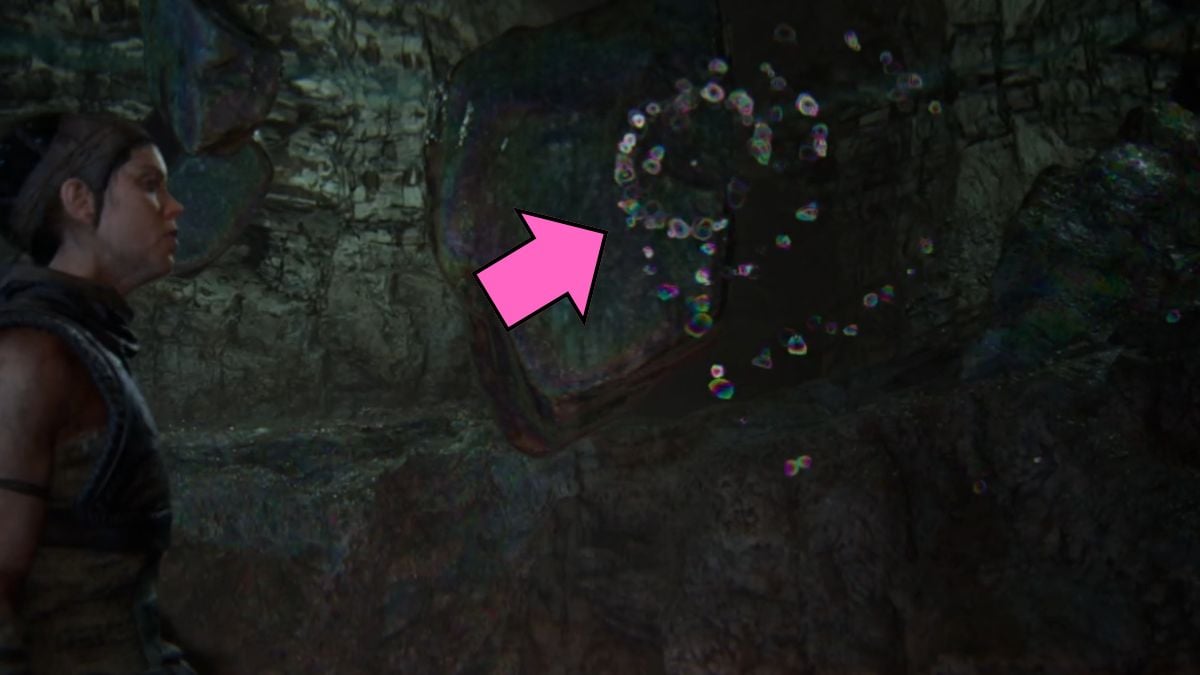
You’ll see bubbles floating in the air behind the platform. Focus on them, and the rocks in front of you will flip up to the ceiling, creating a new path for you. This is a mechanic you’ll be using a lot throughout the Hiddenfolk tests.
Go down the revealed path until you reach the second stone. Jump down to the platform area, put the stone in its place, and the world will return to its former state. The path to the right is now open, so go that way.
On the new path, you’ll encounter a hidden face to the right. Focus on it to reveal the secret tree of life with its stories. Keep going and you’ll reach a new area that hides a Lorestone.


Go until you see a stone step with white paint on it. Climb up and pass through the crack in the stones. You’ll see the Lorestone to the right. Collect it and jump down so that you can make your way underneath the stone arch. You’ll encounter the second task from the Hiddenfolk here.
The mechanic is the same. Find the stone offering to place it on the platform in the middle. The first stone is on the hill to the right. Grab it and place it on the platform.
When you put the stone on the platform, you’ll activate the bubbles. Focus on them to reveal a new path to the right, which you can climb up to. The second stone is on the ceiling; focus on the same bubbles again to put everything how it was and you can grab the second stone offering. Activate the bubbles the third time so that you can jump down from this area.
There is a second set of bubbles to the right. Focus on them and then go up the path and across the bridge to the third set of bubbles. This will put down the third stone offering on the ground, but you can’t reach it. Head back down so that you can activate the second set of bubbles again. The path to the third offering will reveal itself and you can get it now. This will complete the second task.


Head through the newly opened-up path. As you keep going, you’ll see some ledges with white streaks of paint. Climb up until you reach a hidden face and the life tree.


There’s also a Lorestone across the way, but it’s not easy to reach. Keep going until you see a small path heading up between rocks. Once you collect it, go back to your original path.


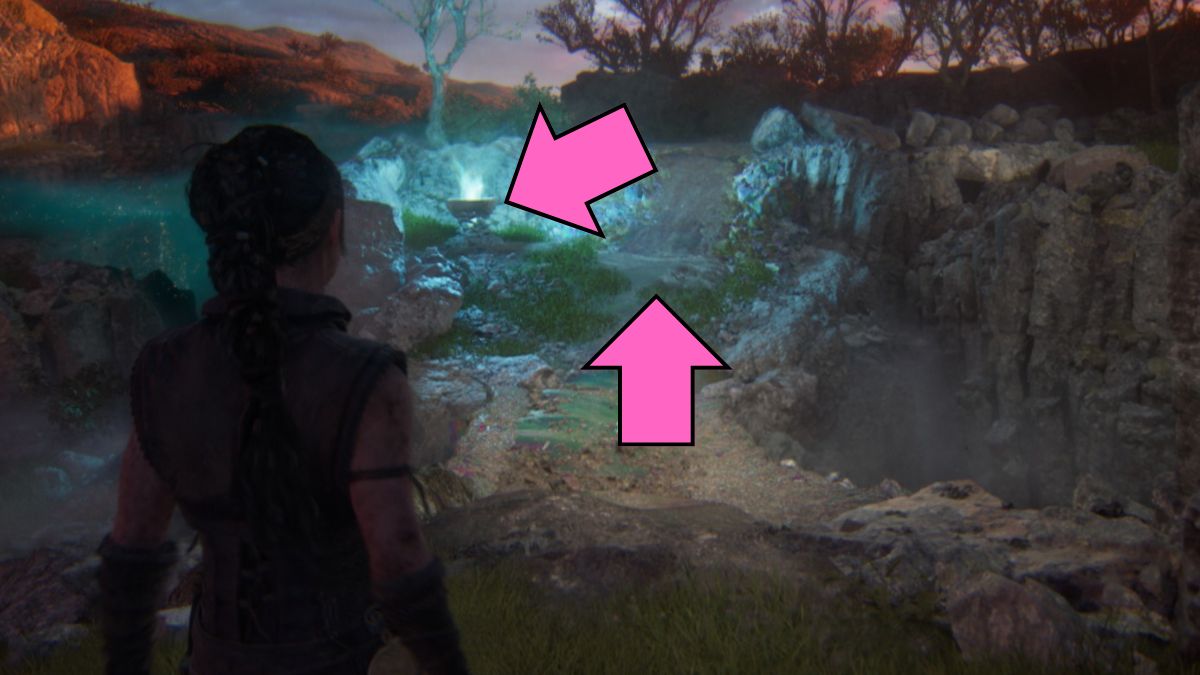
You’ll find a small stone arch to the right. There is a bigger cave entrance ahead but go to the right first. Here you will find another Lorestone. Head back and then enter the cave. You’ll go out into a beautiful area where you will do the third test.
Find the Hiddenfolk
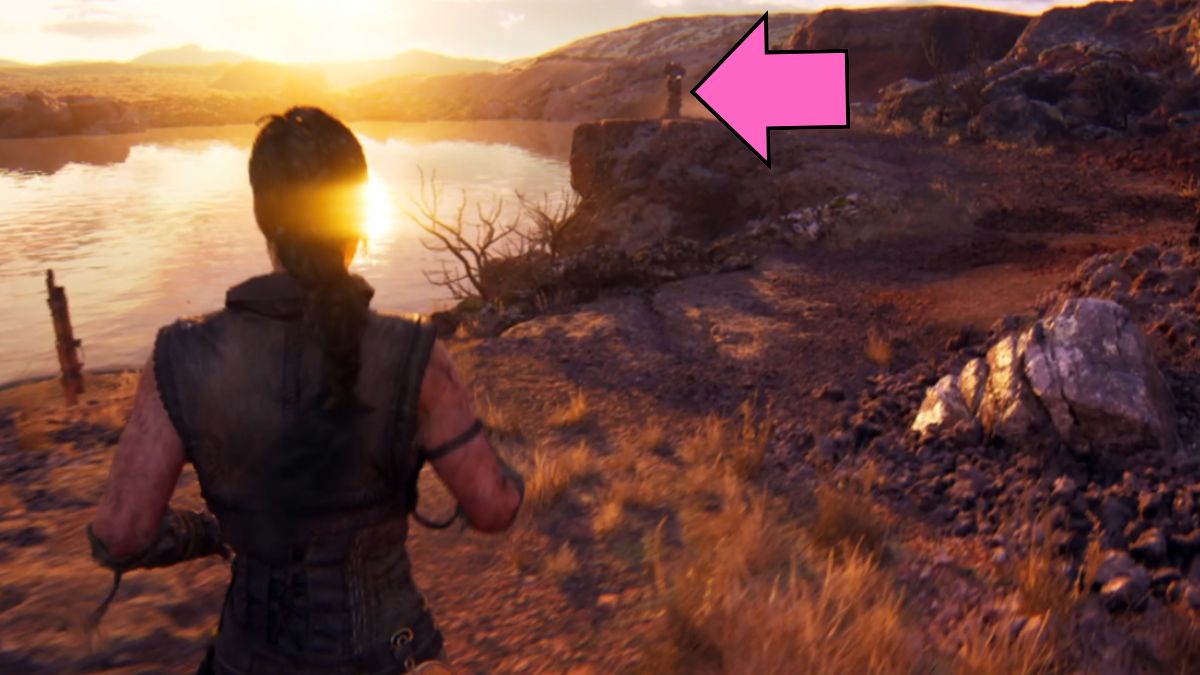
Next to the lake, you’ll find the platform to start the third test. The first stone offering is to the right above the lake. By picking it up, you’ll enter the mirror world where you will be locating all of the other offerings. Go down and place the first stone.
Go and activate the first set of bubbles to pull down the second stone offering to the right. Go up and grab it. Now, it gets a little more complicated.
There are two sets of bubbles behind you. First, go all the way back and climb up to a platform to reach the farther bubble set. Once you activate it, you will get attacked by the Draugar again. When you defeat them, go back to finding the third stone.


On the last bubble set, make sure that the platform is up on the ceiling. For the second one, you need to push the platform down, which will create a path you can climb up.


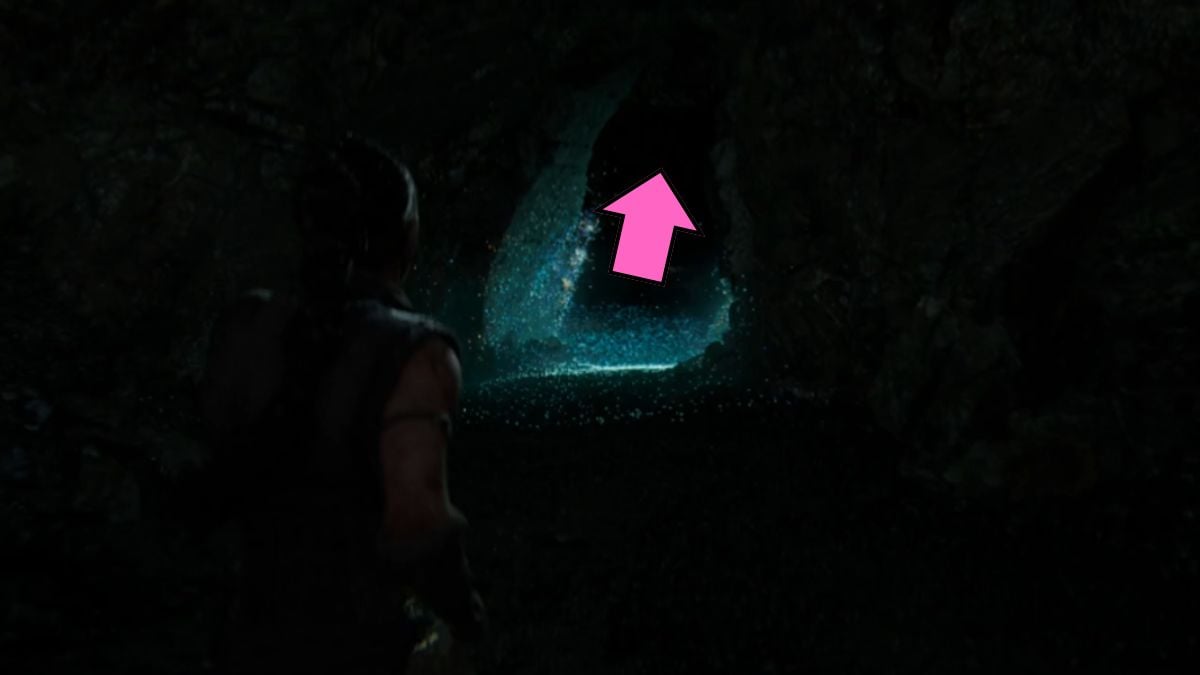
At the end of this path, you will find a Lorestone up on the ceiling. The third offering is up on the ceiling here as well, so you need to focus on the bubbles that are lifting the platform. Jump down and place the offering to put the world back to how it was. This will move the water, opening up a new path into the caves and the darkness.
Chapter 4 Huldufolk – Senua’s Saga: Hellblade II
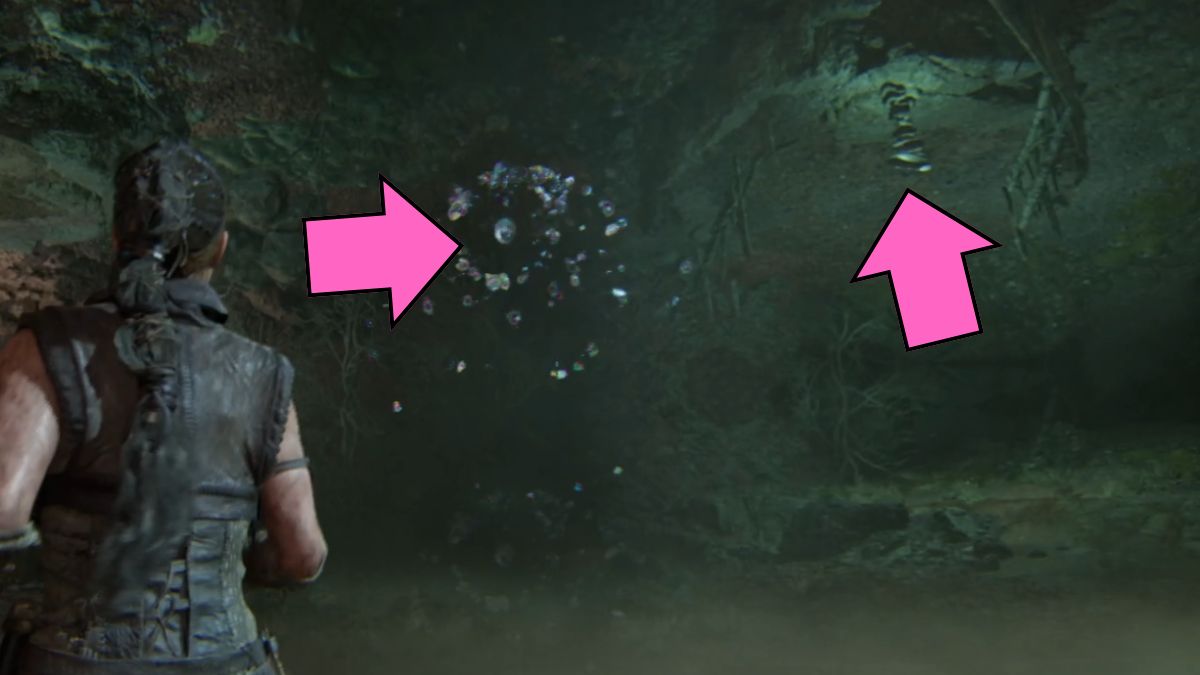
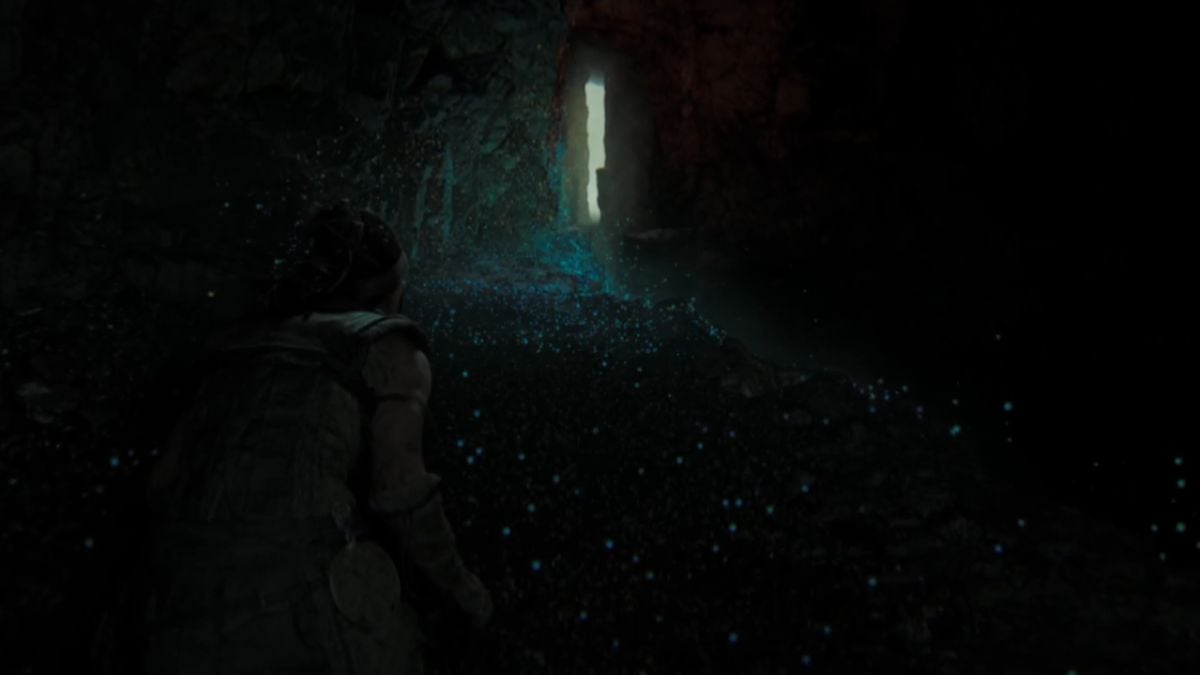
Enter the Caves


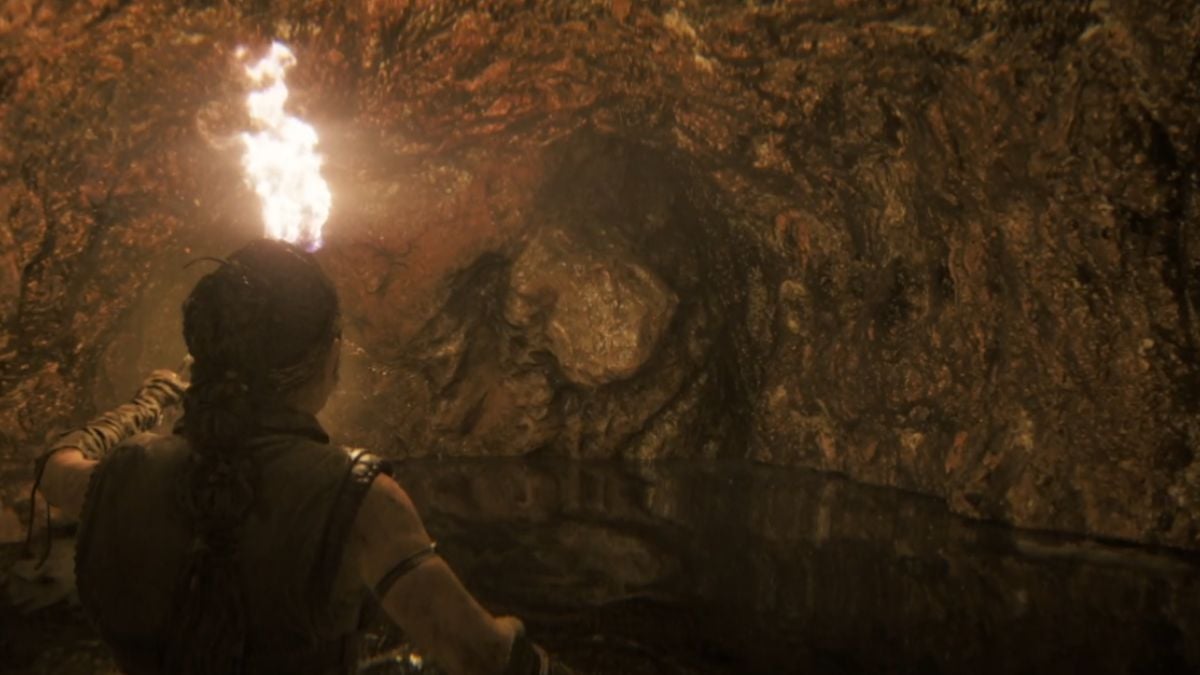
When you jump down and start hunching over in the caves, you will see a hidden face on a path to the left. Focus on it to collect the life tree and then you can make your way to the right.


Despite my best hopes, you have to keep going further into the darkness. Drop into a puddle and you’ll see a wooden shield to your right. There is a path next to it that leads to a Lorestone. Climb up to reach it, then go back to the cave with the shield.


You’ll enter a room with seemingly no exit. However, there is a place where you can light a fire. When you do, a new path will be revealed to you. Climb up that way and through the hole in the wall.


In the next room, a stone blocks your way and an already lit fire. You have to extinguish it to reveal the path. To the right, there is a hidden path in the shadows, which you should use to reach the fire.
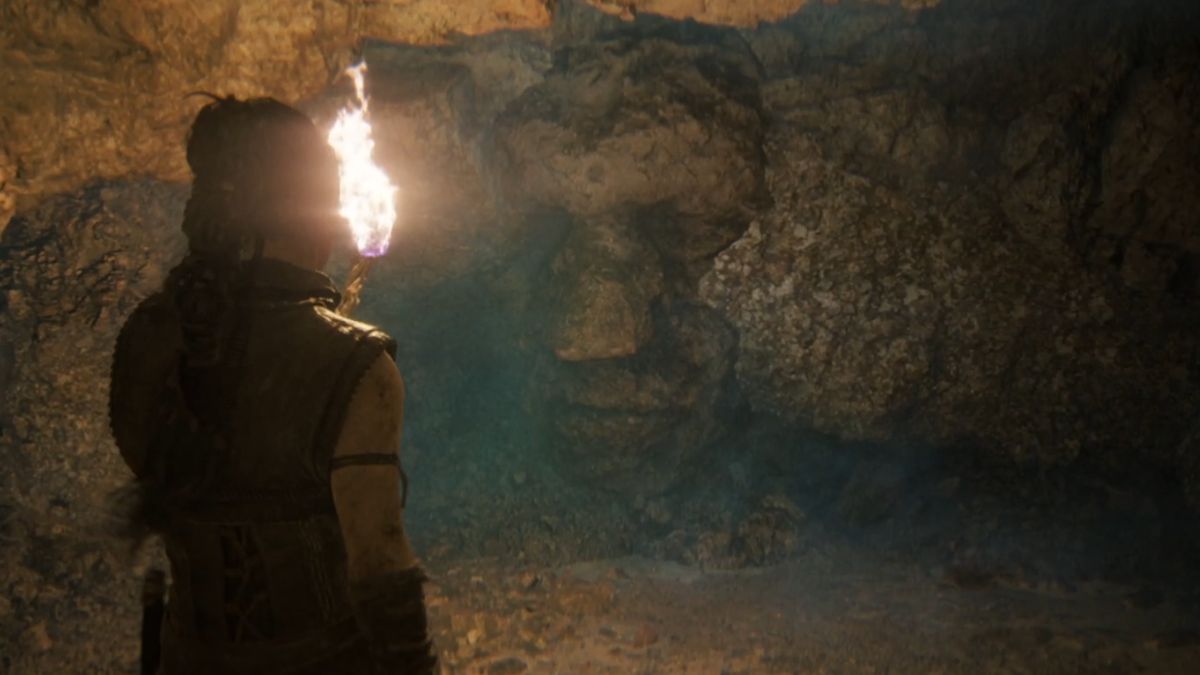
Once you extinguish it, first check out the wall behind you. There will now be a stone face there that you can focus on and collect the tree of life. When you grab it, go back down and through the new path.
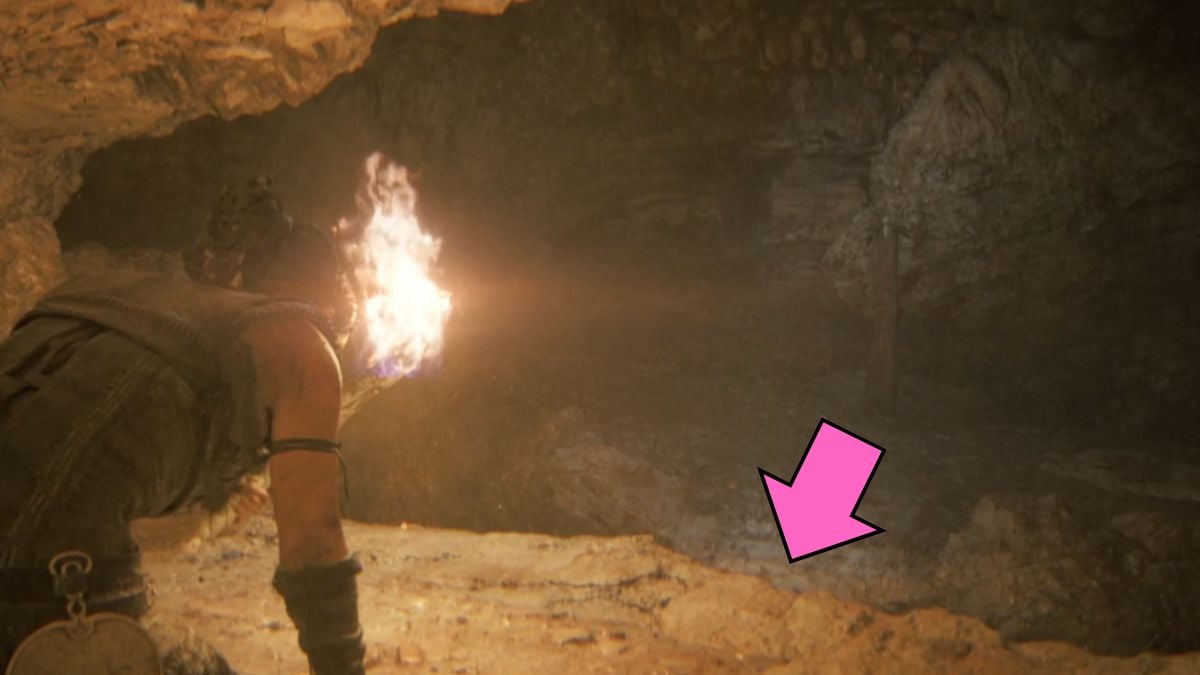
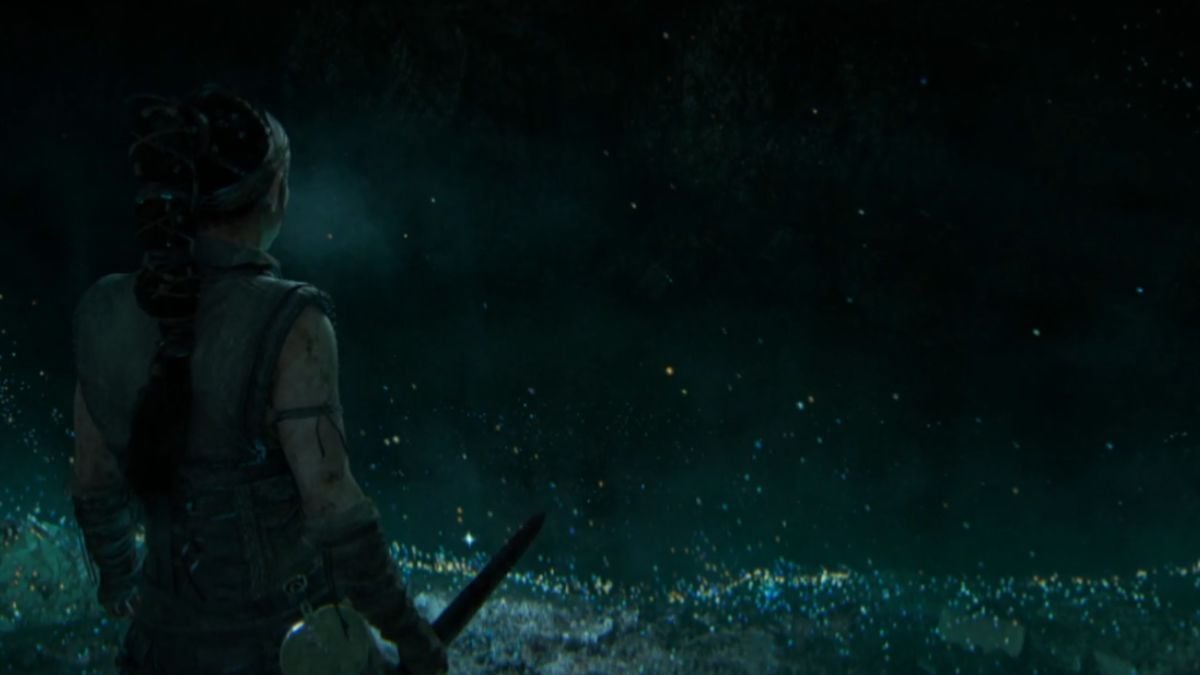
You’ll reach a dark hole, and you need to jump down, as it’s the only way. When you are down, first head to the left to grab a hidden face. After you do, you can make your way to the right. You’ll have to dive under the water quickly and the furies will start freaking out. There is something in the water, and you don’t want to stay in it for too long.
Pass through a glittering path and keep going until you can climb out of the water to the ledge on the right.
In the new room, you’ll see a place where you can light the fire, a torch, as well as a glittering passage. Don’t go through the passage! There is water falling and it will extinguish your light. Instead, go through the crack in the wall to the left. This will lead you up so that you can light the fire.


Now there is a new path you can climb up. Light the torch you find on the wall then drop down into the area with the fire pit. Extinguish the fire so that the glittering path is revealed again. This time, even when your flame is extinguished, you can relight it by heading to the left and finding the torch.


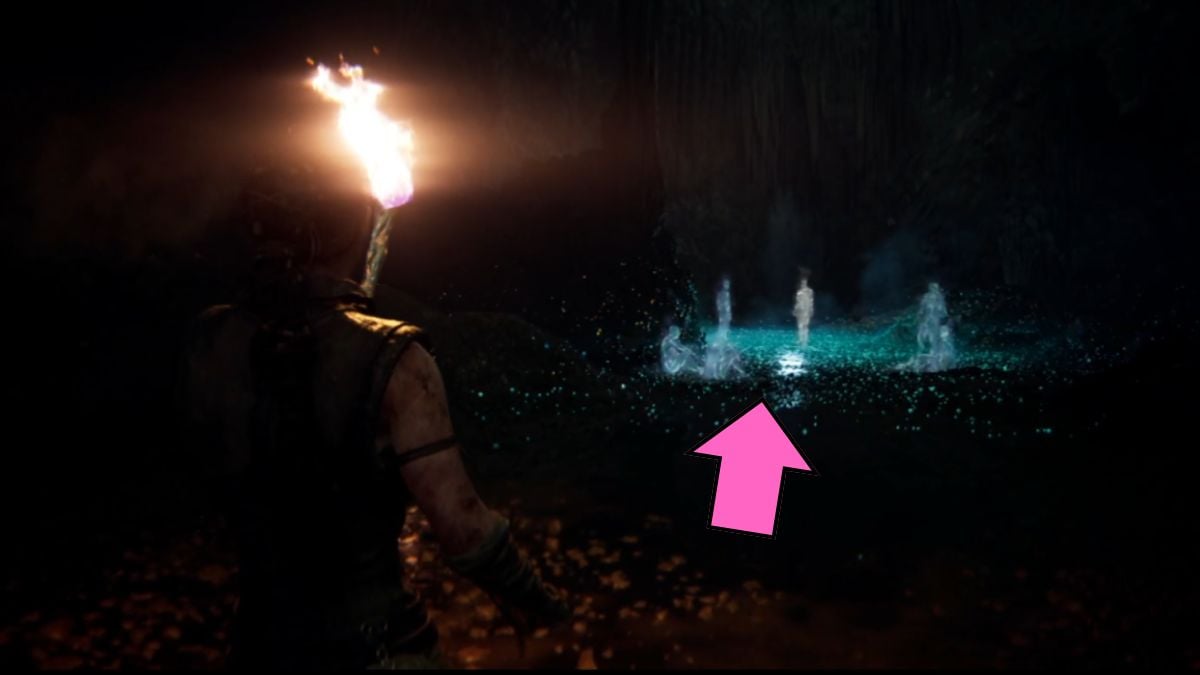
Use the torch to light the fire on that same platform and create a path over the abyss. Follow the mysterious glittering figure through the cave.
You’ll encounter a Lorestone on the other side of a hole. It’s easy to miss, but there is a path that connects the two cliff sides. Jump down and quickly reach the Lorestone, then keep heading further into the cave.

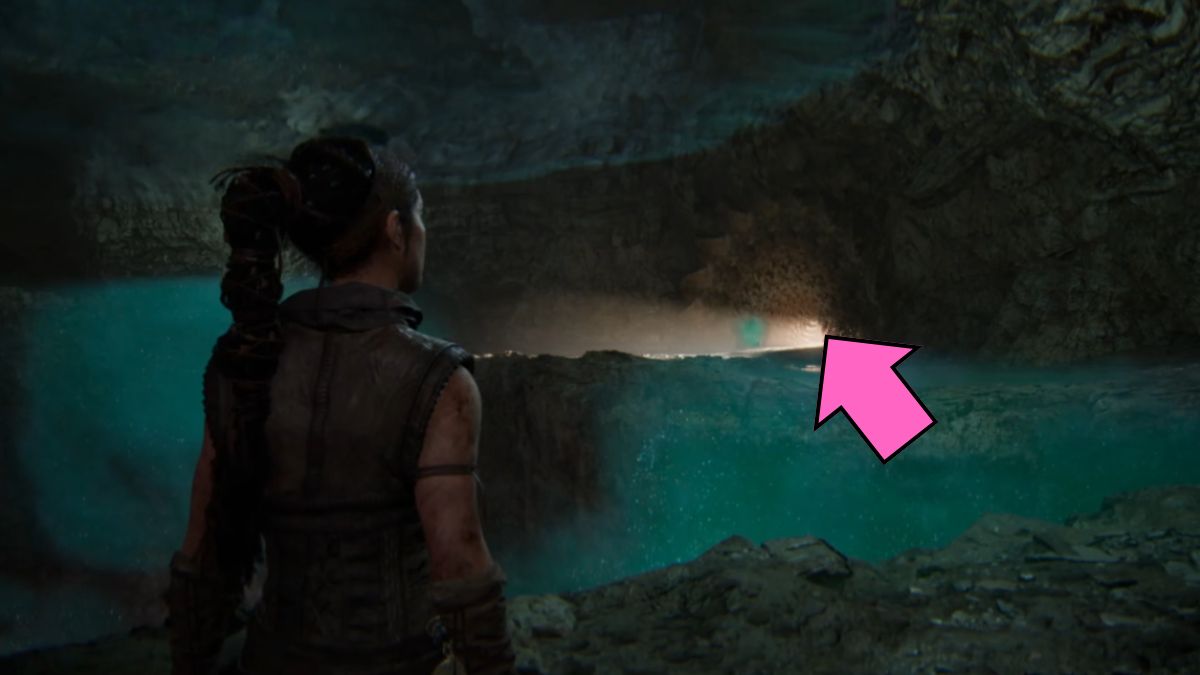
To progress, you must jump into the water again. Climb to the other side of the fire and make your way to extinguish it. A path will open up on the wall in the water. Time to wash your clothes again! You’ll see the shadowy forms of everyone Senua couldn’t save, but they can’t touch you so long as you have the light.


Once you make it through the water, climb up onto the platform. You’ll have to go through a waterfall to get to the other side. Luckily, there is a torch to the left, which you can use to relight the fire. You’ll just have to cross over the darkness and the shadows reaching for you. Now, jump down and back into the water; your goal is to reach the platform across the way.


In this second section, you’ll have to go through a waterfall door again. Run to the left and to a second waterfall door. You’ll see a torch here that you can use. Run to the right and then through a passage on the left to relight your fire.


Don’t crawl back through the hole. Instead, stay on the same platform so that you can light another torch. This is enough to get you through the water even without your torch being lit. When you go back, your fire will be extinguished, so stay in the light of the torches.
Run to the last torch and light your fire on it. After you do, head back into the water. Your lights will start flickering and you’ll encounter another waterfall that will extinguish your fire. Run through it and keep running to the platform so that the shadows don’t get you. Keep going until you reach a beautiful outside area that shouldn’t be possible so deep.
Trial of Wisdom


Pick up the torch from the right. You’ll need it to open up different paths and proceed to the next section. First, light the fire pit right in front of you so that the glittering figure can make its way to the cave.


Now, you should head down the path to the right until you reach a lit fire. Extinguish it so it reveals a path in the stone next to it. Go through and you’ll find another fire that you should extinguish. Now you have a second path in the same stone.


Go through it and relight the first fire that will close up the first path. Then go back and relight the second fire and you’ll get a path up to the circle hole in the wall. Give the fire to the glowy figure. It will run down and light a new path for you.
Even without the fire, you can still make your way out of here. Go to the third fire pit and extinguish it. This will open up a hole for you to get out. Go across the path that the glittering figure activated for you. Then, extinguish the fourth fire pit.


This will reveal a little cave that you should go into and to the right. Now you’ll be next to the left circle hole in the wall and the glittering figure will send you back the fire. Crawl through the cave again until you can relight the fourth fire pit.
Climb up the path to the fifth fire pit and light it. Go to the platform to the left and jump down. Now, head to the first light you lit up and extinguish it. You’ll reveal a path in the wall behind it which you need to get through.


Head through the passage and climb up until you reach the third circle window in the wall. Put your torch inside and the glittering figure will light the fire you just extinguished and make you a path back into the darkness.
Into the darkness
You are back in the caves but without your light now. Luckily, there are a bunch of tiny glittering lights that you need to follow now. As you keep going, you’ll get attacked but even more Draugar. Fight them off, and the world will once again go from ominous red to glittering darkness.
Keep going through the cave until you reach a cliff. You’ll get attacked by one Draugar at the top which Senua will defeat on her own. Once you jump down, you’ll go into battle with more Draugar.
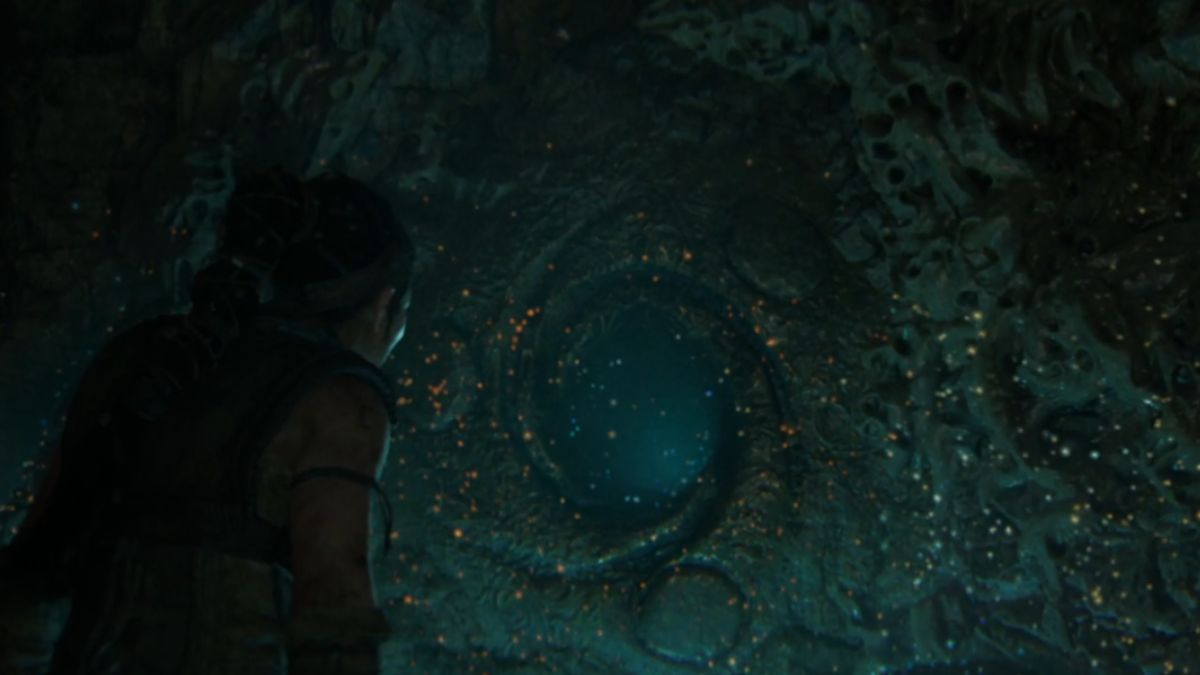
If you think two attacks are enough, think again. When you are crawling through a crack in the wall, you’ll get dragged by even more Draugar. Fight them off and get back to squeezing through the crack. Keep going until you reach a circular window in the wall.
Act of Sacrifice
The voice on the other end is begging Senua to give them the sword. While she hesitates, she ends up making the decision to give the other person her sword, leaving herself vulnerable.
Keep moving and stay in the light. You’ll see a bunch of Draugar get lit up by the red light, but they won’t attack you. Move until you reach a broken bridge. You can jump down and go a different way that will lead you to shimmy over a cliff.
When you see the bright white light, you are almost there. Hold the forward button as Senua makes her way across the dangerous edge to the light.

After you make it into the light, keep an eye out for a hidden face in stone. You can find it across from the floating rocks to the left.


Keep going until you reach a passage with a blue light shining in the distance. Don’t go there just yet. Instead, go to the right and you’ll find a Lorestone. When you collect it, you can go through the other passage.
Drop down into a new area with the glowy figure going through a passage across from you. That’s where you need to be.
Head through the first glittery area to the left until you reach the bubble set. Focus on it to open up a new area. When you hit the wall, look at the bubble in the middle and flip the path again.
Keep going until you reach a second bubble set. This will activate the passage in front of you. Now you have to go all the way back, using the bubbles to flip the world up and down so that you can make your way through.
Breaking Through
Crawl into the passage. Make sure to hold the forward button, or Senua will stop. When you make it through, you’ll start a cutscene about the Hiddenfolk. When you wake up, just follow the glittering lights to find out the story about Illtauga.
A Gift Returned
Once you finish the story of Illtauga, you will get attacked by the Draugar. Now we will see the other side of the circular window when Senua gave away her sword. She actually gave it to her future self. After you fight your way back to the light, Senua will find Illtauga’s baby as well as her real name, Ingunn.
With Fargrimr, make your way out of the caves and into the light. Your plan now is to summon Illtauga like the Draugar and take care of her.
The First Ritual
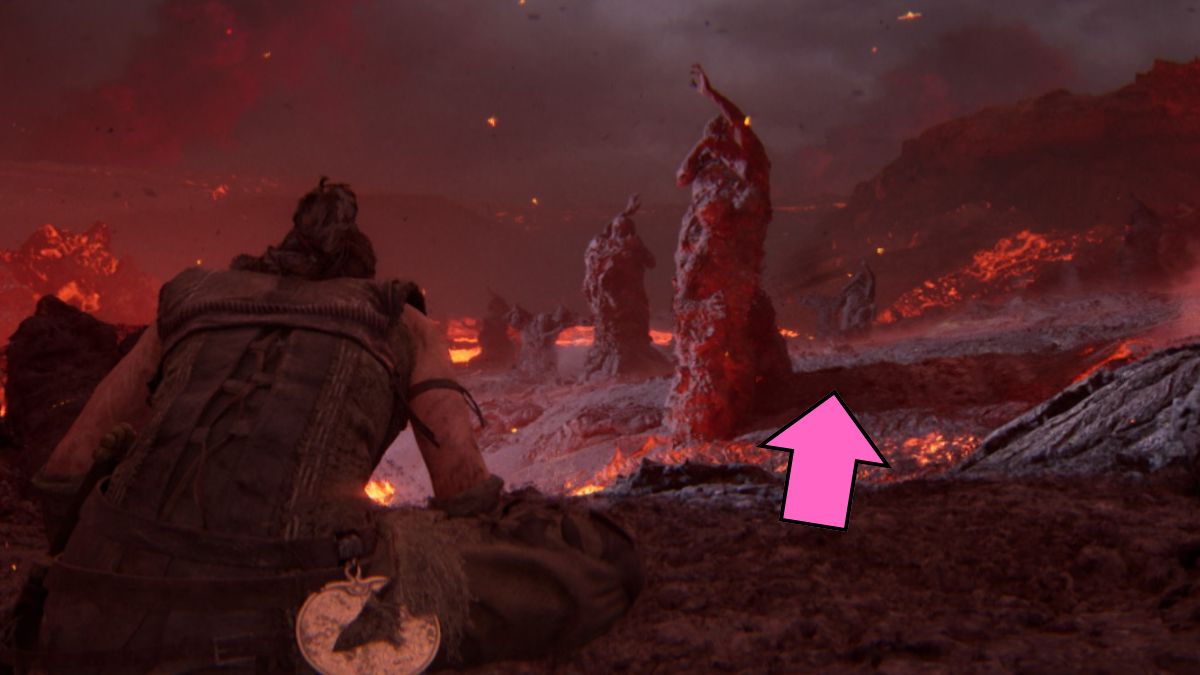
You’ll find yourself in the fire realm of Illtauga. You have to break three of her chains in order to free her and defeat the giant. Be careful as she will be attacking you with fire every step of the way. Listen to the music and you’ll get the pattern of her attacks quickly.
After she attacks, you need to run to the already dead bodies that have turned to stone and hide in their shadow. As soon as the blast starts, you are good to start running. You don’t have to wait until it fully stops.
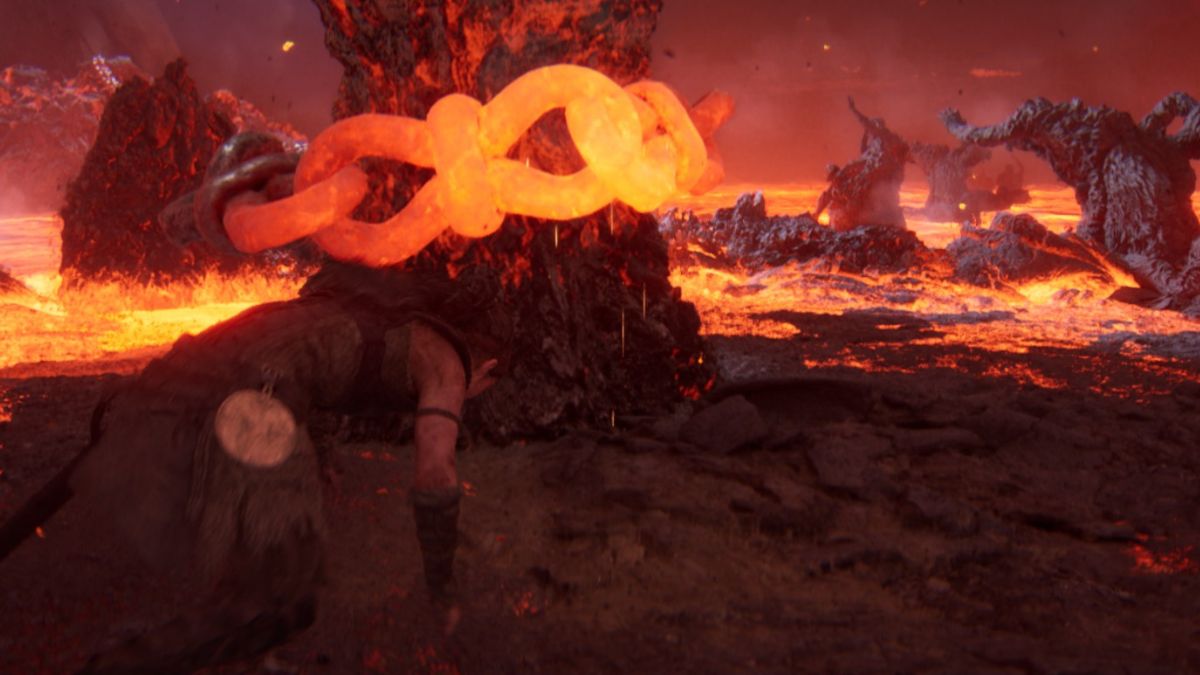
The first chain isn’t that difficult to reach, as the attacks are still relatively slow. However, once you break it, she will speed up her attacks, so you should speed up, too. On top of that, she will now also break your cover. So the moment it breaks, you have to be running to the next one.
In the third section, you’ll have to walk around the ledge of a lava pit while Illtauga looks from above (very creepy). Once you pass that, you’ll now also have to dodge her attacks as well as jump obstacles.
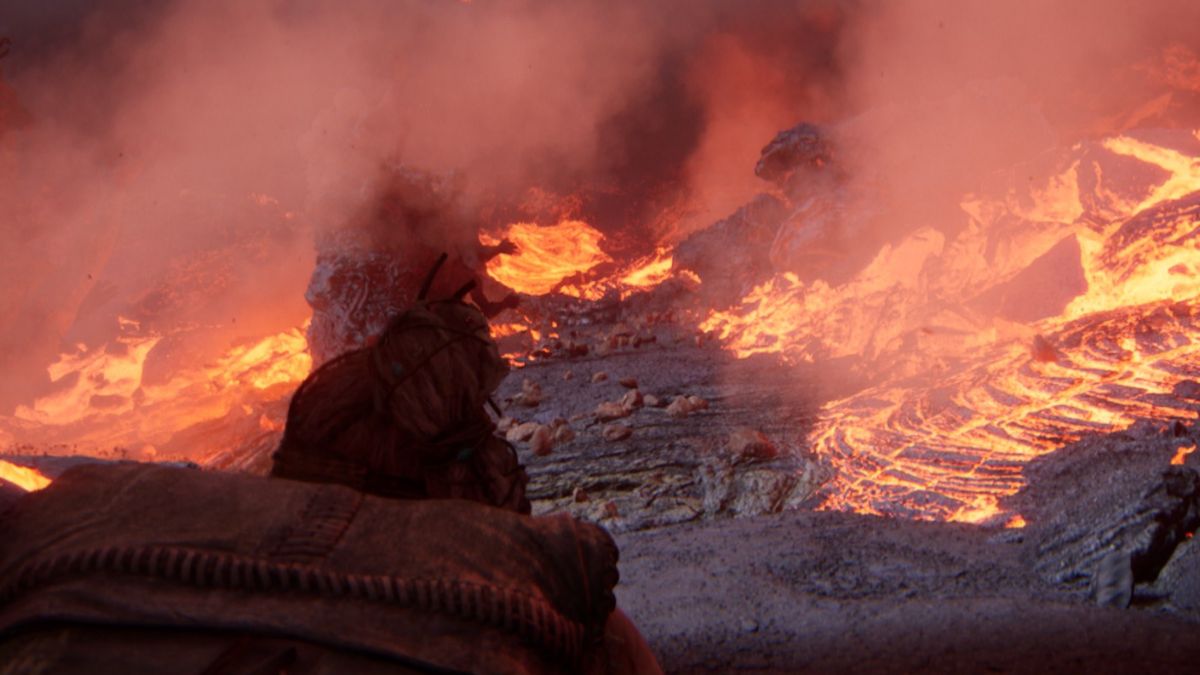
In the last section, you will just have to run while avoiding her attacks. If you stop, you will burn up, so keep running until you reach her final chain and break Ingunn free.
Chapter 5 Bardarvik – Senua’s Saga: Hellblade II
To the Sea


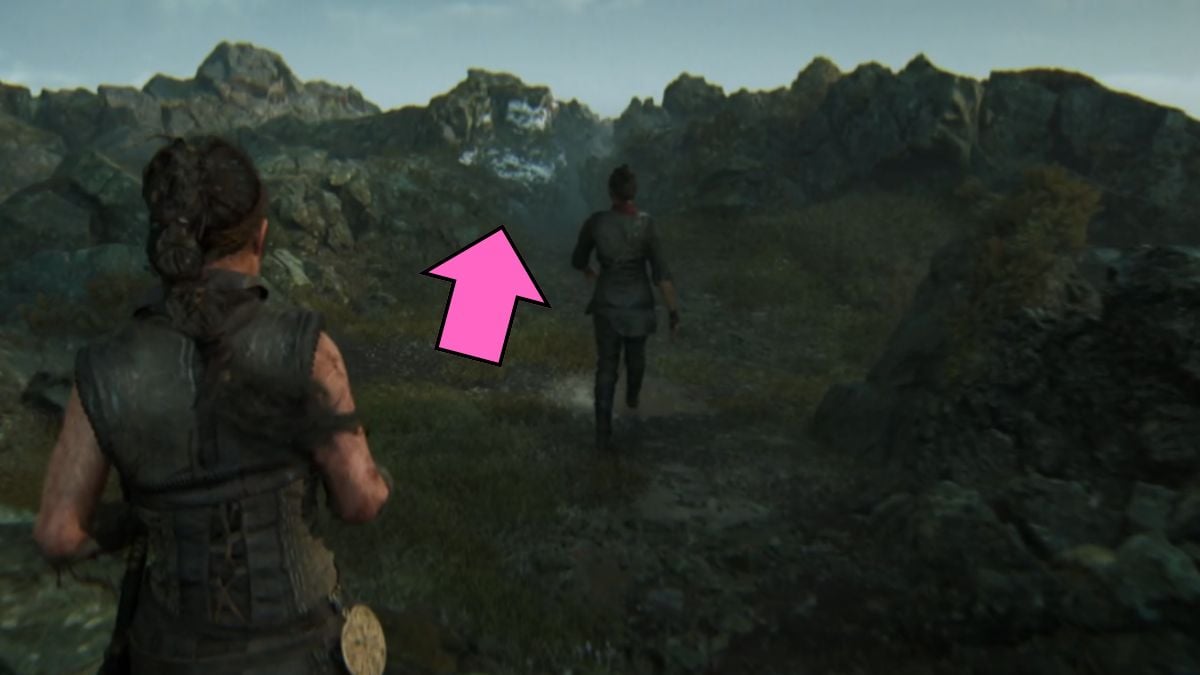
With the knowledge to kill giants, you’ll now head to Thorgestr’s father. Follow your two companions on the path. Once you reach a little waterfall, stop since there is both a hidden face and a Lorestone here. The hidden face is underneath the waterfall while the Lorestone is at the top.
To get to the Lorestone, keep heading down the path until you reach a path going to the right. Head down this way to hear the lore, then go back to the main path. Keep going until you get ambushed by Astridr and her men.
Sjavarrisi
Follow Astridr on the path as you talk about your past. Once you reach a crawl space with white paint on it, look to the right; a hidden face will be there.


Keep moving along the path until you jump over some stone and reach a clearing. To the right, you can see a Lorestone in the distance. However, to reach it, you have to go down the path even further to the right and then crawl through a passage.
You’ll keep walking until the Draugar attack you and Astridr abandons you to fight them. These will include the regular four types of enemies (including the annoying Firebreather), so it shouldn’t be too difficult to defeat them after all of the practice throughout the game.
Head down the path until you reach a rune door puzzle. It contains mechanics from both the Hiddenfolk and the regular rune pattern, which is why I had lots of fun doing it. You need to find three parts of a pattern in the yellow paint on the rocks around you.


First, activate the bubble that has appeared. Now, you can go through the newly revealed path and find the first pattern of the rune on the rocks.


Once you get that one, keep going down this path until you reach the second bubble. Activate it and head up towards the house. You’ll find the second pattern here.


Now, head back to the clearing and put the world to normal with the bubble. You’ll now have a path upthe hill, which is a great vantage point for you to find the third and last rune pattern.
Another Question
Before you go too far, there is a hidden face on the top of the cliffs to the right. Don’t miss it so that you’ll unlock all of the extras in the game.


Keep going down until you reach a rune door puzzle. It requires three parts to unlock. First, focus on the bubble that is floating above the sea. After you do, go behind the boat right next to the rune door and pass through the glitter. Now, focus on the bubble again to bring stone steps to the left which you can climb.


Climb up and go all the way down the path until you reach another bubble. Activate it and then retrace your steps. You’ll see that a rock is now missing and you have the perfect path to find the first pattern of the rune. You can find it in the ship poles to the right out at sea.


Head back to the main area and activate the main bubble above the sea again. Then climb back to the platform you originally came from, but go left. When you reach a rock, activate the bubble again and you can go through. You’ll find the second pattern here out at sea.


Keep following this path. Jump down into a new area but don’t get back onto the other platform. Instead, go through the glittering path that has a secret crawl space behind it. Here, you’ll find both a Lorestone and a hidden face.


Next, climb back up onto another platform to the right. You’ll encounter a hole, but there is a bubble above the rocks to the right. Activate it to make a path. Another rock will be in your way. Look out to the sea and activate the bubble again.
Now just make your way to the dilapidated house at the end of the path. Go inside and look through the hole on the left. You’ll find the final pattern here. Now all you have to do is make your way back to the rune door. Crawl through the crack in between rocks and make your way down to the water. You can now listen to the story of the giant, Sjavarrisi.


Go through the water until you get back onto the beach. Explore the settlement before finding Astridr. There is a hidden face next to one of the huts that you need to collect.


Head down the main path until you reach the wooden planks that lead up to Astridr. Instead, go to the left and climb up until you reach a Lorestone. That one is pretty obvious but there is also a hidden face in this area. Head to the right and to the last hut. Go around it, following the torchlight, and you’ll find another hidden face. With this done, head up to hear Astridr’s story.
Astridr’s Story
After talking to Astridr, the settlement is attacked by the Draugar. There is one new enemy type that joins in—a shield lancer. This Draugar can throw the lance at you, so be sure to dodge it. He can also block your attacks pretty easily with the shield, so switch things up between fast and heavy attacks. A mirrored attack works best, and in this battle, I mostly used it against the lancer and the firebreather.
Waking the Giant
In order to draw out the giant, Sjavarrisi, you need to attack him with fire. The main thing in this section is running. And if you see a person lighting up a lance in front of you, grab it and throw it at the giant to slow it down.
The Second Ritual
In Sjavarrisi’s realm, there is a storm brewing. Senua needs to get to the heart of it in order to defeat and save him. The mechanics are similar to Illtauga’s, you just have to avoid water attacks instead of fire in this one.
As you go through the realm, you will have to hold onto the rings tied with rope around stones and wooden boards. This will keep the waves from washing you away. In the first area, there are only stones, so there is no extra danger.
However, when you get to the second section, the wooden boards can be broken. Once they’re broken, it’s your sign to run to the next ring. In the last section, just like with Illtauga, you have to run. There are many objects falling from the sky; watch out for shadows on the floor.
Chapter 6 Borgarvirki – Senua’s Saga: Hellblade II
Into the Forest
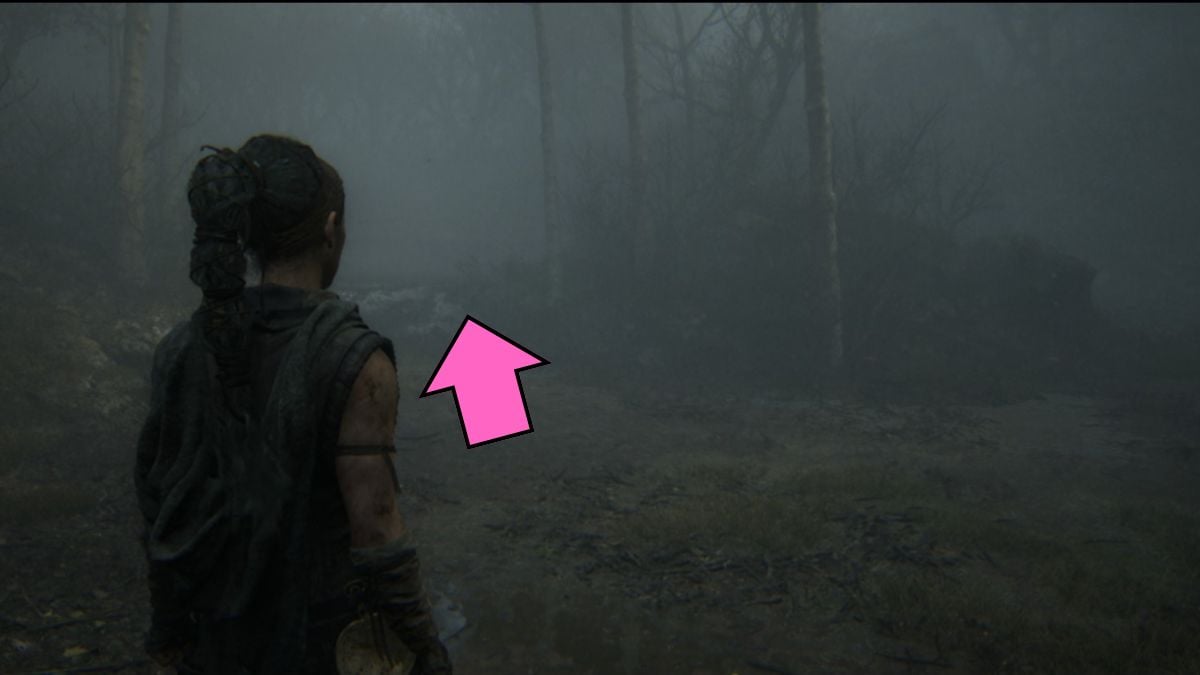
Enter the forest to reach Borgarviki. Follow the path down as the darkness of the forest rises above you. Keep going until Fargrimr and Thorgestr say there is no way through; climb to the ledge to the left and keep going until you reveal another path to the left.
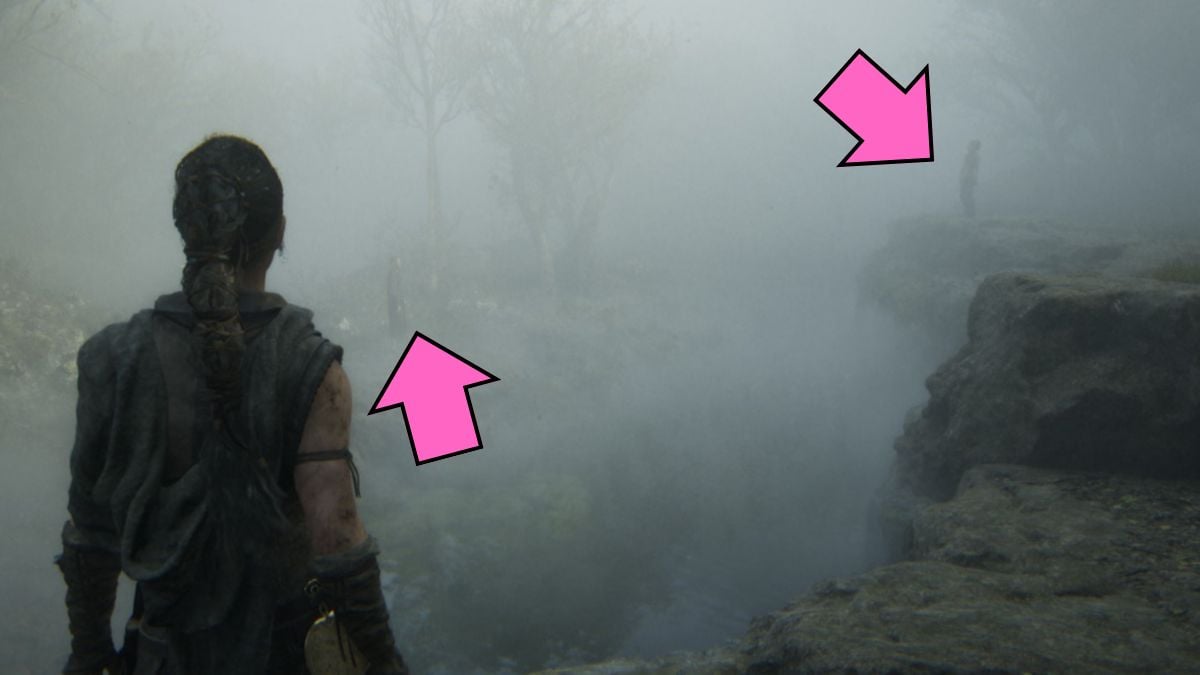
Go on as everyone keeps getting increasingly panicked. You’ll reach a blocked path but all of your companions are missing. Turn around and go back the way you came.
When you reach a crossroads, go down the right path. As you keep going, you’ll run unto Astridr. Follow the same path as her until you can’t anymore. Keep going until you reach Fargrimr as well. You’ll also be able to walk with him for a little bit before you have to separate.
Squeeze through the rocks until you reach a choice. You have to pick if you want to save Fargrimr or Astridr. I chose Astridr here. However, as you keep going, you’ll run into Fargrimr pretty quickly, and then soon after Thorgestr as well. Head up until you escape the forest and you’ll see Borgarvirki in the distance.
After the cutscene ends, Astrdir and Fargrimr plan to free the slaves while Senua and Thorgestr go to speak to Thorgestr’s father.
Heart of Darkness
When they reach the Godi and tell him how Senua knows to kill the giants, he doesn’t trust them. Instead, he claims that he is the only one who can keep the giants at bay.
Senua is taken to be sacrificed and you’ll have to fight in this section to free yourself. After you defeat them, you’ll hear Thorgestr yelling for you, so head in that direction. You’ll be attacked by even more enemies here.
When the Godi catches you, Thorgestr and the Hiddenfolk will come to your aid. Walk through the story by the Hiddenfolk about the tyrant. Just keep following the lights until you are back in the real world.
The Last Lie
At the end of the Hiddenfolk path, you’ll reach Godi as he kills Thorgestr. Luckily, Thorgestr chose Senua, so he reveals his father’s real name to you.
This time, you have to fight Godi to save the island from tyranny. He is very good at blocking, so you’ll have to alternate between fast and heavy attacks to make him stumble.
For an old guy, he attacks quickly, and his slashing attacks have a pretty long range. When he stabs his sword into the ground, use your mirror attack and run towards him. You’ll have to repeat this a few times until the Godi starts stumbling around and the crowd starts turning against him.
Even though he is stumbling around, he can still hit you, so watch out. This battle drags on a little bit, but once you finally defeat the Godi, you’ll complete the game and unlock a bunch of extras.
If you want to know our thoughts about the game, check out Senua’s Saga: Hellblade II Review – An intense story set to a stunning visual and audio backdrop on Pro Game Guides.

")


