
Continuing from our last guide, in which our last act finally got the golden key from the theater, we can now use it in at least two places, but we will start with the one closest to us, the place we always went to… Mr. Crow’s office.
Crow Country Complete Guide, Part 3
If you happened to find yourself too far, run back to the second part of our guide, or the first part here if you really skipped it. Beware of spoilers for all sections!
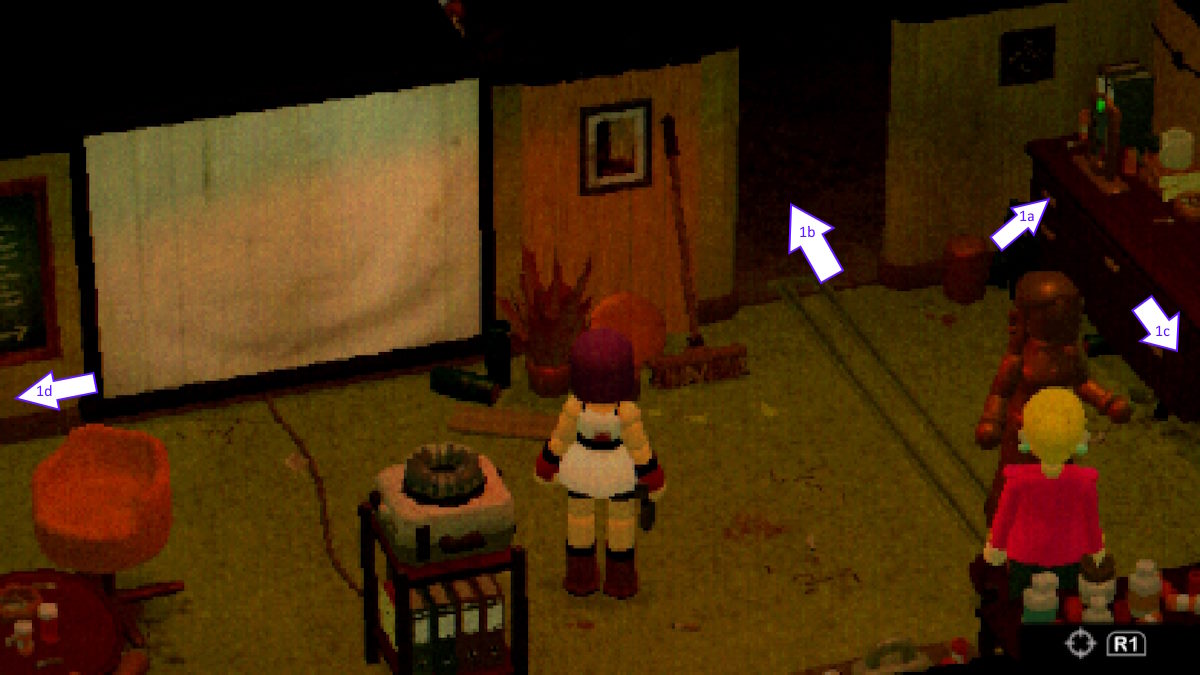
Go in, and take a quick look around. The phone will ring again, so go and answer it. Pay attention to the picture frame next to the statue at the right end of the back wall as this will allow access to another safe room.
- 1A – Picture frame
- 1B – Safe Room
- 1C – Telephone
- 1D – Control room
After you enter the safe room and return, Natalie there will be waiting for you, so exhaust her dialogue again. Reading the blackboard next to the projector will inform us that we will eventually need some code, so it might be best to figure it out now and save it for later.
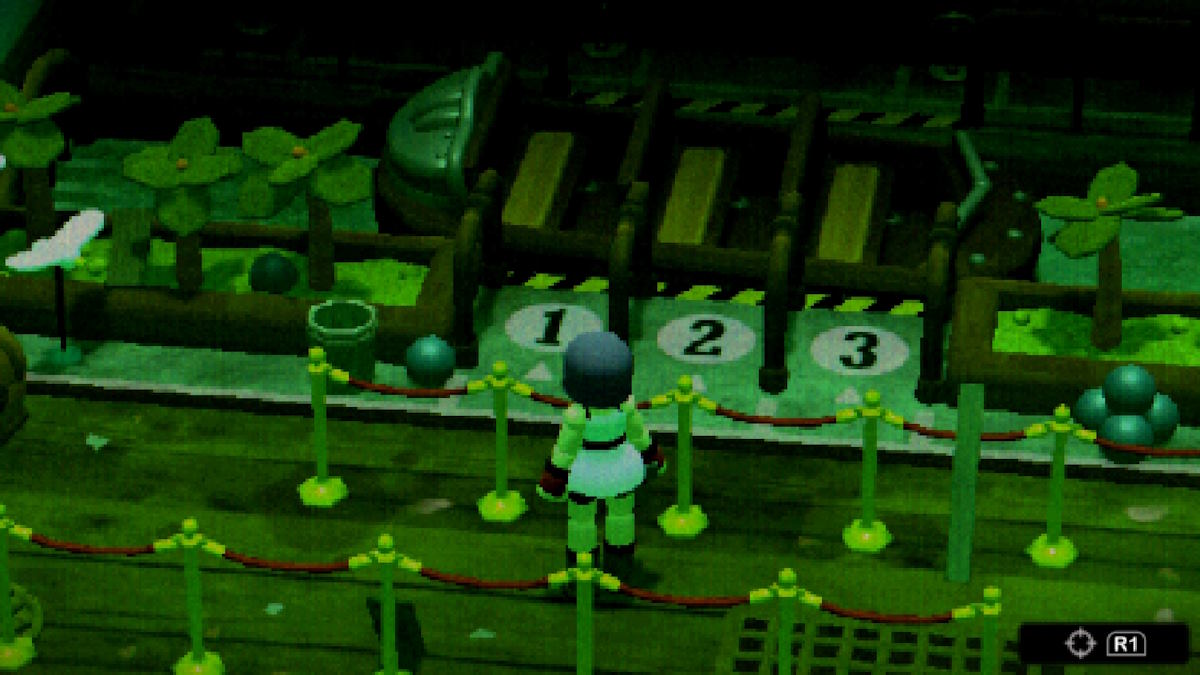
Projector Puzzle
The whiteboard will present you with a list of conditions to select numbers in the row of images of enemies on the projector.
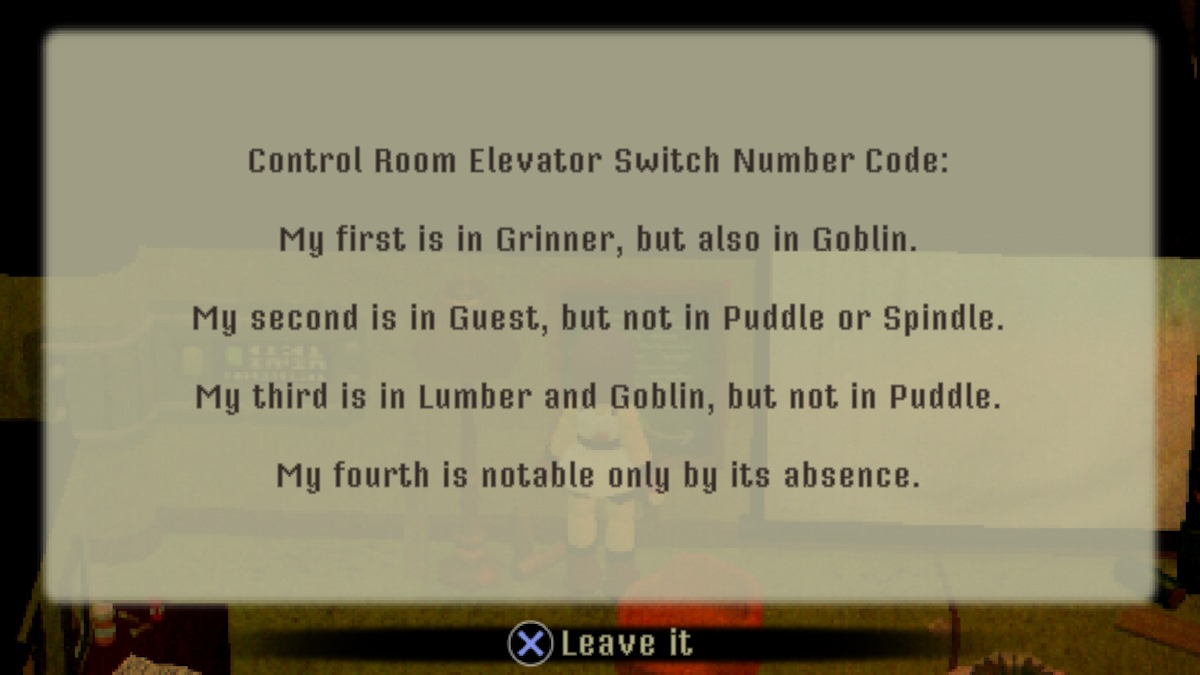
- The first number is in both Grinner and Goblin. (5592/1739)
- The second number is in Guest but no in Flask or Spinner. (3762/3973/6413)
- The third number is in Wood and Goblin but no in A puddle. (1347/1739/3973)
- The fourth number does not appear in any sequence of numbers. (8)
Breaking it all down, we are left with the combination of 9 – 2 – 1 – 8.
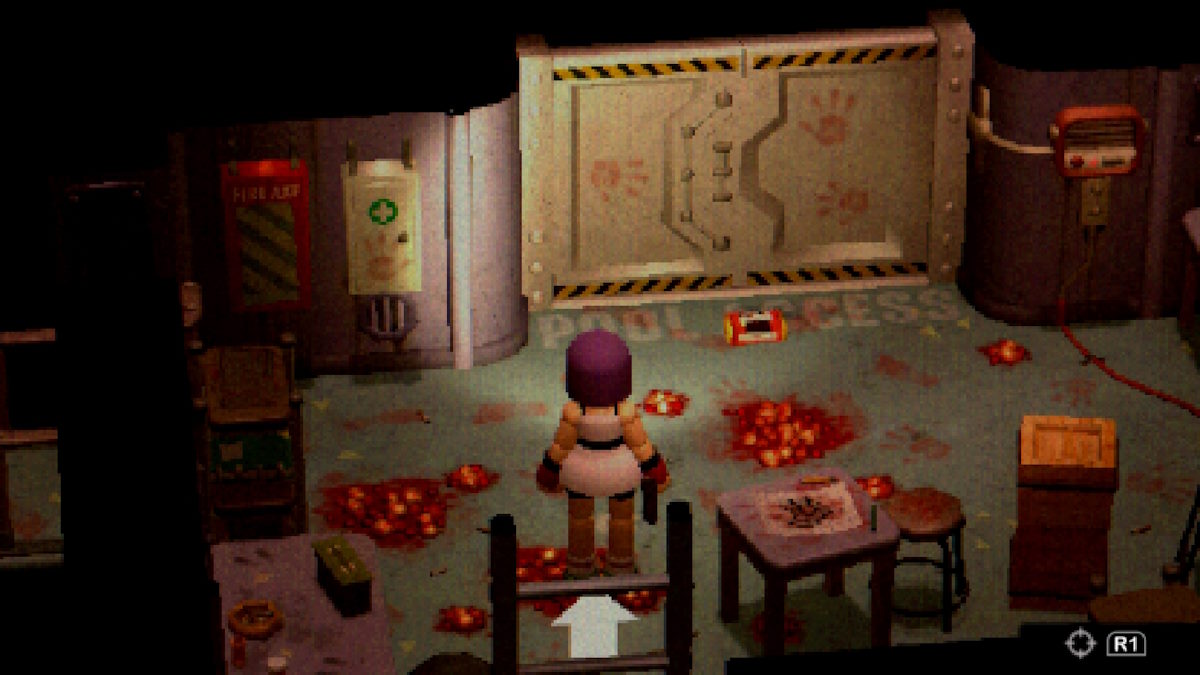
Head to the control roomopen the door and enter. You will be confronted with two monitors, a keyboard, dice marks on the floor, and a strange screen on the wall opposite the keyboard that seems to display random numbers over time. You can use the left monitor to interact with Arthur, the NPC you saved back in Fairytale Town.

Interact with the keyboard and enter the code we got from the office, this will show that another elevator has unlocked somewhere in the middle of the map, in the root tunnels. Be careful on your way out, because as you go to leave, the a fourth mini-boss will burst out of the wall to the right of the room. Dispatch him quickly, and if you follow this guide and play on the survival horror difficulty, this should get you an achievement, as this is the final mini-boss.
You will also be locked in the control room, but the solution to escape is simple – the dice on the floor add numbers to the screen at the back of the room – and interacting with the gate informs you that the code is. 123456.
If you have already stepped on some, interact with the screen and press the reset button. Then carefully walk around until you have entered all the correct numbers, and the gate will automatically open.
Now with the golden key, we must return to Ocean Kingdomso we can get our last key object.
Seven Seas
Remember to use the root tunnels to get back to Ocean Kingdom faster, using the elevator just outside Mr. Raven’s office. Once down there, go to the southwest elevator
Head up, and you’ll be in the room with Julie again. Earlier she offered to help us if we unlocked the door of the drive control room, what we can do now. Exit, and take the first door on the left as you exit. If you enter, the phone will ring, so answer it to talk to Mr. Crow again.
Exit, back into the elevator room, and talk to Julie. After you’ve talked to her, go back to the Seven Seas area, not the control room, and go to the boat in the middle – remember to sit in the middle, seat number two.
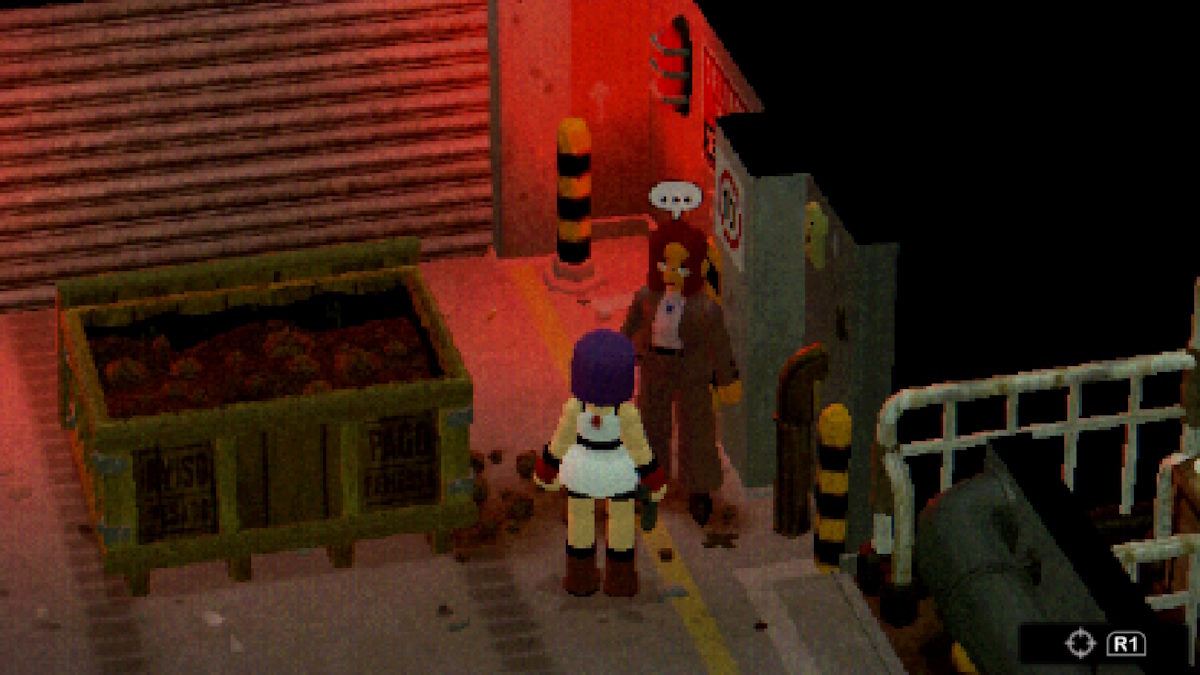
Unfortunately, the ride doesn’t last long, because Baleno stops us almost immediately. Exit the boat, right, and interact with the big lever open the door back to the control room. Julie will be missed, so get back on the ride.
Your goal is to find a battery inside one of the sirens. Use the box on the left to bring a mermaid forward, and the box on the right to lift them out of the water. The battery is in the third siren, but the second mermaid contains some shotguns.
Battery Charging Walkthrough
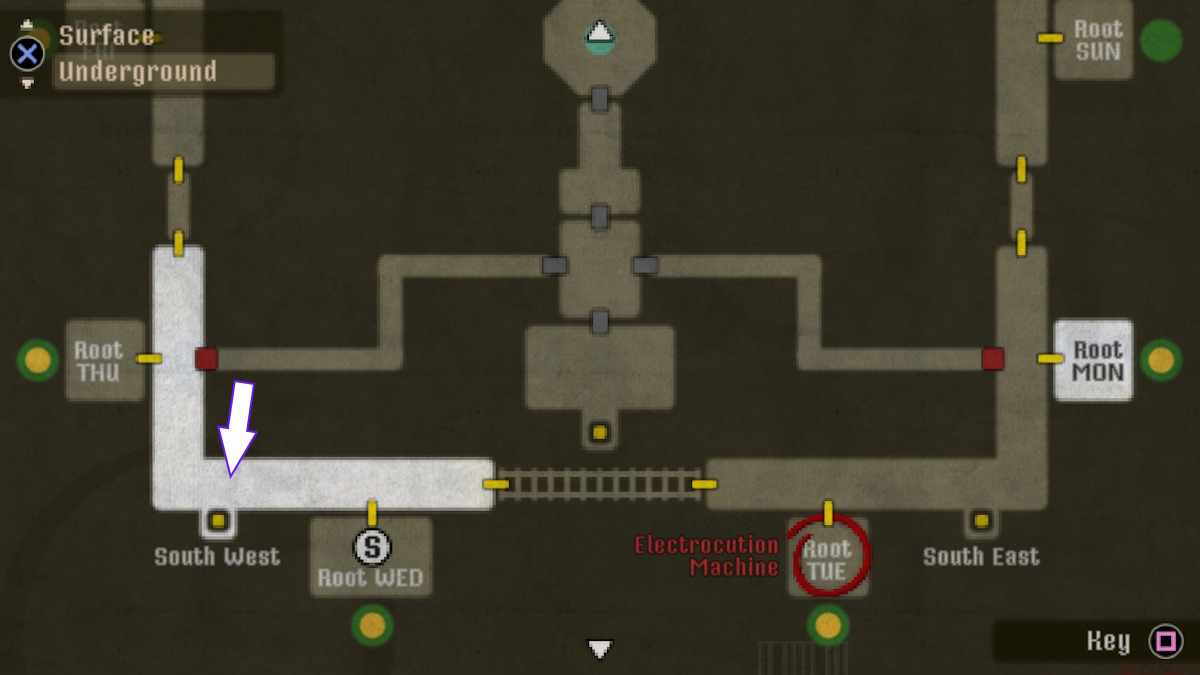
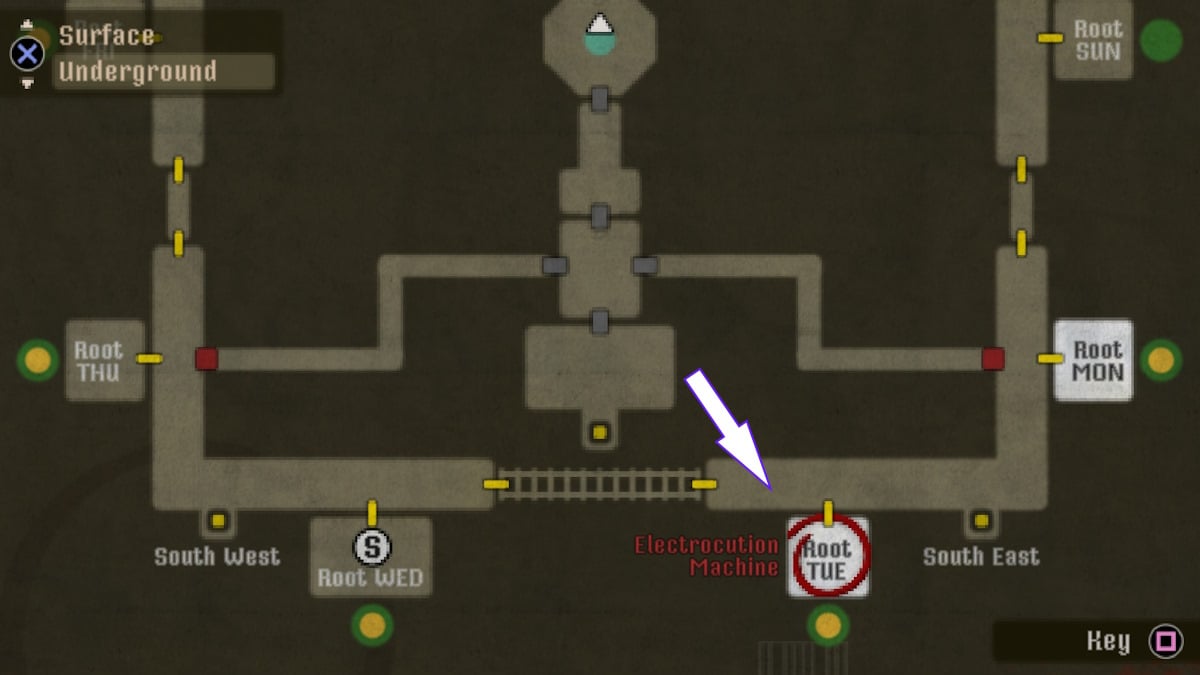
The battery is the last key item we need, but we need to charge it, so return to the elevator you took to return to Ocean Kingdom and travel down, taking care of the enemies there now. You have to go to Root Tuesdaywhich is where the electrocution machine we found earlier is to charge the battery.
Exiting the elevator immediately and entering the cart will take you directly there if you are going from the proposed elevator.
Place the battery in the device on the left, move to the button on the right, interact and hold until the battery is fully charged. (You can rotate your camera by holding the button to see how it happens.)
Crow Elevator
With the battery charged, we need to return to the main hub area. It is advised to stop at any safe room you can find before proceeding.
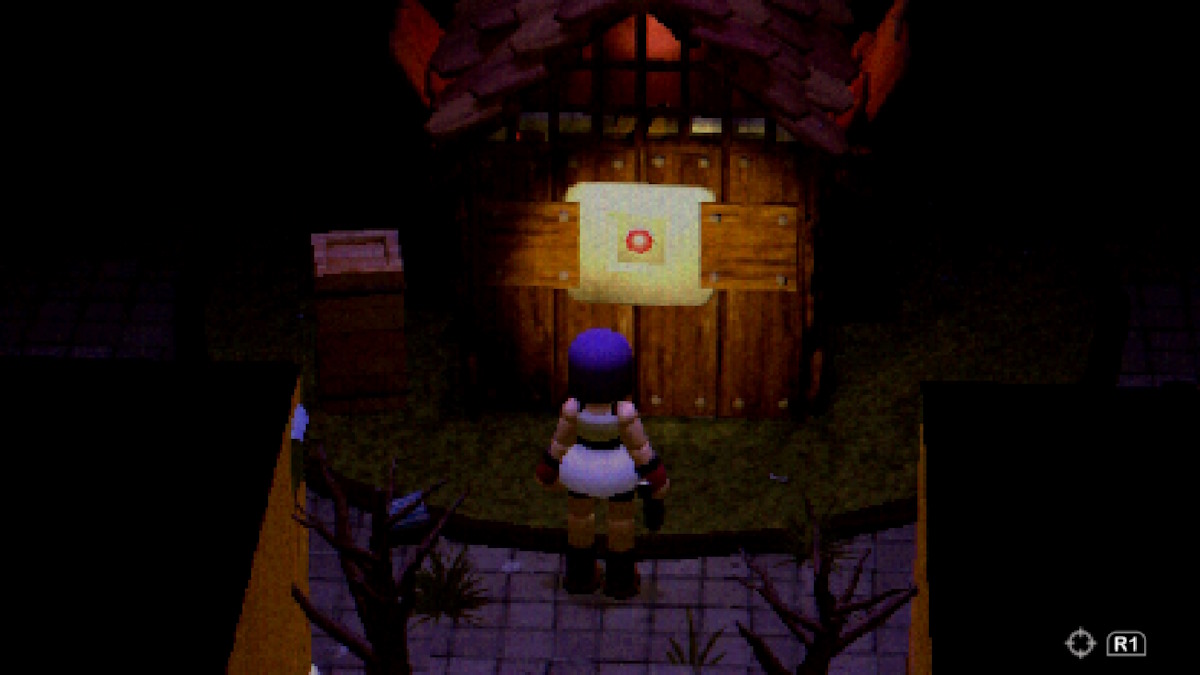
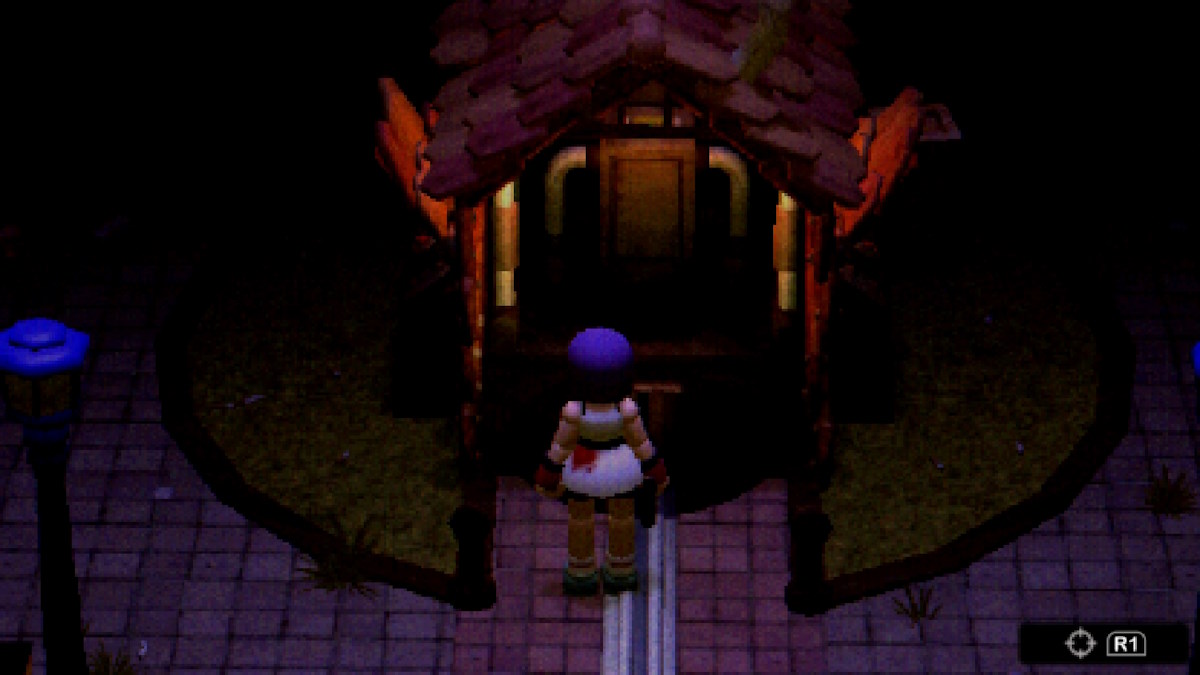
When you reach the hub, go straight to the crow’s hut in the center Head to the back of it, and if you haven’t already interact with the hidden panel to reveal a button.
Interacting with the button will open two control panels, go to the one to the right of the button first to turn the crow, and then insert the battery in the slot on his back. Then, return to the rotating panel and turn him to face the right way again. Move to the other panel and activate his walk sequence. This will reveal the elevator.
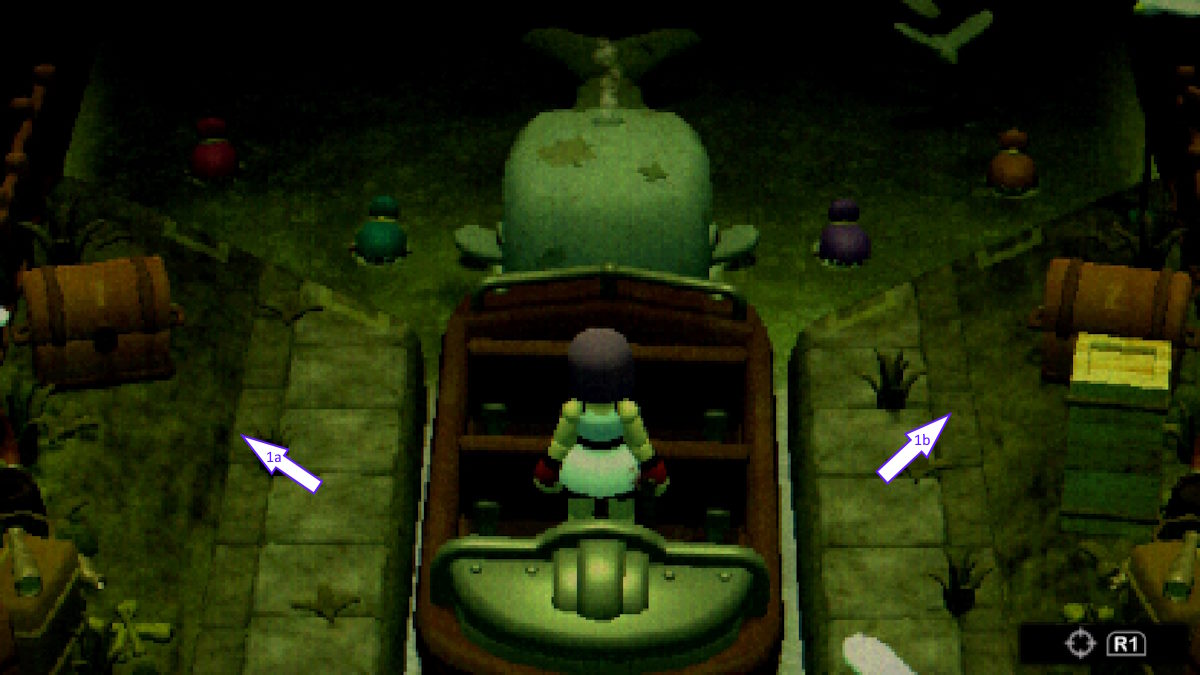
When you go down, the small room you will enter will contain many enemies, but your goal is simply to activate two switches, one on the left and one on the right. You can save the ammo and run around them, but be careful not to take too much damage.
Keep pressing forward, and in the next room, I suggest taking the southwest tunnel, and will rest at Root Wednesday before returning and pressing When you’re done, continue to the lantern puzzle
The lantern puzzle is not as complex as it first seems, as it is simply a case of each lantern representing a number one, and you have to shoot the corresponding amount of lanterns to open the corresponding gate.
For example, shooting one lantern would open the gate labeled “I”, shooting two would open the gate labeled “II” and so on. The most efficient way through is to shoot one lantern and step into the “I” gate before shooting four more and step through the “V” gate.
Despite the pistol ammo in the middle row, there is another gate that will require you to have seven lanterns lit, meaning that the correct route only results in a loss of seven total rounds.
Continue until you reach Tolman blocking the way, interact with him, watch the cutscene play, and then help Julie out of the vent. Talk to the pair and exhaust their dialogue before continuing. Interact with the gate twice to continue
Cross the small pool (interacting with it will heal you and clear your player model of any damage), and go down the long stairs to access our next area… The Laboratory
Crow Country Lab & Boss Fight
Our first room is another safe room, interact with the Bunsen burner in the right corner to save. There’s a lot to interact with here, so take your time. When you’re ready, interact with the intercom next to the large metal doors.
Once you spoke with Mr. Raven on the intercom, he will instruct you to grab the vials on the table before proceeding. Do that, and come back. When the door opens, continue forward. Approach and talk to Mr. Ravenhe will inform you of the nature of what is happening, and then the final battle of the game will begin.
Once the boss fight starts, I suggest shooting the bear traps as you approach them, so as not to take any damage. The goal is simple: shoot ‘Crow’ until he dies– you will know how you are by the color of the pool. One thing to watch out for is red flashes and an alarm sound. When you see this, move out of the red area because the rock fall will deal you damage.
After you’ve defeated him, you’ll be prompted to talk to him again – do so, and as you promised, put him out of his misery.
And with that, congratulations! You have successfully defeated Corvoland!
After viewing the credits, you will be shown a screen that shows your overall rank – higher ranks give new rewards! In my playthrough, I achieved an overall ‘A’ rank, just because I had to take so much damage to test things for you, dear reader. There are other secrets and achievements to get in Crow Country, so use those completion rewards and get back there!
Thanks so much for reading, and remember, if you’re looking for other horror-related guides, please check out our 10 Best Horror Games of 2023. Or, if you’re looking to scare with friends, this breakdown of the Best Multiplayer Horror Games of 2023, we’ve got you covered at Pro Game Guides.


")

