
If you’re stuck in Hooktail Castle in the remake of Paper Mario: The Thousand Year Door, it can be difficult to figure out how to get all the items you’ll need to progress. Making sure you don’t miss any items is a must to get through this challenging section.
Hooktail Castle Walkthrough – Paper Mario TTYD
There are a few key things to remember when trying your hand at the Hooktail Castle for the first time. You will have to use Koop’s power several times. You’ll also need to keep your eyes open for all sorts of items, including a very helpful badge.
Outside Hooktail Castle
After completing the Thwomp trivia challenge and capturing Koops, you can finally go to Hooktail Castle in Paper Mario: The Thousand-Year Door. As you walk towards the front door of the castle, you will see that the bridge has been taken out.
Jump down along the edge of the broken bridge, and there will be platforms below it. If you take all those platforms all the way to the right, there will be a badge that Koops can take for you. This is the HP Plus badgeand it’s an extremely helpful badge, especially if you have more than one.
Then, go back left, up the stairs, and back into the outer wall of the castle. Inside is a jumping pad, half hidden behind a pole. Jump up the second floor, then step outside to find aircraft panel. Use it to turn into a paper airplane, then float to the door across the broken bridge. Enter through the massive purple door to the next section.
Hooktail Castle First Floor
In the first room, there are stairs to go back up to another panel to turn into a plane and go back across the bridge, so you can ignore those stairs for now. A little further into the room, there is a box with a Power Bounce inside. Go into the next room on the right.
There will be a green key in the second room, hidden behind the bars, but you can’t get this yet. There’s also a breakable tile that you can’t interact with yet near the green key either. When you go far enough into the room, Koops will start a cutscene. Tell him to read the note. It will give a clue on how to defeat hooktail easily—it’s something that starts with “f” and ends with “rog”.
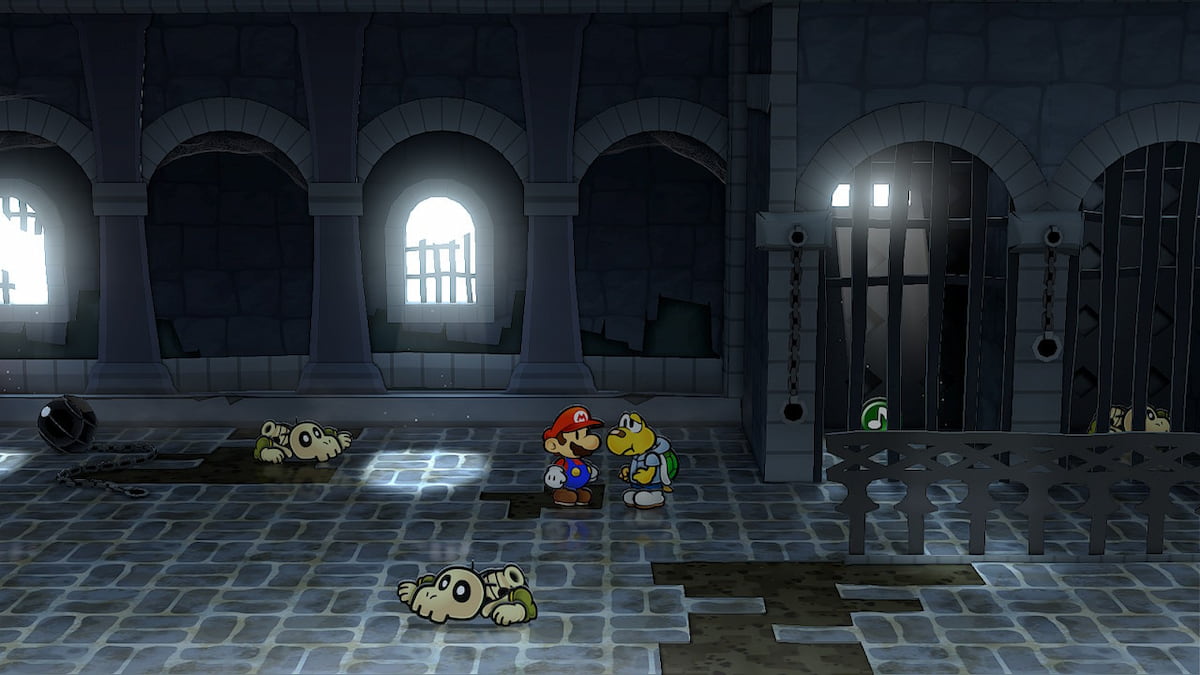
There will be pink dull bones at the end of the room, and you can’t go through the door without passing him. When you hit him, a whole bunch of bone enemies will appear; you will have to smash your way out with the hammer and then take down the pink bones in battle.

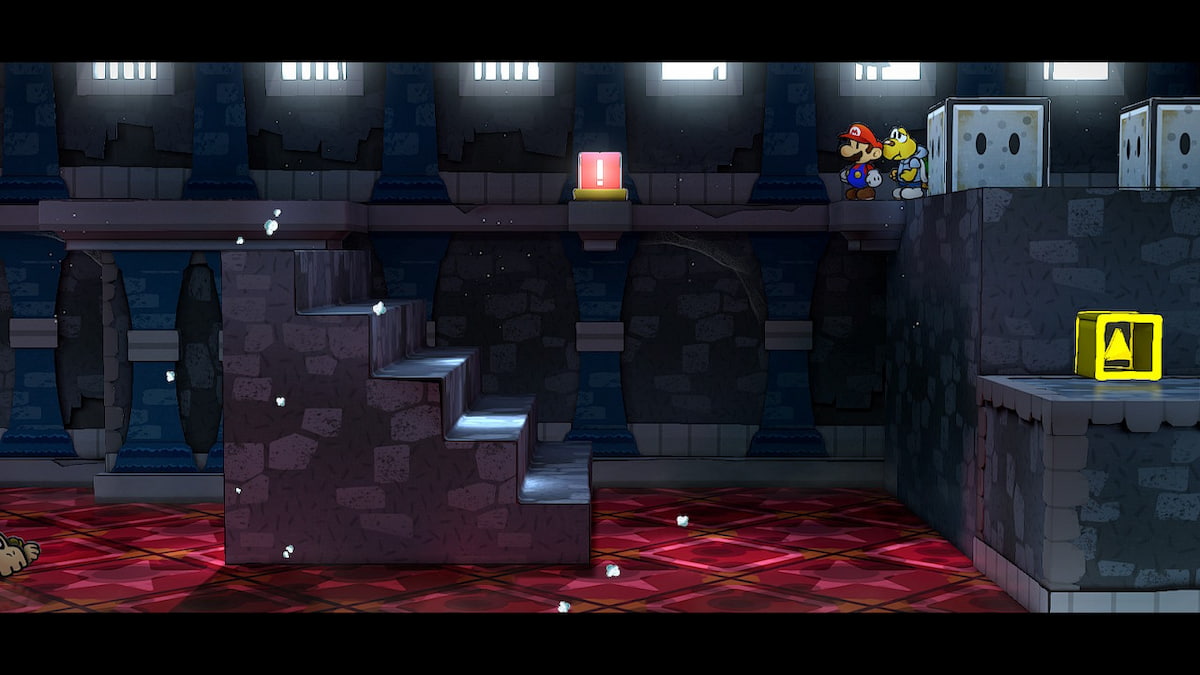
In this third room, there are many things to do. You will have several elevators, several blocks and three items to pick up. To make sure you get everything, here’s a handy checklist for this location:
- Use the purple elevator button under the doorway outside to go down the purple elevator, then use Koops to go up the purple elevator. Go right to get the Star Fragment from the balcony there.
- Use the hammer to smash the yellow block above the yellow elevator.
- Make sure the purple elevator and the yellow elevator are in the down position for this next part.
- Use Koops’ power up to get the yellow elevator button ready, then use the purple elevator to jump to the yellow elevator, then release Koops’ power up to go up it.
- Jump to the left and get the Star Fragment.
- Next you want to grab the Red Key. To do this, you need to use Koops’ power to press the red exclamation point button.
- When the Stairs switch sides, go up the stairs, then use Koops again to get the red key.
- Put the stairs back up, then go out the door on the right to the next section.
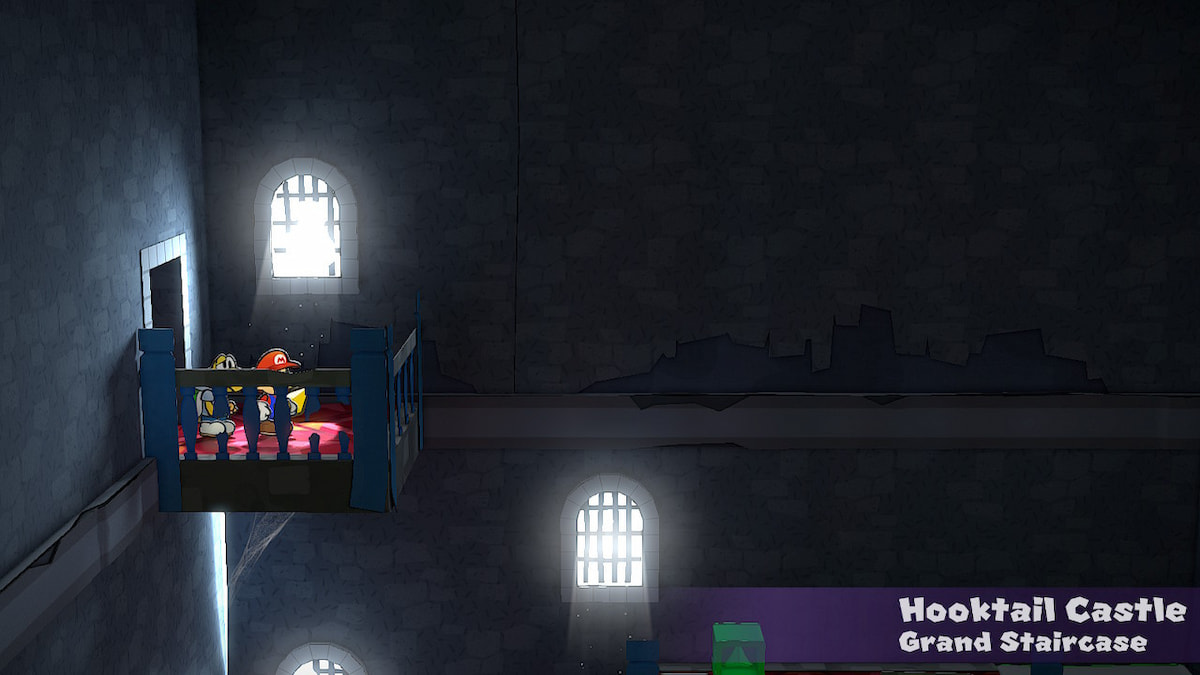
After using the Red Key on the Red Key Door, you will end up in the Grand Staircase of Hooktail Castle. Inside this first room, there is a green elevator. You can ignore this for now and keep moving right. You’ll soon be back at the Grand Staircase, so don’t worry about doing anything here just yet.
Hooktail Castle First Floor part 2
There is a red exclamation button that opens the jail cell on the right of the screen. Use Koops’ grip power to beat it while standing near the prison door; you only have a few seconds to get in after the bars lift out of the way. Once inside this prison, exit the hole in the wall to the right. This room contains a Black Chestwhich will give you the power to turn sideways.
To open this chest, you’ll need to keep heading right and enter the spike trap. The spike trap won’t trigger until you open the crate, so don’t worry about walking over the holes in the floor. If you check the far right of this room, there’s a crack in the wall that you can’t interact with yet. Open the chest to get the black keythen find your way out of the maze of spikes before time runs out.
The spikes won’t hurt you, so just quickly go back to the door to the left of the chest. then, open the back chest to get the side turning power. Use it to go back left and out of the prison.
Use it on the cell with the badge inside; This is the frog-sounding badge. Equip it immediately as it is Hooktail’s weakness. Then, go back to the room where the dull pink bones were and get the green key out of the cells along the back wall. Now that we have the green key, we can ride the elevator in Hooktail Castle’s Grand Staircase up to the second floor.
Hooktail Castle Floor 2
There will be a long balcony with breaks in it on the second floor. Use the exclamation button, either with Koops or with Mario’s hammer, to tear the paper in those spaces and reveal the floor to cross. There will be a second gap; you can only reach the second button with Koops.
The third empty section has no buttonso you will have to jump out of the window behind you. Go all the way right to get the Star Fragment, then all the way left. Jump back into the window on the other side of the gap. Exit the door to the left. In this room, there is a green elevator to go up. Ride it to the top using Koops’ power up, then go left.
When you stand near the door without the lock on it, jump off the back side. This will land you on the small ledge with the collectible. Slide through the bars and get the mushroom; this is one of the Life mushrooms that revive a dead character.
Hooktail Castle Floor 3
Go back up to the unlocked door and enter. This will trigger a cutscene with Ms. Mowz. She took a badge from one of the many treasure chests, but she left all the others for you to open. In them, you will get a mushroom, honey syrup and the golden key to the other door of the 3rd Floor. Don’t forget to pick up the Star Shine while you’re here too.
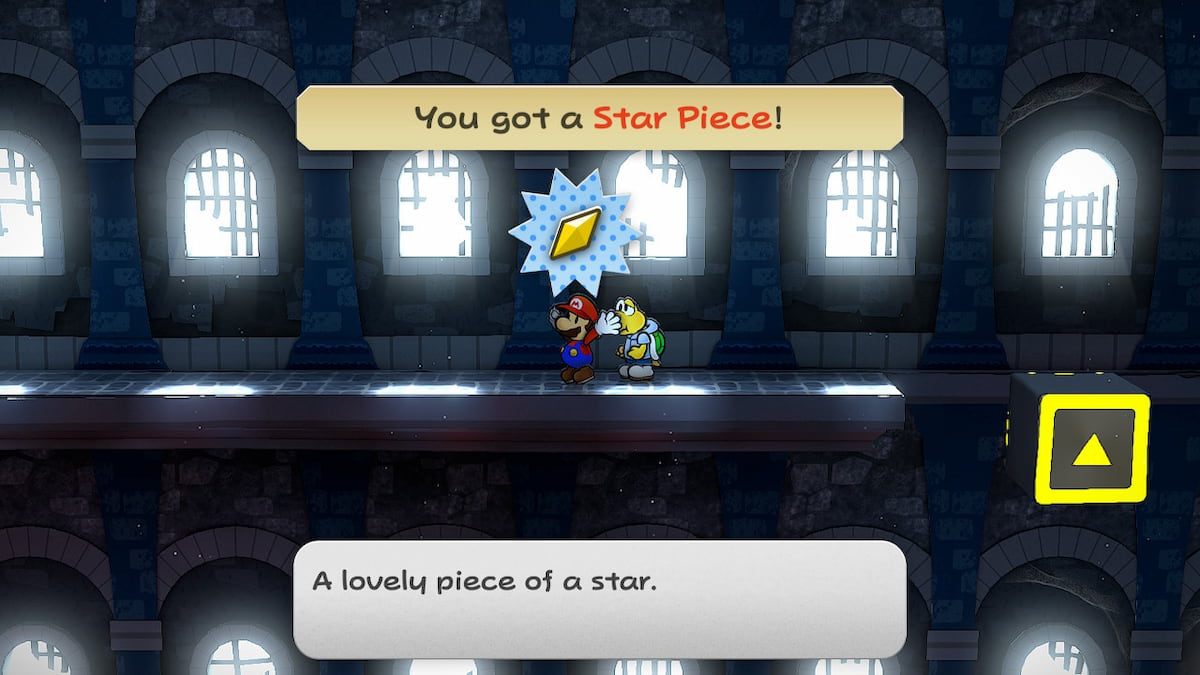
Enter the Golden Door now that you have the Golden Key. Inside, you’ll find an elevator block that you can go up. Take it up to the top, then walk left until you find aircraft panel. Walk across the panel to the ledge at the back of the room. Take it to the right until you find the Star Piece.
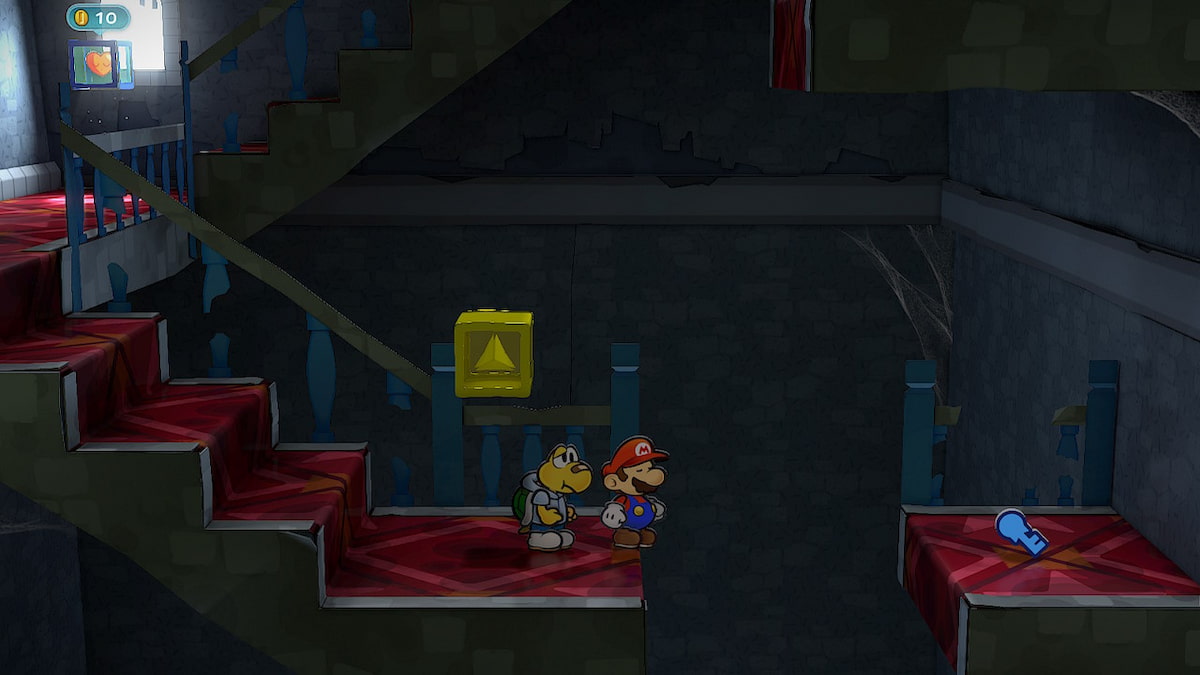
Use the aircraft panel to fly to the floating door and then interact with the door. You will find yourself in a new Grand Staircase. If you go down the stairs, you will find an elevator with a Blue Key on the other side. Use Koops to go down the elevator, then use Koops again to get the key.
Jump down onto the top of the now lowered elevator, then grab the Badge there. Use the pipe on the right side of the screen to immediately go back to the top floor. Now that you have the Blue Key, you can open the Blue Key Door. This will take you outside on the castle wall. Go left, then climb the Hooktail Castle Spiral Tower.
Hooktail Battle in Hooktail Castle
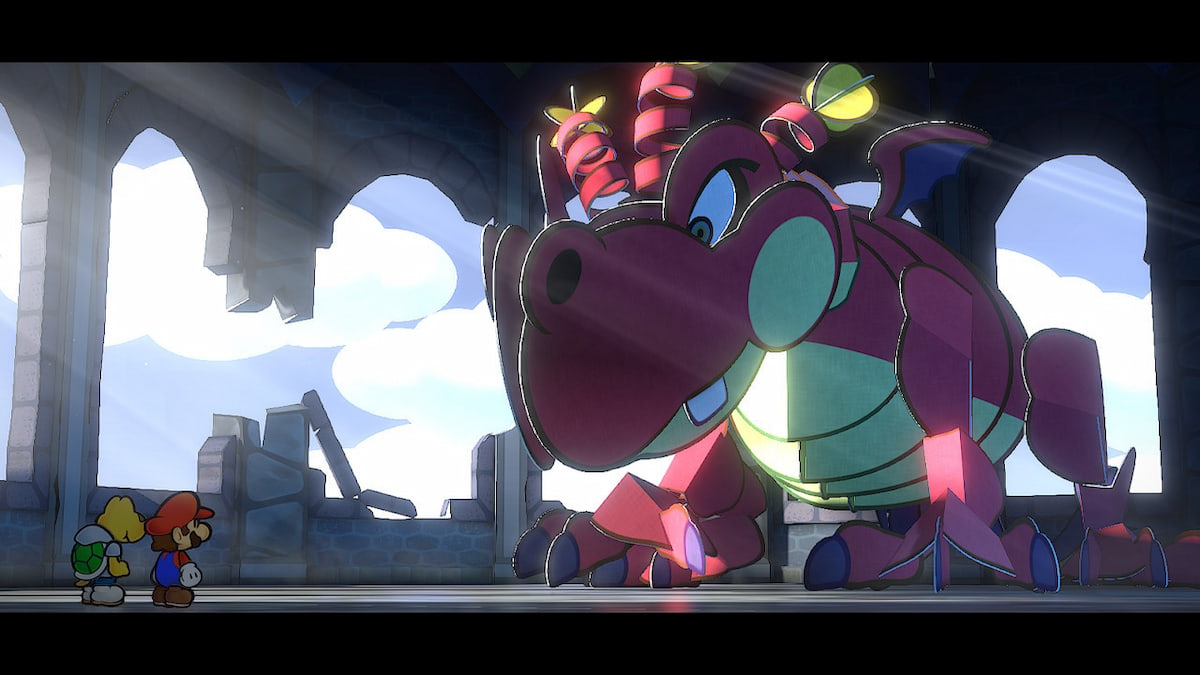
Now that we have reached the top, be sure to save your game and use the heart box to refill your health and other things. If you have the frog Badge equipped, Hooktail will much less damage to you. Her attack will be lowered from five to two. Hooktail will throw fire, but it will be incredibly easy with the frog badge on.
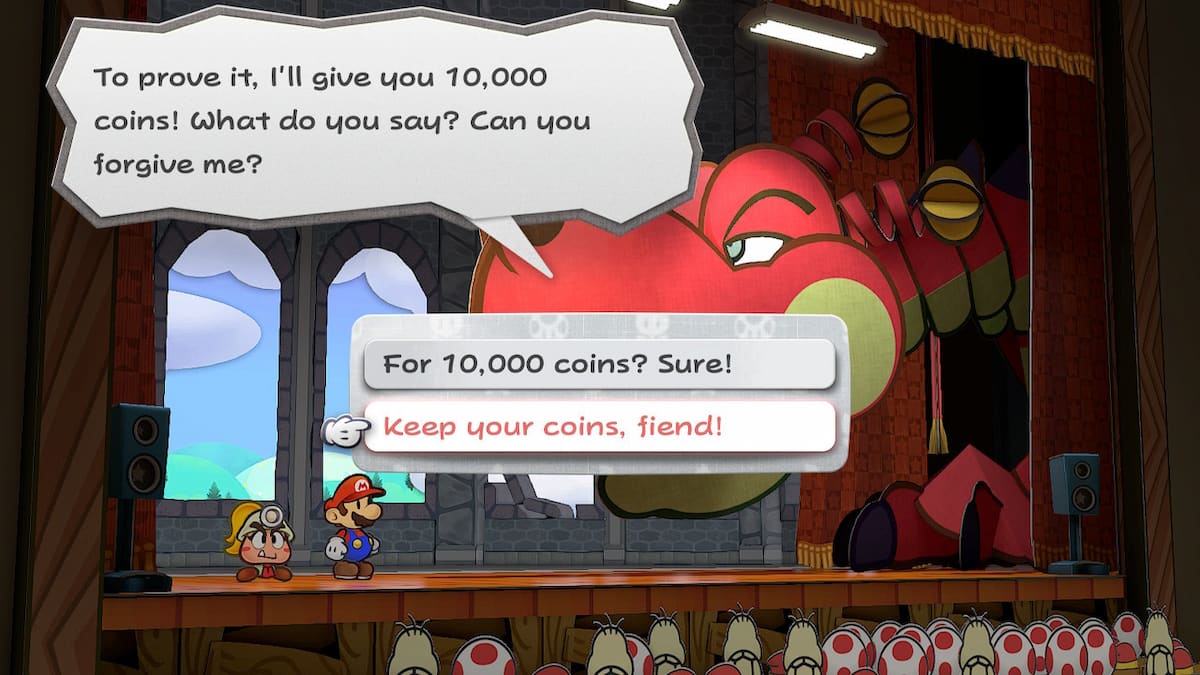
Once you have her down so she’s almost dead, Hooktail will offer you money, treasure, and other things. Always reject her. It’s a trick every time. Once you’ve knocked her down enough, she’ll recover, and you’ll have to keep fighting her. In a few hits, she will definitely fall.
For more Paper Mario, check out What is Paper Mario The Thousand Year Door HD? Release date, Platforms, Remake and more! in Professional Game Guides.


