
Oracles are the most wanted secret in the latest Destiny 2 DLC, giving valuable upgrades that give my arsenal a much-needed boost. If you're struggling with destroying oracles, here's an in-depth guide on how to shoot all the oracles during the Whisper mission in Destiny 2 Into The Light.
How to complete Oracular Seeker quest in Destiny 2 Into The Light
There are seven oracles hidden in the mission “The Whisper” within the destination Into The Light. unfortunately, only two are available at the time of this writing, with the other five apparently being time-bound. Destroying the entire Oracle completes the Oracle Quest Triumph, while each individual Oracle gives way While Nail benefits and Carved from the Worm ship blueprints.
Related: How to get Peak and Recluse in Destiny 2 Into The Light
Oracle number 1
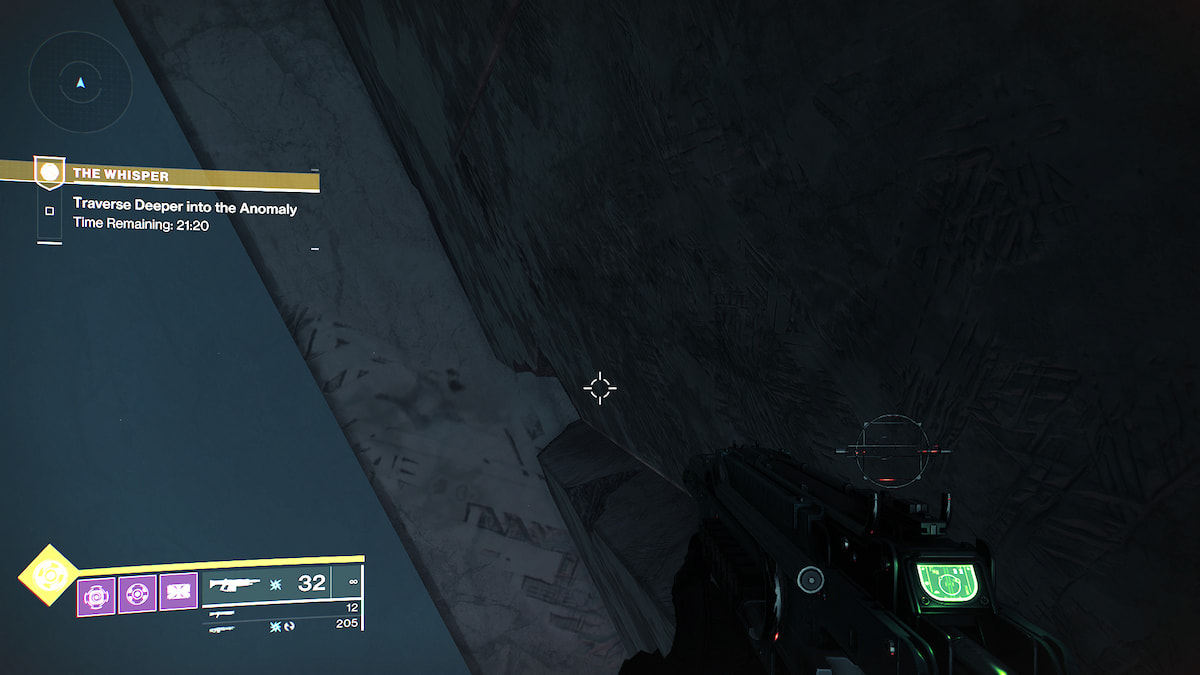
Right after the first big drop, jump through the passage with the reddish glow. After you hear Xol deliver a ''You are alone'' dialogue, go left and jump over the protruding spikes. Go to the end of the ledge and then turn left. Your crosshair will turn red, indicating the location of the first Oracle.
Oracle number 2
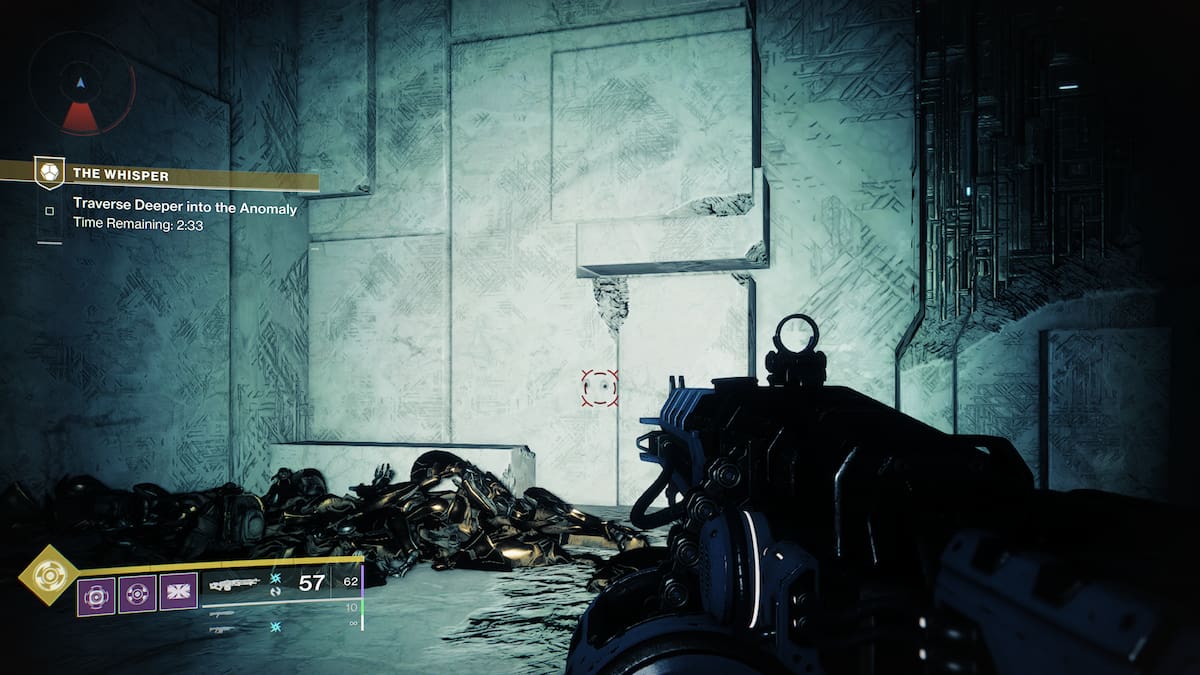
In the first cave area, jump onto the moving stone elevator and up to the end of the ledge. Jump onto the last ledge, then look up to see an opening. Jump up to reach a secret room, and your crosshair will lock onto the Oracle's position.
Oracle number 3

When you reach the final ledge where you will be shot by the Taken Centurion, jump and duck to the right behind the corner. Jump on the Vex Cube and you'll lock down the location of the third Oracle.
Oracle number 4
In the giant green room, go to the other side and jump down the hole in the narrow passage. Once you've reached the bottom, turn left and crawl through a small hole. Again, the cross will point to the Oracle.
Oracle number 5

Back in the green room, turn towards the direction you initially entered from. Go right and jump onto a ledge sticking out of the wall. Keep jumping up in a straight line to spot more ledges and climb them.
After you climb the highest ledge, keep traversing ledges that lie ahead of you. This path will take you along the walls of the entire room. On the final ledge, drop down and enter the secret room to find the fifth Oracle location.
Related: Where is Archie in Destiny 2?
Oracle number 6
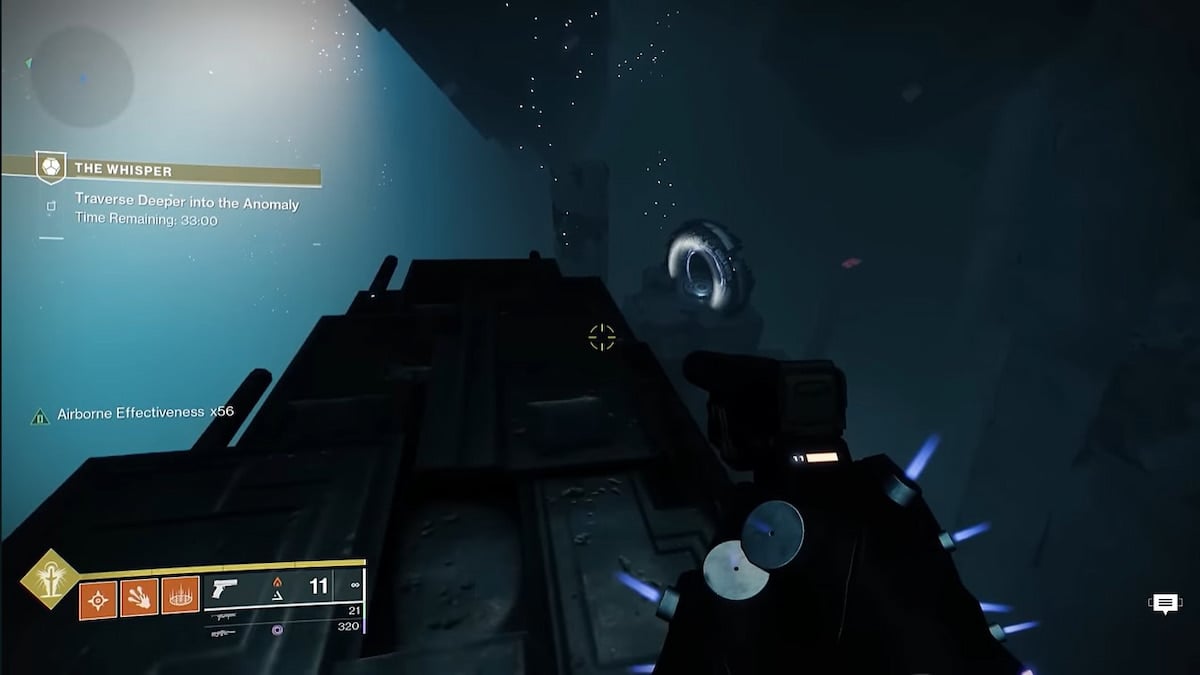
The sixth Oracle location is within the abyss where Xol will deliver the line: ''You will drown in the Deep''. Rather than following the narrow ledge to the left, go to the Vex Portal in the distance. Follow the ledges leading to the portal, and your crosshair will turn red once you reach it.
Oracle number 7
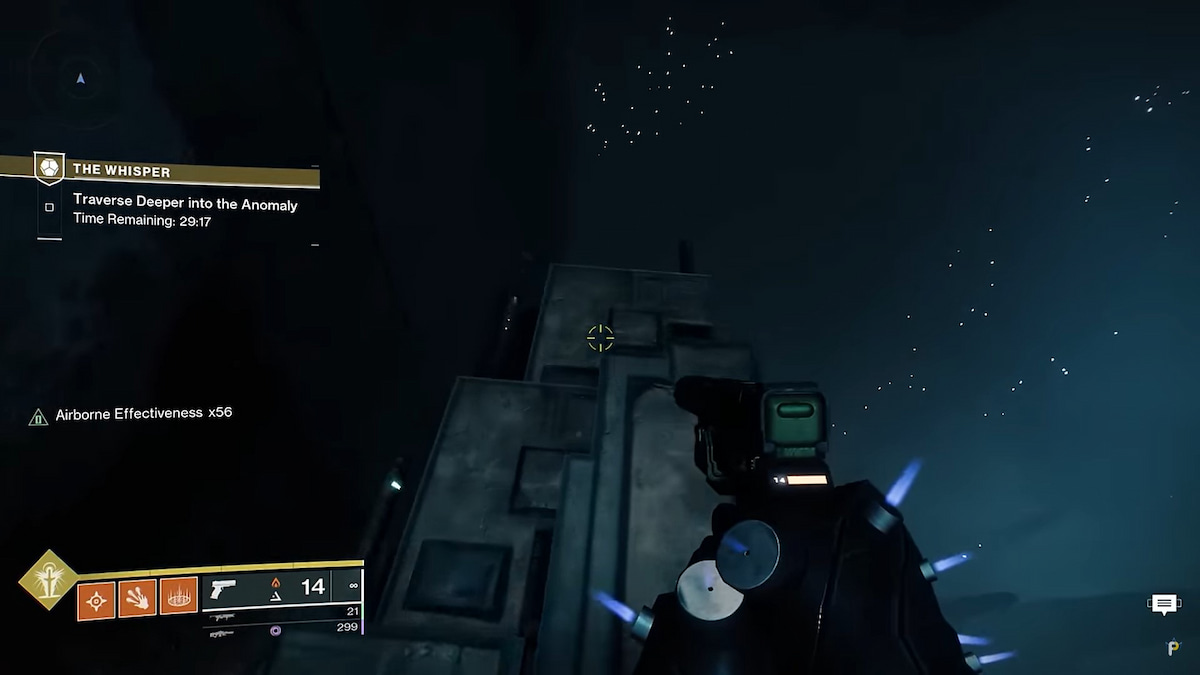
In the same chasm, follow the thin ledge to the left of where you entered it. Before jumping off the platform at the end of the ledge, turn around and jump down. You will reach another secret room containing the seventh oracle.
Who says you need teammates to beat Onslaught? To beat all ten waves, check out Best loadout builds for Onslaught Horde Mode in Destiny 2 in Pro Game Guides.
")


